


Amy’s Desk part 5
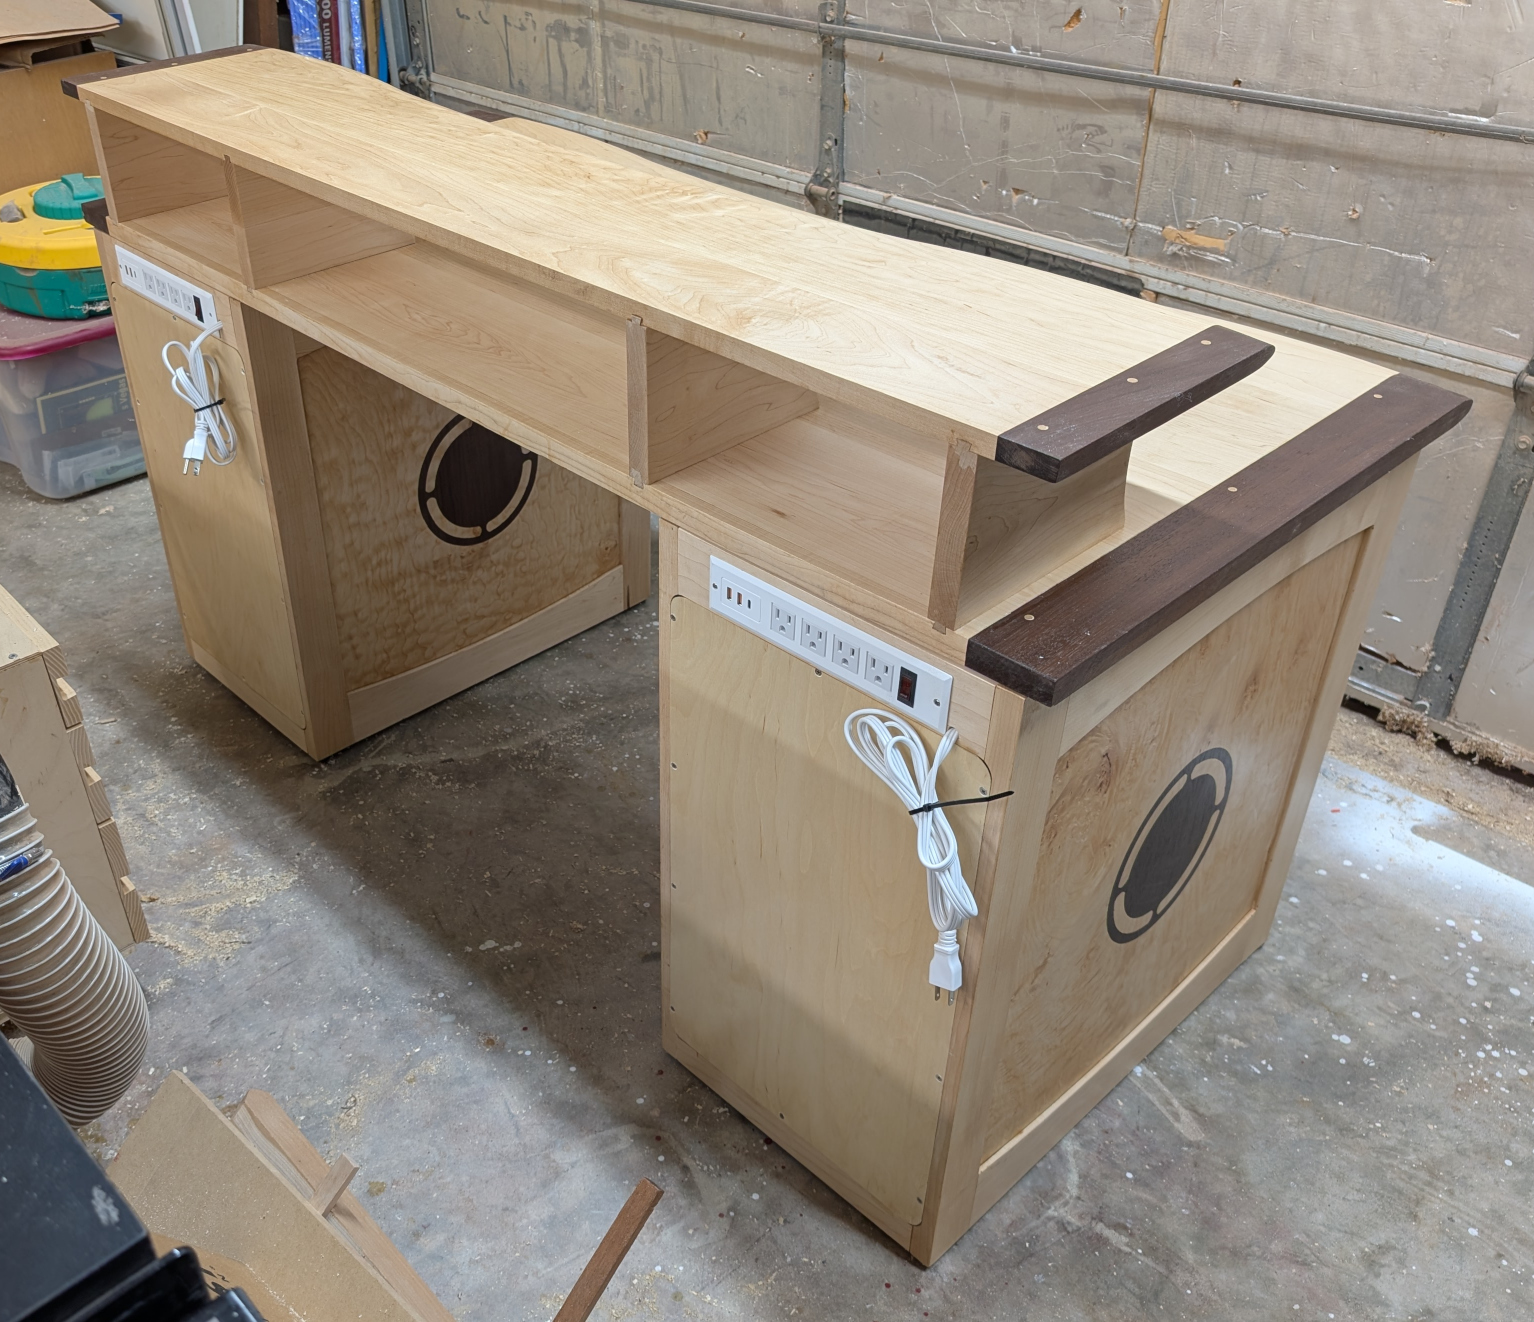
All the major parts of the desk were done, so I just had a few little things to do. I started by doing the wiring in the pedestals.

I bought these off Amazon because they looked simple to install and way less time and effort than making my own outlet boxes, which was what I’d previously done. The front (3 outlets plus USB) is wired to the back (4 outlets plus USB and power switch). I snipped the cords on both and wired them together, so there would only be one cord going out the back. Technically you could plug one pedestal into the other, or run them separately to a wall outlet. I used staples to hold the wires out of the way of drawers and to provide a strain relief for the plugs.
Applying the back panels was simple. I used screws instead of nails just in case there is a need to take them off again, not because I think there will be a need but just in case.
For attaching the top to the bases, I used Striplox connectors. I already had some on hand from a previous project and they are very simple to use and extremely strong. All I had to do was run maple pieces across the top and mortise them for the female connectors, making sure to orient them such that they all faced the same way and the mortise was extra large on the same side.

Then, measuring carefully and accounting for the 7/8″ overhang on each side, I mortised the underside of the top for the male parts and installed those. Again I had to make sure to orient them the correct way.
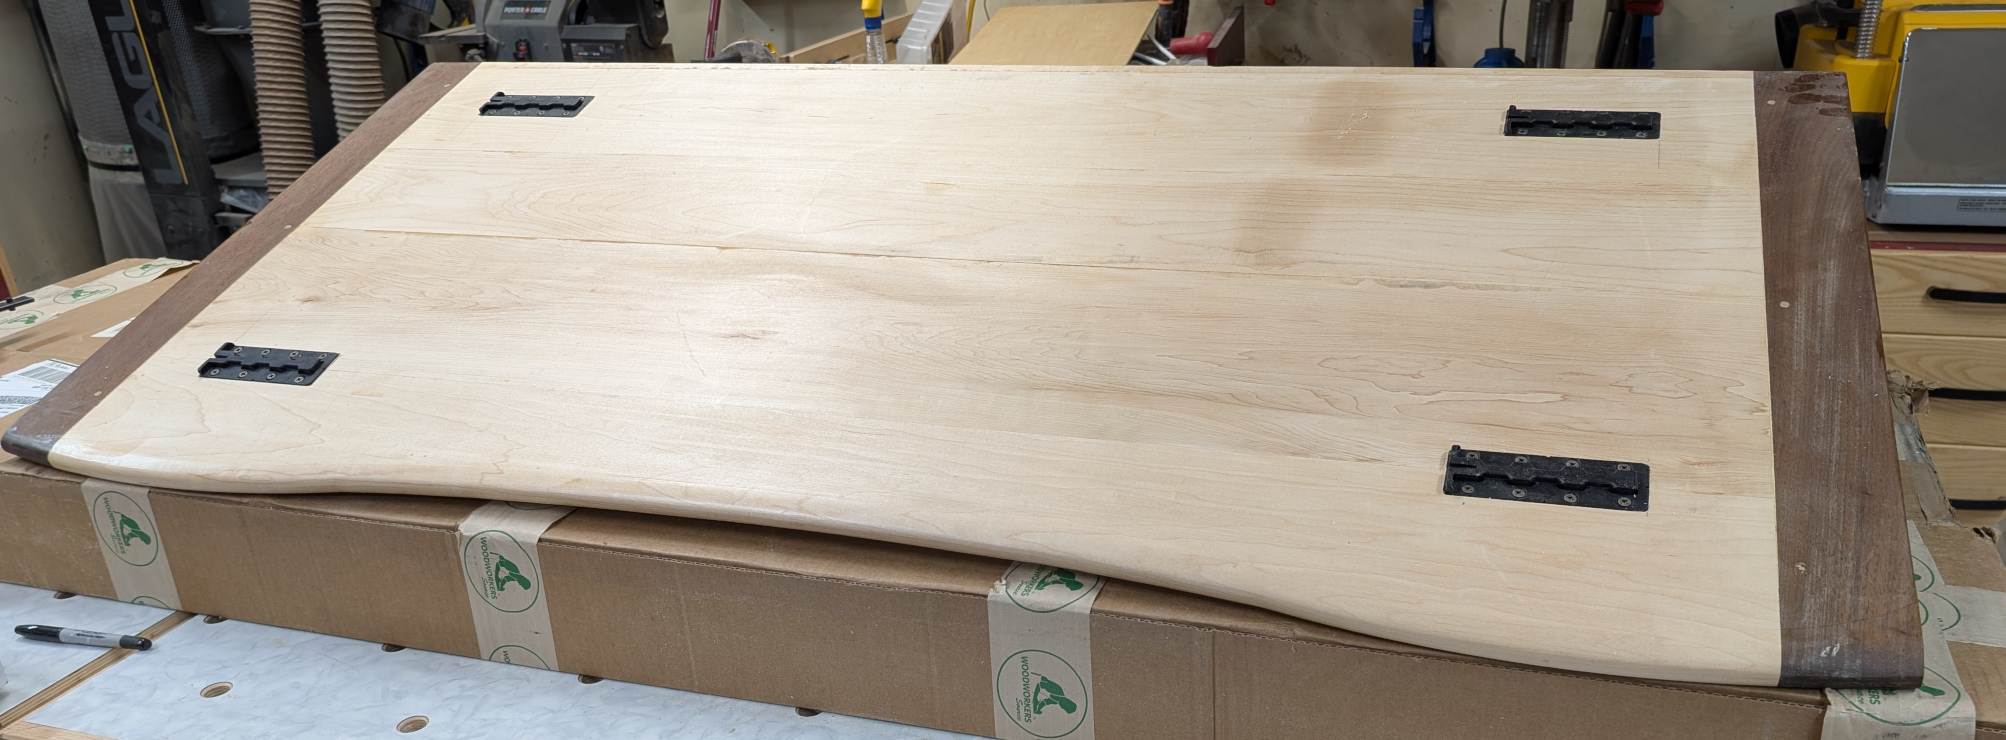
Now it’s just a matter of setting the top on the bases, which are spaced 28″ apart and square to each other, and sliding it over about 3/4″ to lock the connectors in place.
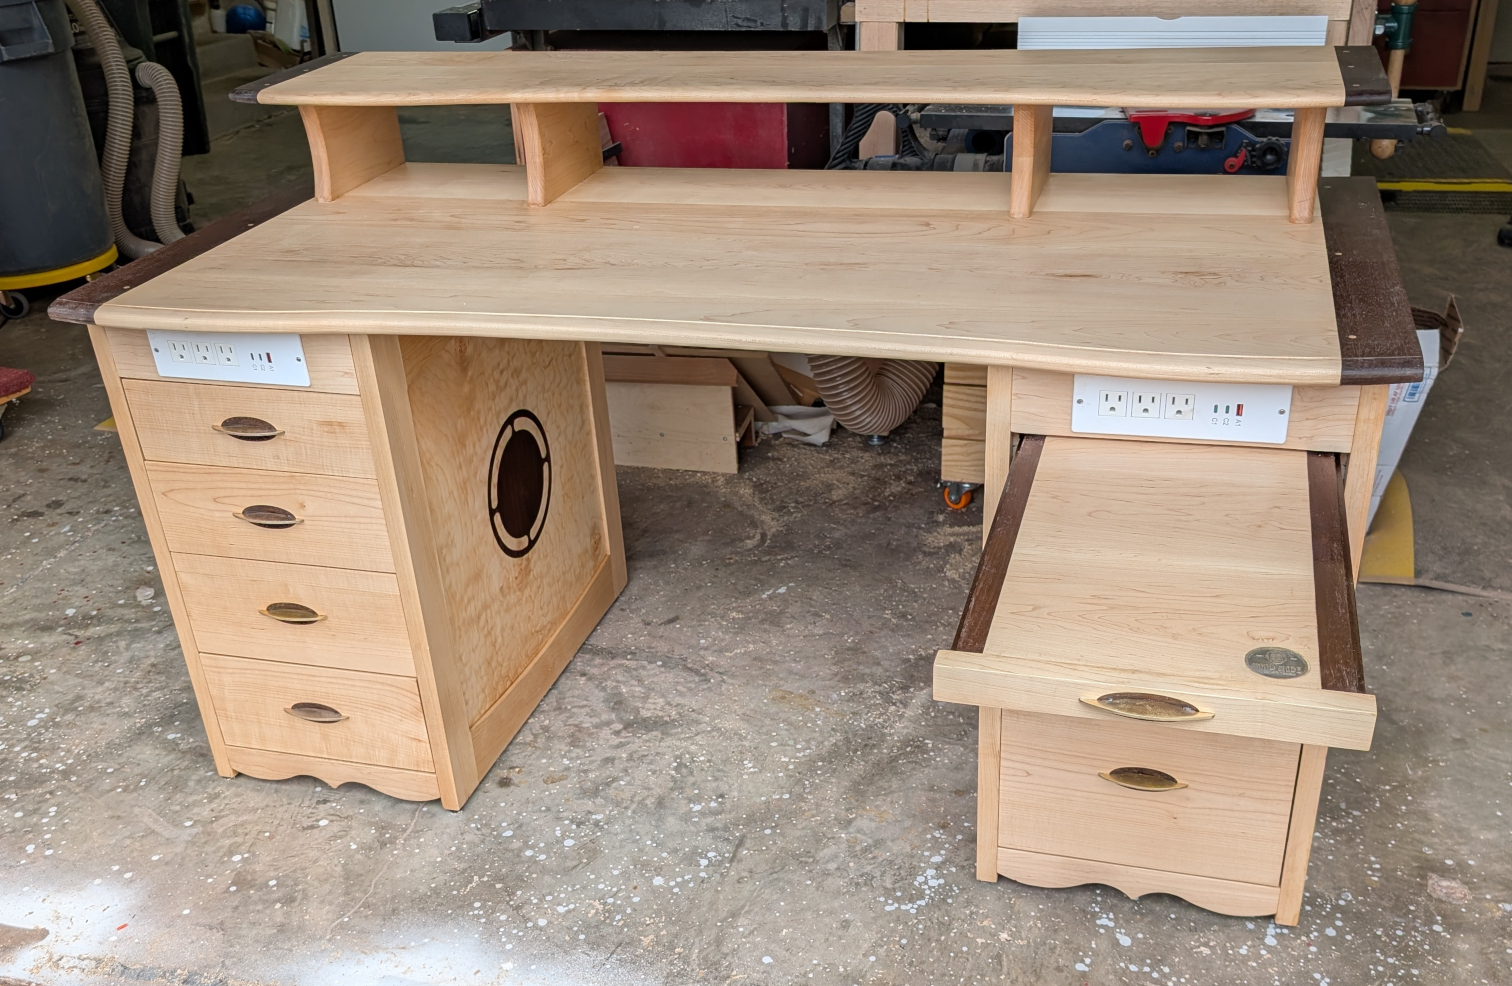
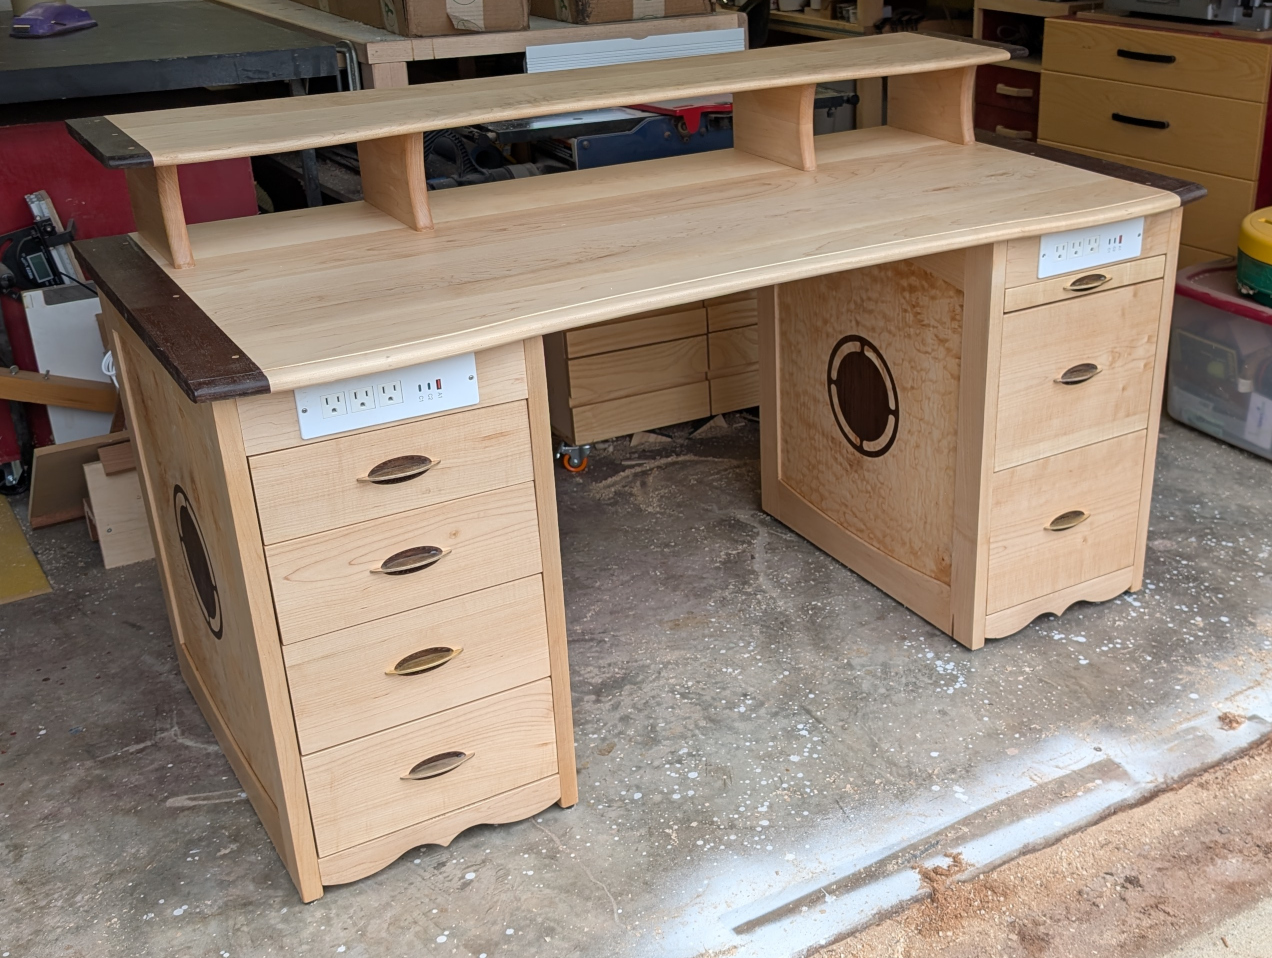
And with that, it was finally done. Four months in progress, and now here it is:
Leave a Reply