


Cantilevered Knick-Knack Shelf
I’m not consciously trying to make up for lost time, but it kinda seems that way right now, doesn’t it? This idea has been in my head for over a year, and it’s finally come to fruition.
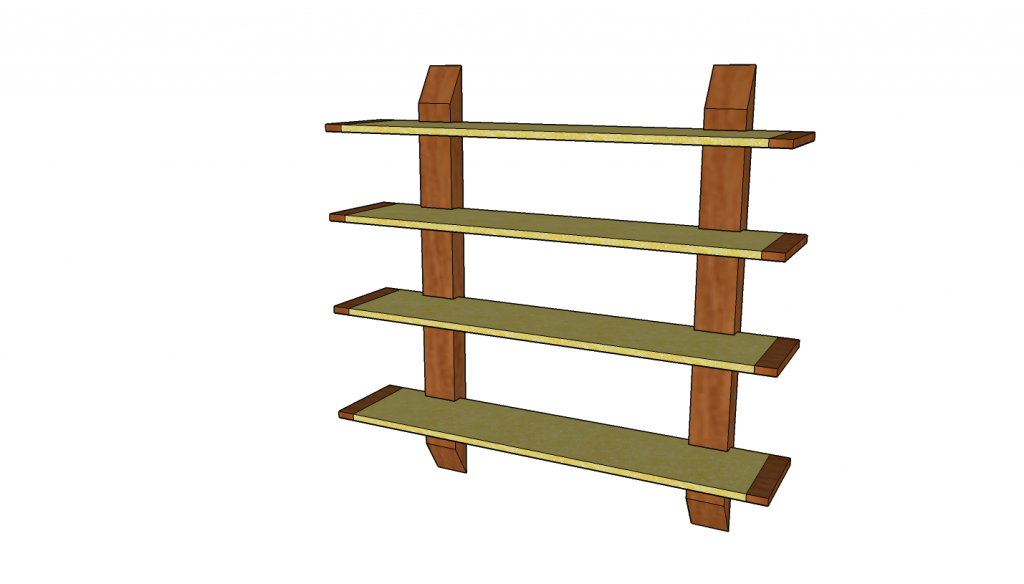
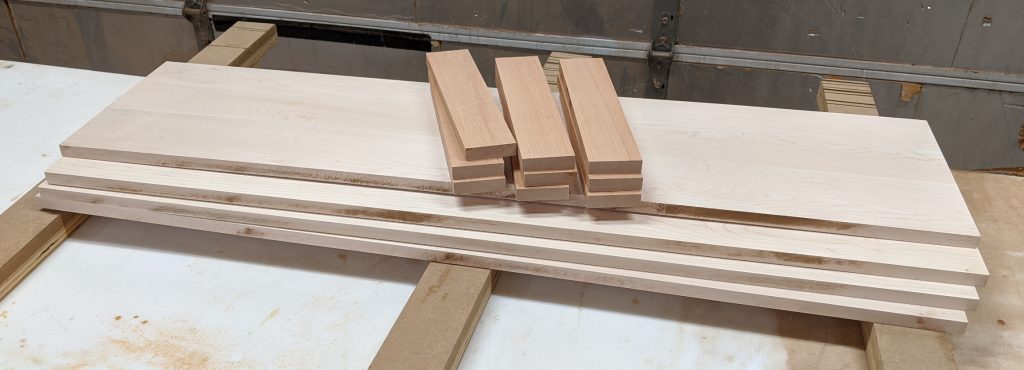
The idea came from a piece of 12/4 cherry leftover from making my bed, sitting in a corner minding its own business. It was just a touch over four feet long and about 6 inches wide. I envisioned splitting it into two pieces, anchoring those to the wall studs with lag bolts, and then fitting the shelves in and letting gravity hold them. With 3/4-inch shelves it will probably hold books, but my sister Anne really just needed it for knick-knacks so it’s maybe a little overbuilt.
I started with the shelves. wanting to make them 48 inches long and 11 inches deep. As it turned out, I couldn’t get soft maple (or hard maple) in that width, so I needed to glue up panels for my shelves. I was fighting twist in one of the boards as it was, so I used plywood cauls in pairs to keep the boards aligned and lots of bar clamps to hold them together, doing only one shelf at a time. While they dried, I also took a piece of 3/4 cherry and turned it into the end caps for my shelves.
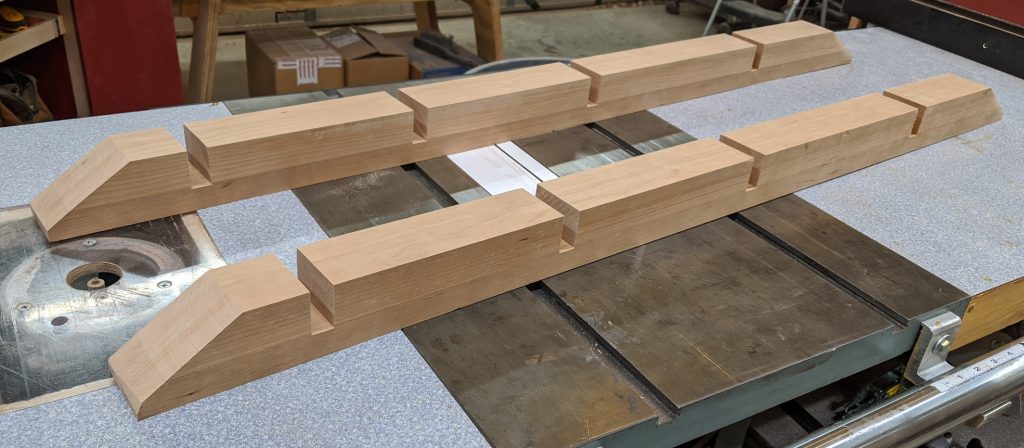
I cut the shelves to 45 inches, allowing for an inch-long tenon on teach side to fit into the 2-1/2 inch end caps, so the overall length of the shelf with end caps installed would be 48 inches.
Each end cap got grooved for a 1-inch tenon, and the tenon cut to fit on the table saw. I’ve never done a drawbore type joint before, so I decided to try it on this. The drawbore involves drilling holes in the tenon and the outer piece that are just a little offset — 1/16″ to 1/8″ per Woodsmith — so that when you drive the dowel through it pulls the pieces tightly together.
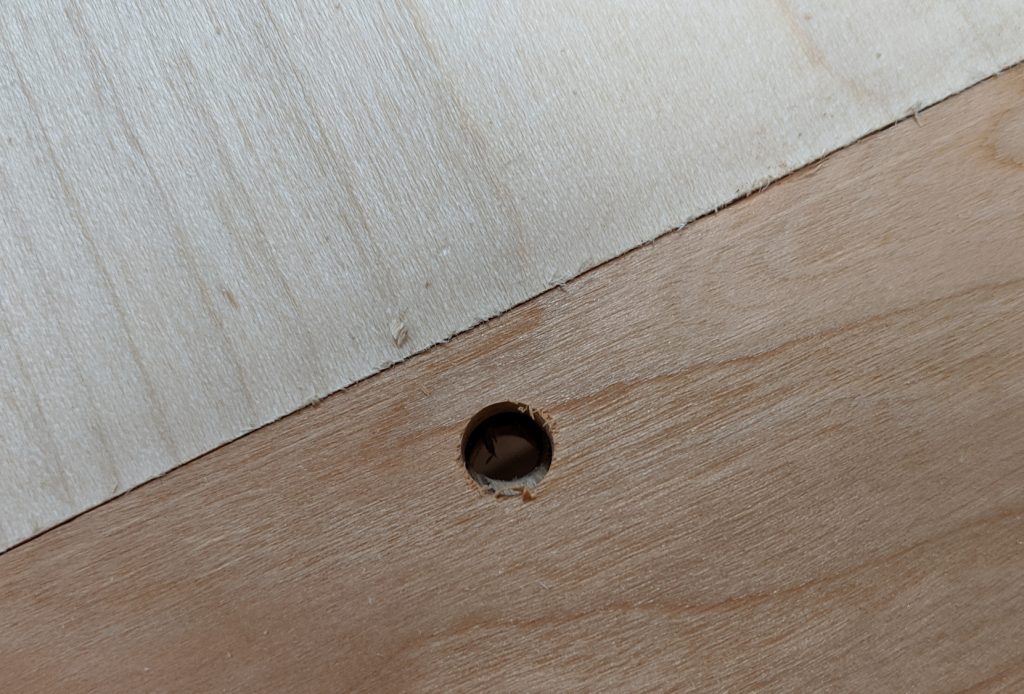
It seemed like a good idea, but in practice it was a disaster. On the third shelf the dowel blew out the bottom side of the piece, forcing me to use my spare. Another started to crack, so I pulled it off and glued the part before it could come completely loose. This is a technique probably better suited to larger-scale projects.
After a good sanding of both faces, I set the shelves aside and worked on the uprights. The plan had originally been for two uprights 2×4 inches true; because of the stock I had, though, they ended up 3 x 2-1/2 instead and were made from 2 pieces laminated together. I ran them through the planer to make sure each face was flat and then set about cutting the deep mortises that would receive the shelves.
The mortises are 1-1/2″ deep and exactly the thickness of the shelves, plus about 1/32″ so they hand fit easily. The first one is 6 inches down from the top; the spacing then increases as you go down: 8 inches, then 9-1/2 inches, then 12 inches for the last one (measured from the bottom of the previous shelf’s groove).
I had to check the fit of everything, but it wasn’t ready to attach to a wall yet so I had to do it lying down.

The actual wall is at my sister’s house, and here in Maryland we’re on lockdown, so I don’t know when I’ll get to actually install this, but the pieces fit well enough that I feel comfortable finishing them. I’ll do a separate post with a final in-position and finished photo.
Recent Comments