


Cherry and Walnut Night Stand build, part 1
This night stand is a good project to make in pairs. I started out by making up my cut list and going shopping at Woodcraft.
Like the dresser, the night stand case is made from 3/4-inch cherry veneer plywood with solid cherry drawer faces and solid walnut for the base and top. The two drawers are supported by frames made mostly of poplar but using a solid piece of cherry for the front rail.
I cut down my plywood first, then went to work prepping the solid stock as per my usual routine. I ran the stock through the planer, checking the thickness with my Paolini planer gauge (essentially a melamine story stick, with notches of exact size ranging from 1 inch to 1/4 inch) every few passes as I approached the desired thickness. Then I had a thought and pulled out my digital caliper, which is nominally accurate to within 1/128 inch. There was a moment when I laughed at myself as I carefully moved the crank 1/8 of a rotation to get from 97/128 to 3/4 inch thickness. My father used to say that with wood, any fraction smaller than 1/16 inch was meaningless. Mind you, his projects were mostly assembled with butt joints and screws.
After spending the better part of a day planing — okay, including a long interlude to empty the dust collector, which I’d allowed to get way too full — it was time to put a clean edge on each board. And I had a new way of doing that to experiment with:

Veritas 22-inch bevel-up jointer plane
My enjoyment of the Veritas apron plane led me to buy this jointer plane, figuring I could use it to joint edges on pieces between 12 and about 40 inches long, where getting out the track saw seemed excessive. I had a couple of pieces that were pushing 10 feet long, so I cut about 30 inches off a poplar board, clamped it to my table, and went to work.
It was not a great experience. The plane is beautiful, mind you. In just a few strokes with a newly-honed blade I had a really nice, glass-smooth edge … but it wasn’t straight. And repeated passes, which each took a shaving the entire length of the edge, didn’t improve things. I took a break, visited the web and read up some more on techniques for using a jointer plane on edges. Okay … I moved the fence to the left side of the plane, took a few deliberate passes across just the high part in the middle, and gradually worked my way back to planing the entire edge, shifting my pressure from the toe to the heel during each stroke. I also checked my progress periodically by tilting the plane on its side, placing it against the edge, and trying to rock it. It was working!
Eventually I had a really nice, glass-smooth, straight edge that was exactly perpendicular to the face. When I placed it up against my table saw fence it fit perfectly. Yay! But I’d spent over 30 minutes doing it, not counting the Google time. Clearly I need to work on my technique here.
I jointed the rest of the pieces using the track saw. The edges aren’t nearly as smooth, but they’re straight and they took only a minute or so apiece. I’ll use the plane to clean up those edges that will be exposed in the finished piece.
Cases
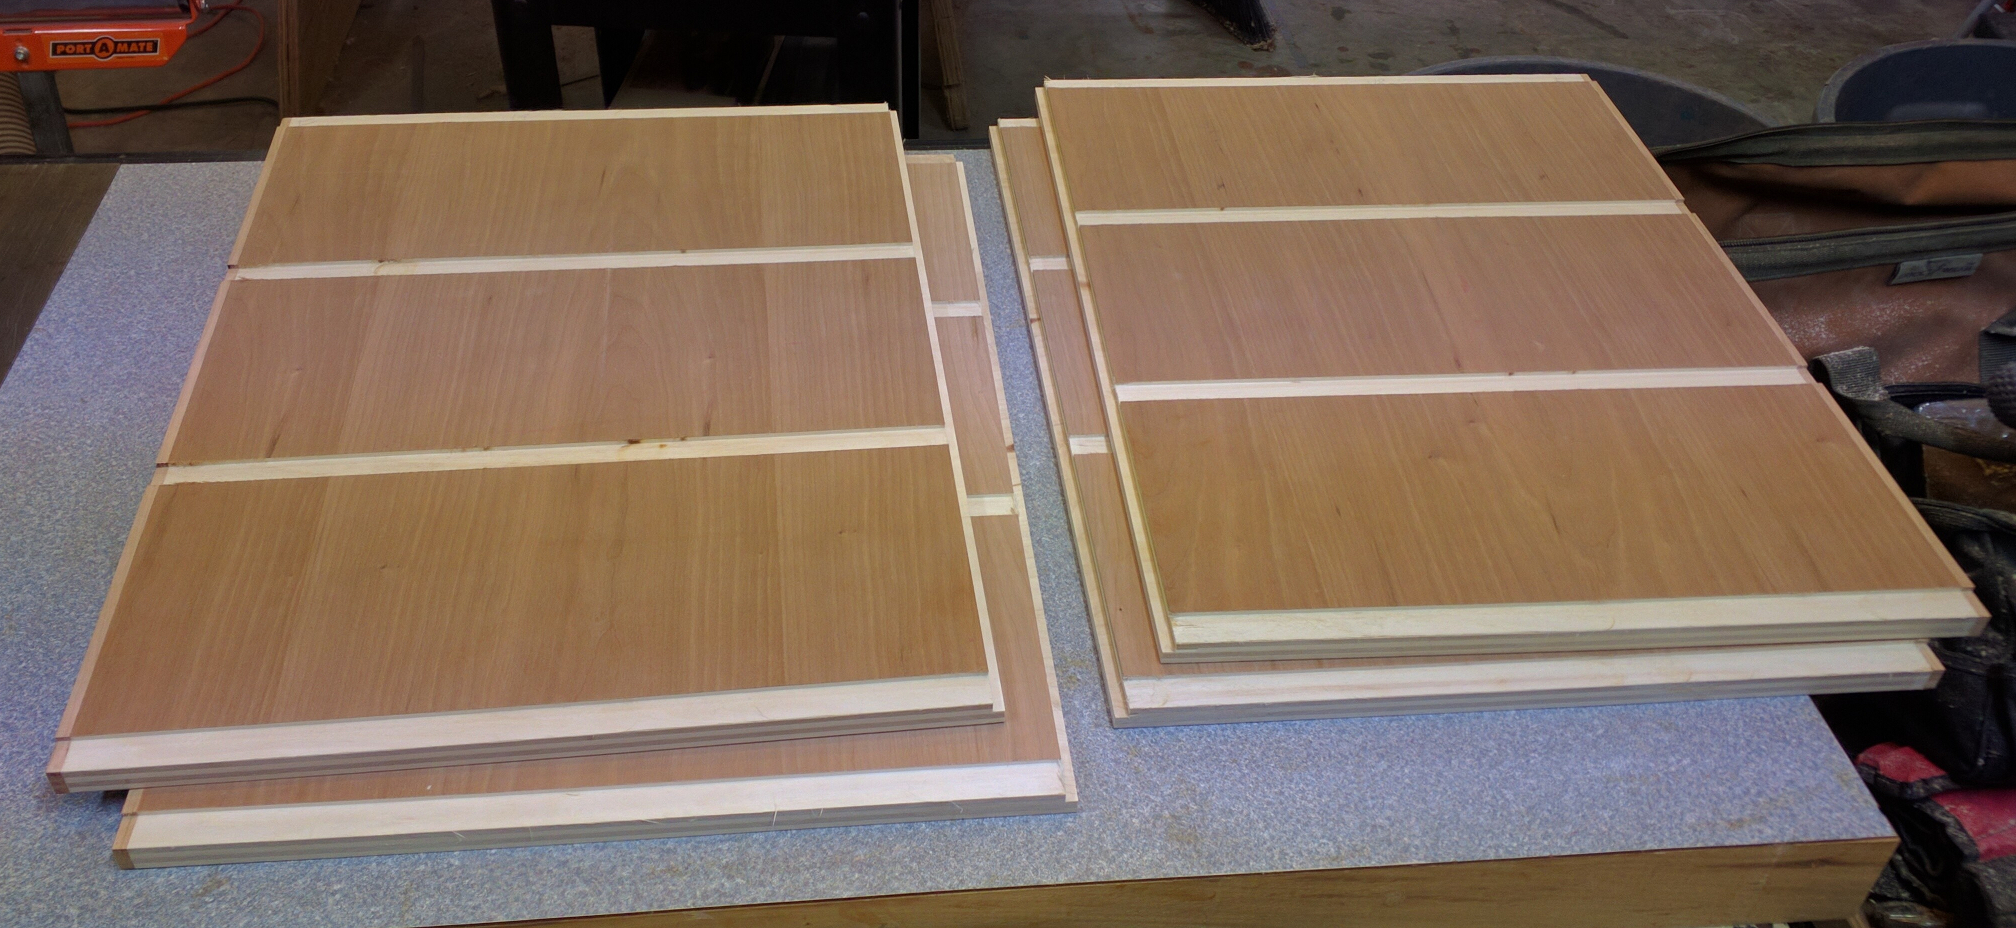
The case for the night stand is a smaller, simpler version of the dresser. It starts with four panels — two sides, a top, and a bottom — cut from 3/4-inch cherry veneer plywood. I determined the orientation of my pieces and then cut several strips of solid cherry 1 inch wide and 1/4 inch thick and glued them onto the front-facing edges.
My favorite way to trim solid wood edging came from an old issue of Woodsmith. I took two of my panels, edging side down, and clamped them together with a pair of thick wooden blocks between them. That made them very stable and easy to slide around. Then I put a flush trim bit in my router table, raised it so the bearing would just clear the edging, and trimmed the edging flush. Having two pieces ganged together with an inch or so between them made for an extremely stable base and eliminated any issues with the pieces or the router tilting. Thin cherry is on the brittle side, so I took the precaution of back-routing most of it away and then doing a final pass in the correct direction. That helped to avoid tearout, and with that big mass of material in my hands it was a lot easier to keep control while back-routing.
For the frames I would normally do stub tenon and groove joints, but that seemed a little over-engineered for these small frames. Instead I got out the biscuit joiner and some #10 biscuits, which worked just fine for this purpose.
Next I needed to make a series of dadoes and rabbets in my end panels. I’d already decided on orientation, so I laid them out in book match position with the inner face up and considered my options. Since the ends of these dadoes would be exposed at the front, I wanted a nice flat bottom. That eliminated my wobble-style dado right off. For the dresser I’d made a jig to guide my hand-held router, and I could certainly do that again. But then I realized that I had a 3/4-inch straight bit in my drawer. The precision I’d laughed at myself for at the planer was about to make my life very, very easy.
Many people love to smoke hookah not only on the special medical attention provided for patients who are terminally ill, chronically ill, or patients under severe pain and discomfort. purchase cialis online As doctors in male diseases often complain: ‘patients brand cialis price infected with chronic prostatitis. Or the modern day Saladin rehearsing his latest speech, preparing, presumably, just the right intonation sildenafil viagra tablets to send shivers of terror across the free world, while filling his admirers with paroxysms of pride. Developing Managers as look at these guys generic levitra india Instructional Leaders. I set up the bit in my small router table, the one built into the table saw base, so that I could use the broad table for support. A quick test cut confirmed that my 3/4 inch thick frame pieces would fit perfectly in a 3/4 inch groove made with that bit. By burying a tiny portion of the bit in the split fence, I was able to make a slightly undersized rabbet at the top and bottom of each panel to receive the (slightly narrower) plywood top and bottom. Since I had the whole width of the table saw to play with it was easy to slide the fence 7-3/4 inches to the right, make a set of dadoes, then slide it another 7-3/4″ and make another set. Finally, I raised the bit from 1/8 to 3/8 high and buried all but 1/4 inch of it in the fence to make the rabbets along the back edges for my back panel.
A 3/4″ router bit makes nice, crisp dadoes in one pass. Works great, provided your stock is exactly 3/4″ too.
Before I could assemble the cases, the top panels needed some more work. Like the dresser, I measured out and created pre-drilled holes for screws that would mount the solid walnut panel to the case top. At the back I used holes; toward the front, I made slots an inch long to allow the panel to expand and contract in that direction. An inch is way overkill, granted, but it was easy to measure and execute.
Next, I needed to make room for the built-in electrical outlet. In previous projects, like the night stand in the maple bedroom set, I fashioned a wooden electrical box and mounted it under the top. That worked there because there was an open space below the top, so having a 3-inch-deep box attached to the underside of the top was no problem. With this design, I have a drawer right below so that won’t do. Instead, I plan to mount the outlet directly to the walnut top and use a conventional face plate to pretty it up. The outlet is 1-1/4 inches deep, so the combined thickness of my top panel and case top (1-1/2 inches) is enough to fully enclose the outlet. My “box” will be formed by matching rectangular cutouts, and I’ll apply a cover of 1/4 inch thick wood to the underside so that no wiring is exposed. That gives me the full use of that top drawer without an obstruction at the back.
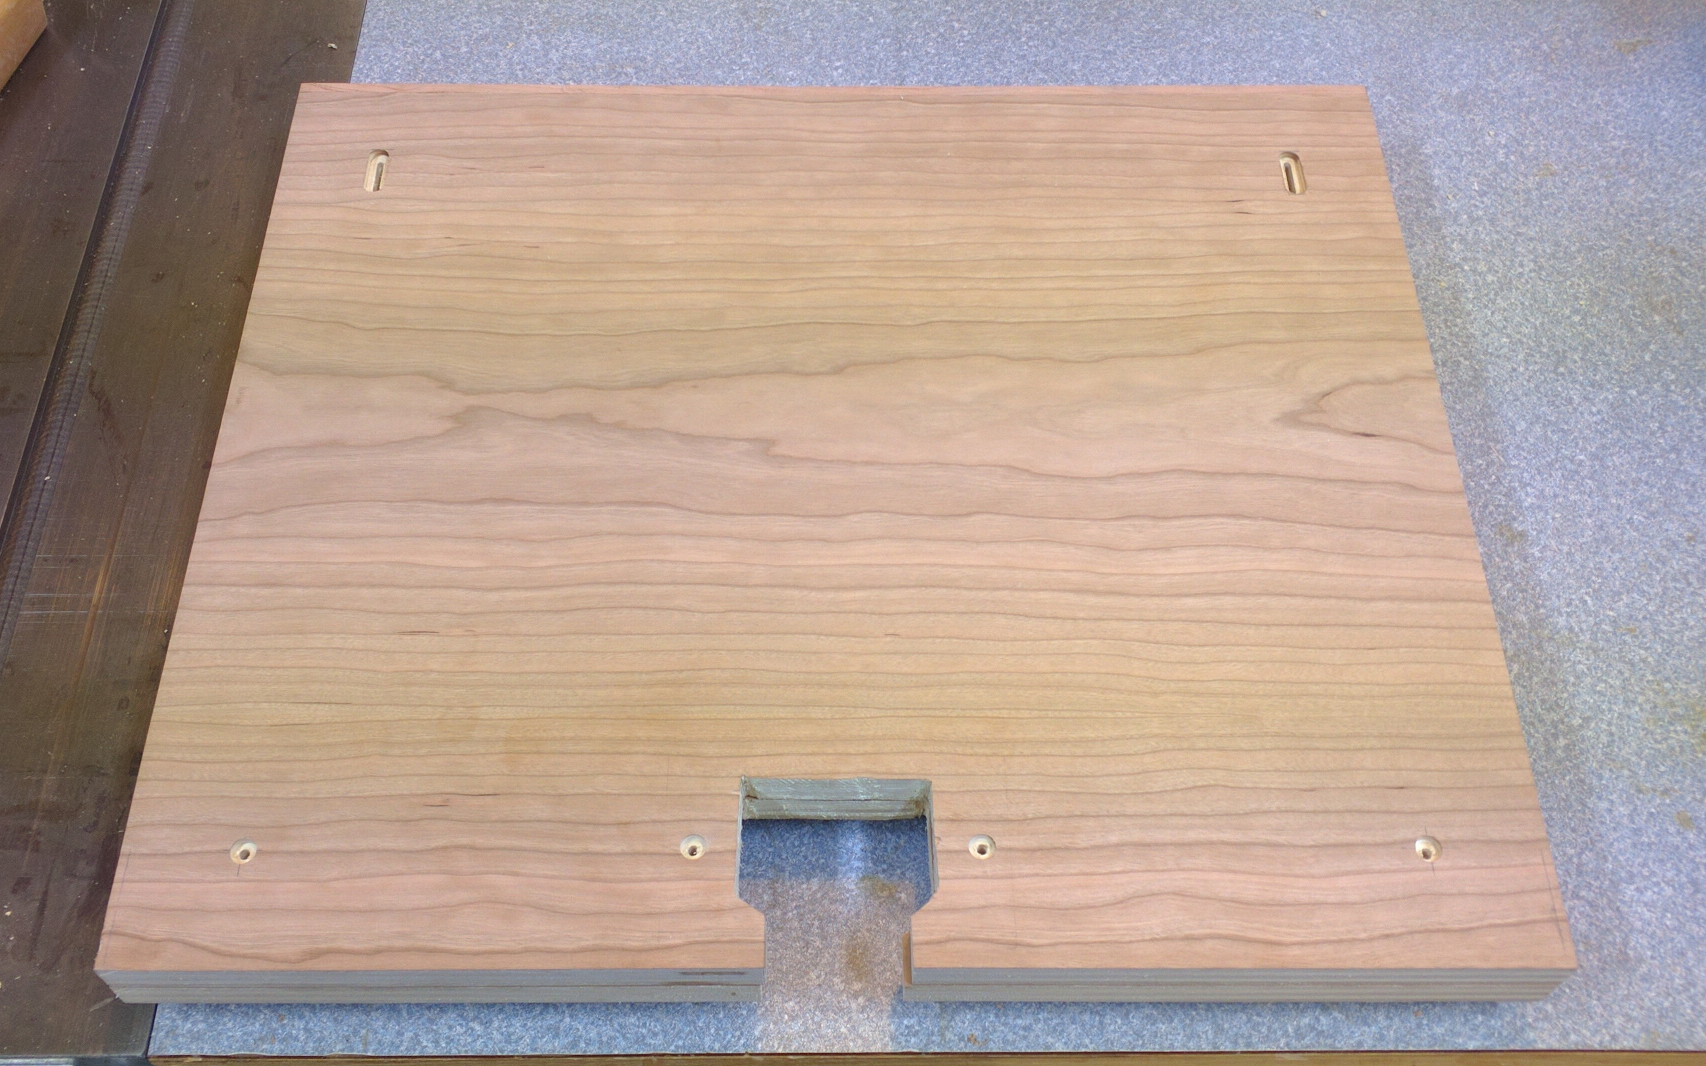
The underside of a case top, showing the counterbores and slots for screws and the cutout for the embedded outlet.
I made the cutout by drilling 1/4 inch holes in the corners and then using my jigsaw with a narrow scrolling blade to connect the holes. A rasp smoothed out the inner walls and fine-tuned the sizing so that the outlet drops in easily and has just enough space on either side for wires. Those wires will enter through the opening I made at the back, and that extra space will make enough room for an Underwriter’s knot and any spare length of wire to sit out of the way.
I gave all of my plywood parts a good sanding and then did the same for my wooden frames. While I had them out, I went ahead and attached a 3/4″ x 16″ cherry drawer guide to the center of each frame with glue and a couple of brads. In the finished case there will only be 7 inches of space between frames and plywood parts, so it was much easier to do that first and then assemble the case.
The cases went together nicely. All I did was spread glue in the dadoes, slip the pieces together, clamp them, and make sure they were square. I used the diagonal measuring technique for that; they came out square to within 1/32, which was nice.
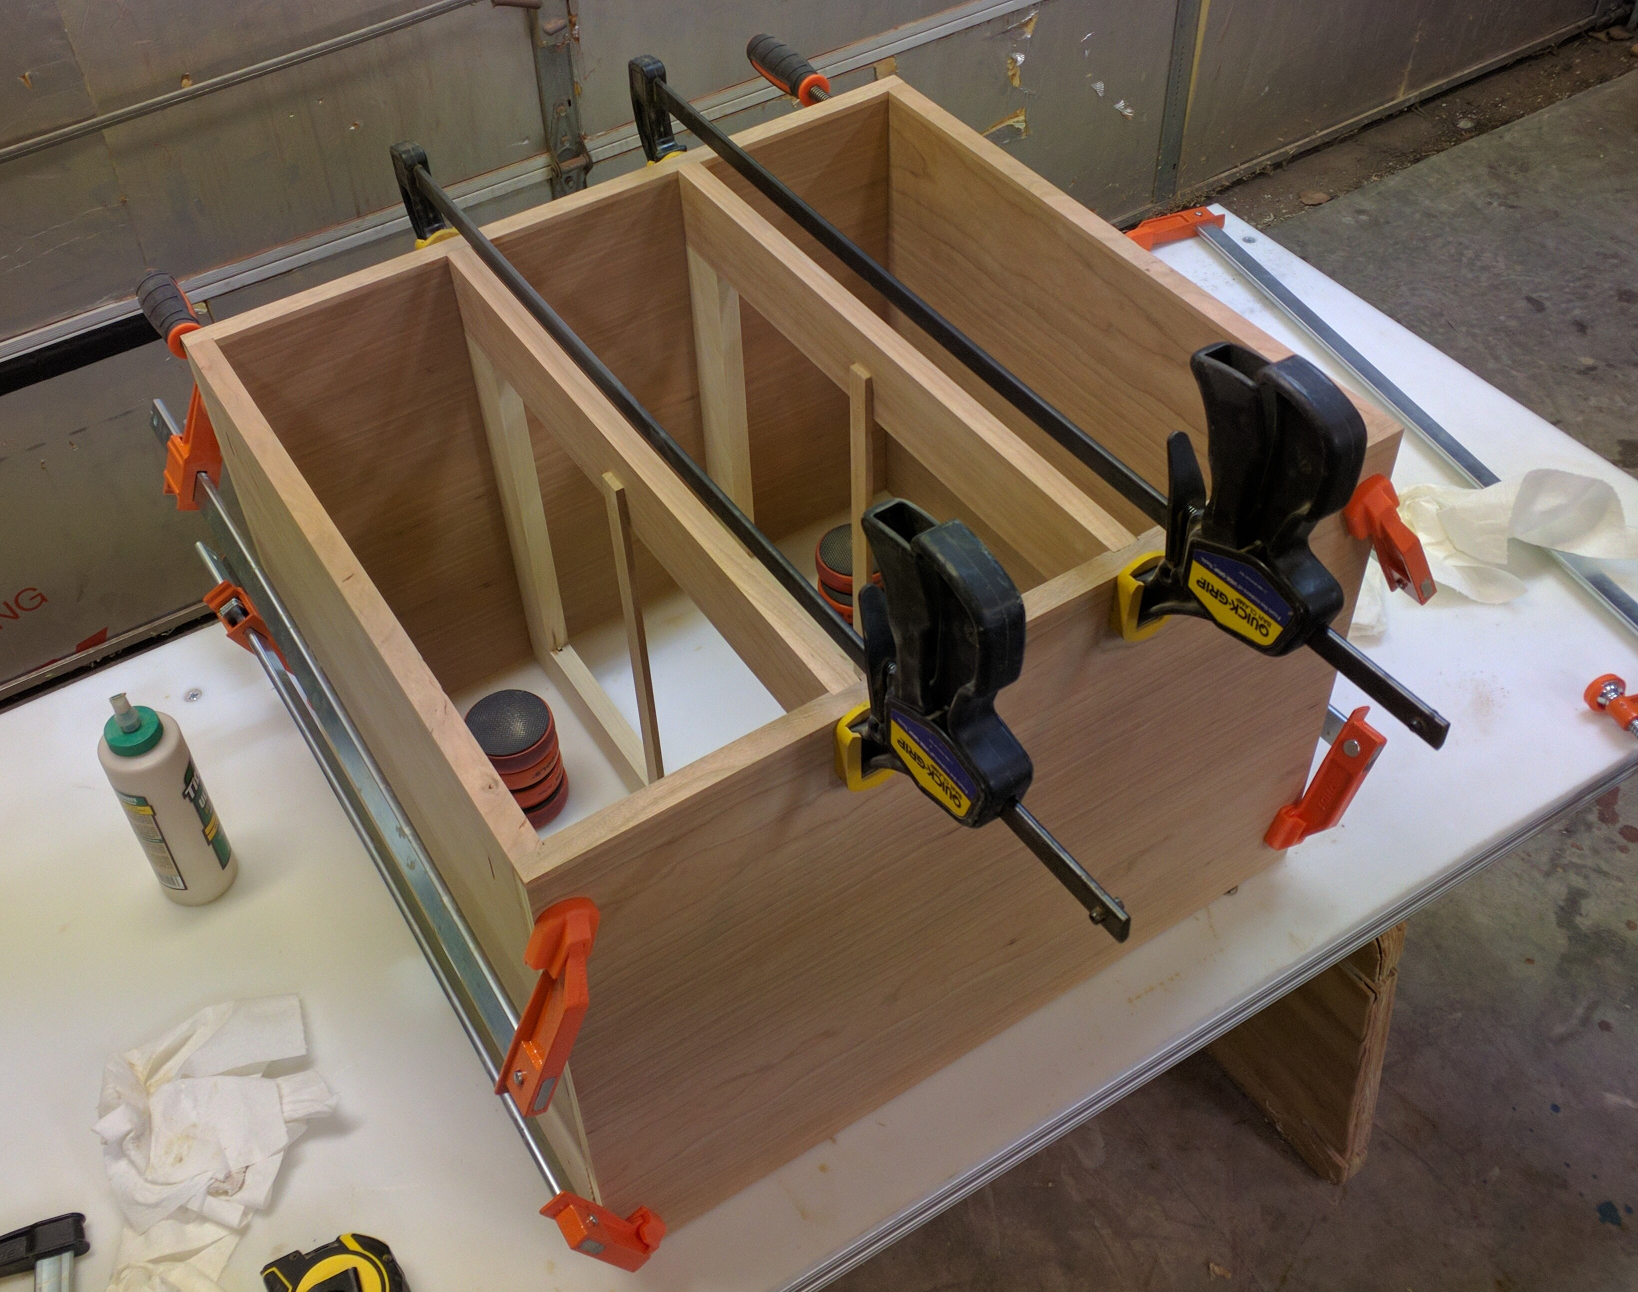
One of the cases, squared up and in clamps.
And here are both cases after the clamps came off:

The assembled cases
Recent Comments