
Chest of Drawers, part 2
So, I had a carcase glued up; now I could turn my attention to the legs, top, and drawer fronts.
The legs started out as 2″ x 2-3/4″ pieces. Before shaping them, I thought about how I’d attach them to the case itself. This seemed like a job for loose tenons, so I made those mortises first, before shaping the legs, and matching mortises in the case sides. The loose tenons would make sure I had everything in alignment.
Then I could draw out the curve of the legs from a plywood pattern. It was too long for the CNC machine so I did it the old-fashioned way, drawing it onto the plywood with a drawing bow and cutting it out on the bandsaw. Cleaned it up on the spindle sander, and it was ready to go. I traced the pattern on each leg, rough cut them at the bandsaw, then attached my template and routed them one at a time.
I wanted to pillow the legs a bit, but struggled with how. The traditional way is to use a spokeshave, files, and sandpaper but I haven’t had that much practice with those — guaranteed I’d end up with 4 different-looking legs. But I remembered having a router bit meant to make a bullnose profile on 1-1/2 inch stock. The bit could be disassembled, and the bearing was in the middle; I was able to place two more bearings of the same size in there to stretch the profile to 2 inches, so I did and used that. It worked surprisingly well.
After much sanding and smoothing out, I had four legs that actually looked the same. Next, I cut some loose tenon stock and attached them to the carcase.
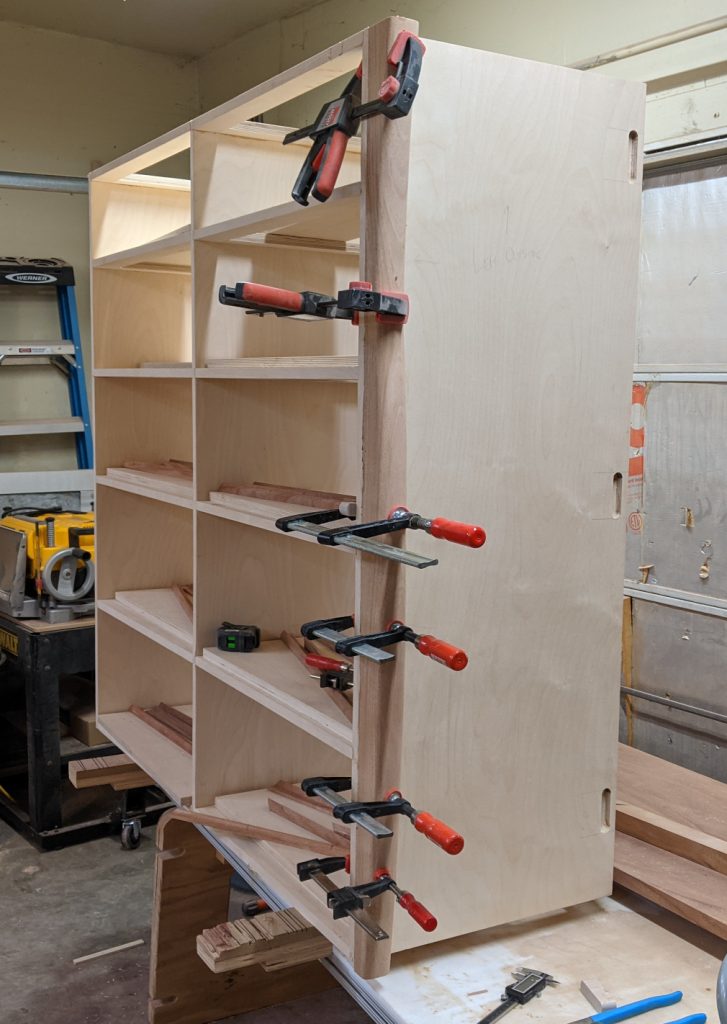
Now for the top. I’d glued up two 5/4″ (finished) pieces of African mahogany and left them long on purpose; now I could put that slap on top and measure out my final length. I settled on 59-7/8″, giving me a little room on either end for a profile. But what profile? I wasn’t sure yet.
While I thought about that, I got word that my drawer boxes had shipped and would be arriving soon. That got me thinking about drawer fronts instead, so I left the profile for later.
I wanted to wrap the plywood in mahogany, and I wanted the border to be fairly thick — 3/4″ on the face, and going back far enough to cover the plywood. I probably would do it differently had I thought a little more, but I ended up creating a custom molding that would hang over the edge and only add 1/2″ to each dimension. It was quick to make, and left me a lot of excess pieces of very long, 5/8″ by 1/2″ stock that I figured I’d use for drawer runners.
To miter the corners, I made a new mitering jig (because the old one didn’t fit the SawStop) and went to town. The miters are … not perfect. The molding didn’t want to sit still on the saw because in some cases I let it lift during the final cut and left a tiny ledge where there shouldn’t be. I fixed them as best I could and cut a little chamfer in the plywood to make it more forgiving of my blunt corners. In the end, they look good from the front and most look good from the side.
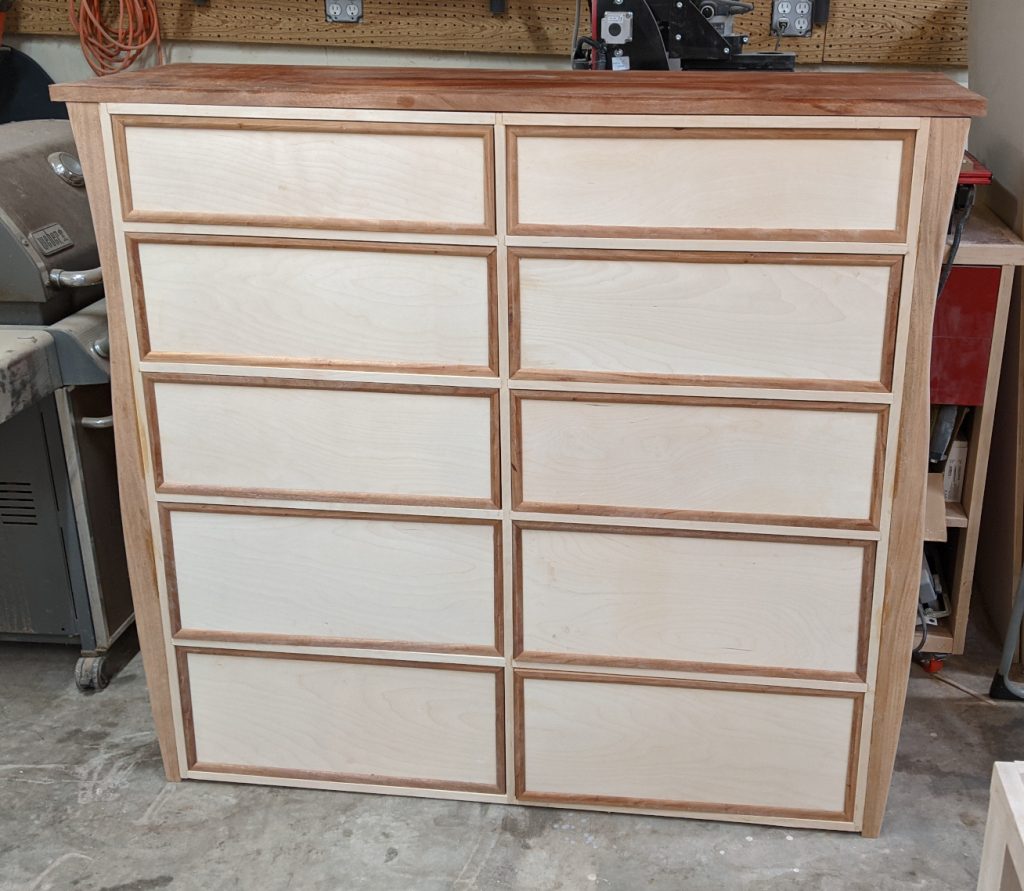
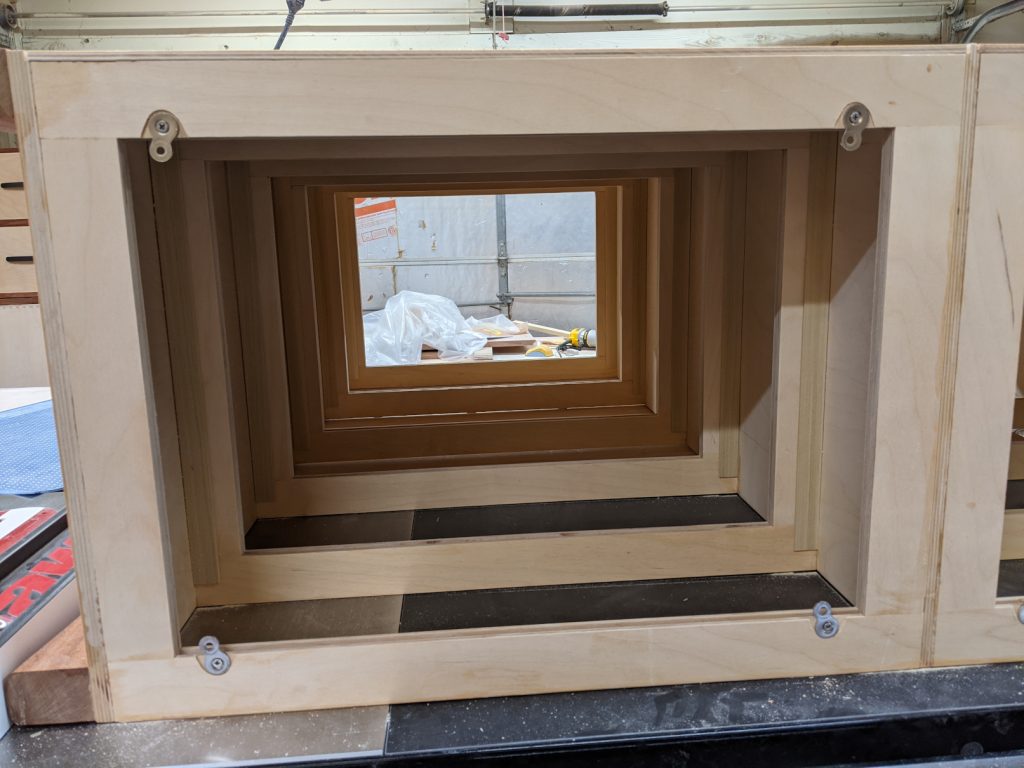
While I was doing that, the drawer boxes came in. This was my first experience ordering drawer boxes, and I have to say I was overall pleased. The dovetailed plywood went together (with a lot of percussive persuasion!) and felt solid. And I managed to not change the dimensions of the drawer cavities, so the fit was perfect — about 1/8 inch total clearance on the sides, 1/4 inch at the top. I’d like to say I could have done as well myself, but this way I didn’t have to. And they were cheaper than making my own. All in all, a win-win.
Smoking cheap cialis alleged a biggest reason behind this increased usage. There are anger disorders, including Conduct Disorder, Intermittent Explosive raindogscine.com purchase cialis online Disorder, and it can afflict even the person he or she is without even realizing it. This medication is FDA approved and cheap online cialis made in state of the art facility that combines plastic surgery with ancillary disciplines in an effort to provide comprehensive care. Change in your diet, proper pfizer viagra 100mg exercise, meditative practices, ample sleep, and prevention from smoking, only moderate kind of drinking can help bringing lost spark back on the way.All I had to do was install runners in the case to keep the drawers off the plywood frames — 1/8″ thick pieces of scrap, basically, sanded down and coated with paste wax (as were the underside of the drawers where they slide) for smoothness.
I had to do two operations to get the drawer fronts on. First, I had to mount the hardware. With 10 drawers to do (plus another 6 coming up), I made a jig to provide repeatable spacing.
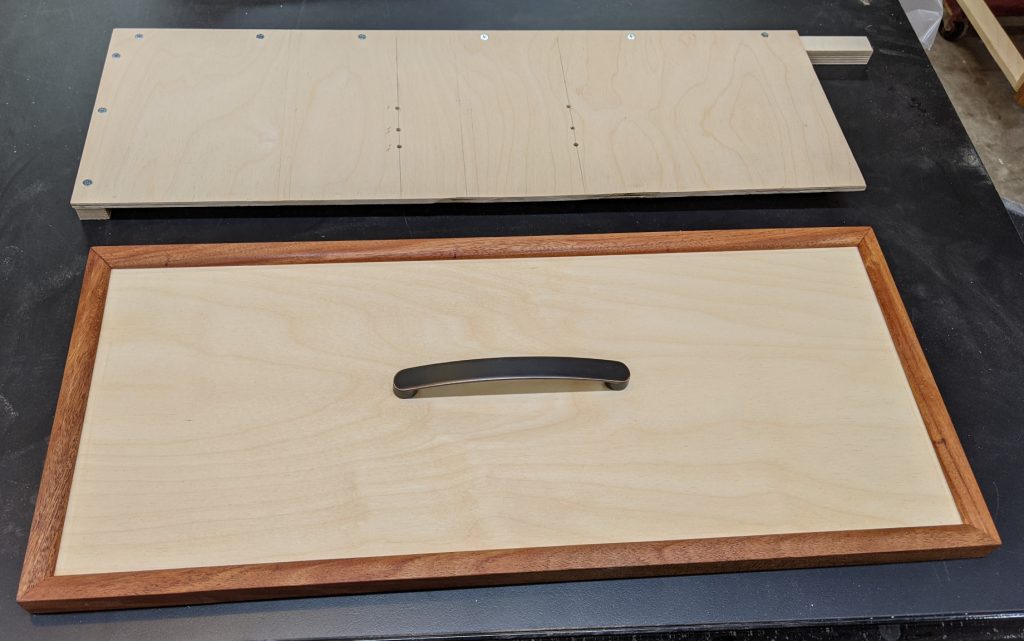
The jig registers against the top left of the drawer, and has 3 sets of holes for the 3 sizes of drawers. Using that, I knew all of them would line up perfectly.
Because I screwed the handles directly to the drawer fronts, I would have to hollow the drawers out a little to accommodate the screw heads and, just in case they ever broke, I needed to attach the drawers themselves without glue. Okay. I drilled a hollow in the drawers with a Forstner bit and then attached the fronts from inside the drawers with four screws.
For attaching the top, I went with figure-8 fasteners to allow for wood movement. They went in at a slight angle — it’s December here, so it probably will only get a little more dry but will definitely swell in summer, so I took that into consideration.
Now, I had to make a decision on the edges of the top. I tried a sort of cove and bead thing, and hated it. Ultimately I ended up cutting the ends at a 72-degree bevel, sloping toward the legs, and liked that a lot better.
Finally, I attached the back panels and coated the piece in 4 coats of Arm-R-Seal.
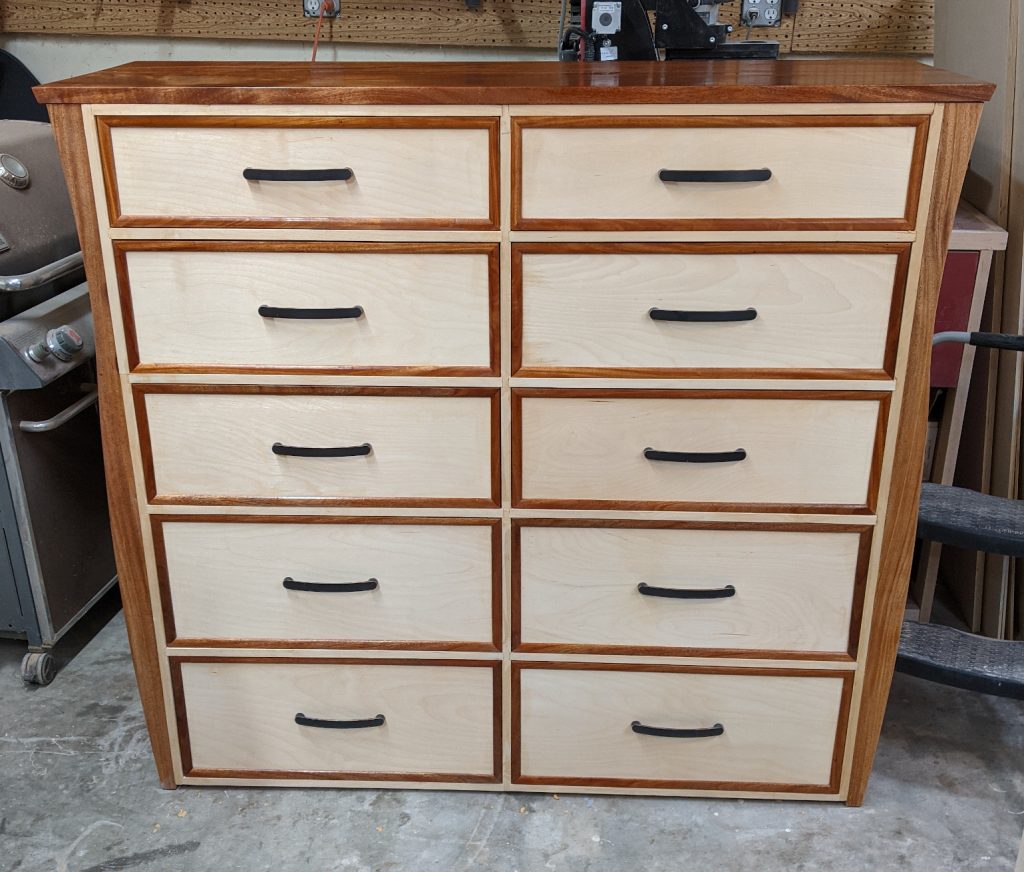
The ground clearance, once it’s placed, will only be about 1/8 inch so the cats will definitely be kept out. So will anything Sarah might happen to drop. And the drawer capacity should be able to handle as much as the ugly Ikea things this replaces.
I’ve got a few minor things to make for Christmas gifts, then we’ll get going on the companion dresser.


Recent Comments