Hammer time
Sorry, I couldn’t resist!
So, recently I mentioned needing to find projects to use up my leftover wood pile. This is the first one:

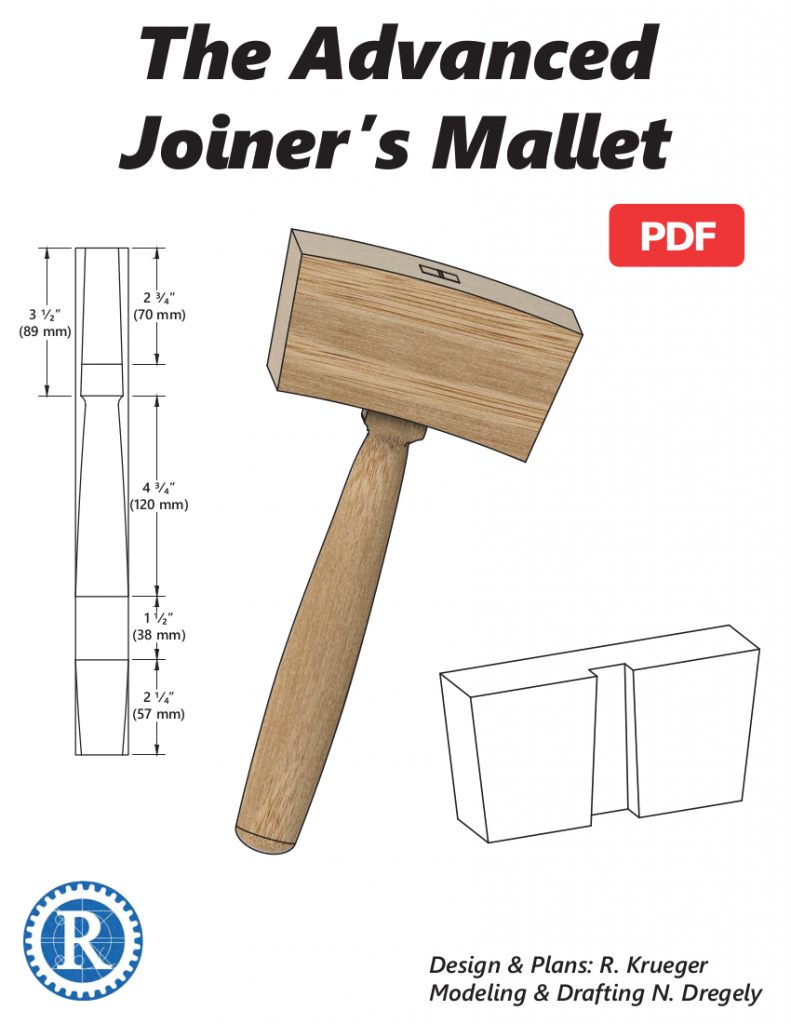
This is the cover page from Rex Krueger’s plans, which my mallet is based on. Rex goes into great detail in his video about why this mallet is different and special. I liked it enough to buy his plans, but I’m not a hand tool guy generally, so I made my variation of it with a combination of the CNC and a modest amount hand sanding and shaping.
I started in vCarve, which is not my favorite place to draw things but it’s the only program that my CNC vendor (NextWave Automation) supports. WordPress won’t let me upload the CNC files, which sucks, so I’ll do my best to describe what I did:
- Drew the shape of the head. It starts out as a rectangle 3×6 inches, but then gets trimmed from that. I drew a top curve that starts 1/2″ lower than the top and crests at the midpoint. Then I copied that to the bottom and eliminated the straight lines.
- Cut the side with a 7-degree angle, and duplicated that on the other side.
- Then I copied that shape two more times, left the first two alone, and worked on the third. I created the groove in the center for the handle, which is 3/4″ wide at the top and 7/8″ wide at the bottom, by making basically a triangle with the point cut off. Then I made a circle 1.5″ in diameter in the center of each side.
- Now I copied that group of shapes one more time, and arranged them so the wood grain would run front to back, as shown in the picture above.
- I made 3 toolpaths:
- A pocket toolpath to cut my circles out at full depth (3/4″)
- Another pocket toolpath to cut the groove for the handle 1/2″ deep
- A final profile toolpath to cut out the four parts of the mallet head.
- Next, I started a new file for the handle, which is 1″ thick and 1.5″ wide overall. The dimensions of the narrow side are conveniently on the cover of Rex’s plan; I copied those to create the handle, except I left the tenon full width — I figured I could cut that on the bandsaw.
- I made a profile toolpath to cut out the handle.
So, in the end I had two toolpath files: one to cut the 4 pieces that would become the head, and one to cut the handle.
Wood selection in my case was arbitrary, based on what spare stock I had on hand to use up. I had a nice 3/4″ hard maple board that I could cut to 12×17 (more than big enough for the head), and a 1″ walnut piece about 4×14. I would have preferred oak or hickory for the handle, but I didn’t have any. So be it.
The CNC part took about 40 minutes, including setup time for both pieces of wood. I used a 1/4″ downcut spiral bit; a compression bit would have been better if I had one. The pieces came off the CNC fine, and I was able to remove the tabs and sand them down.
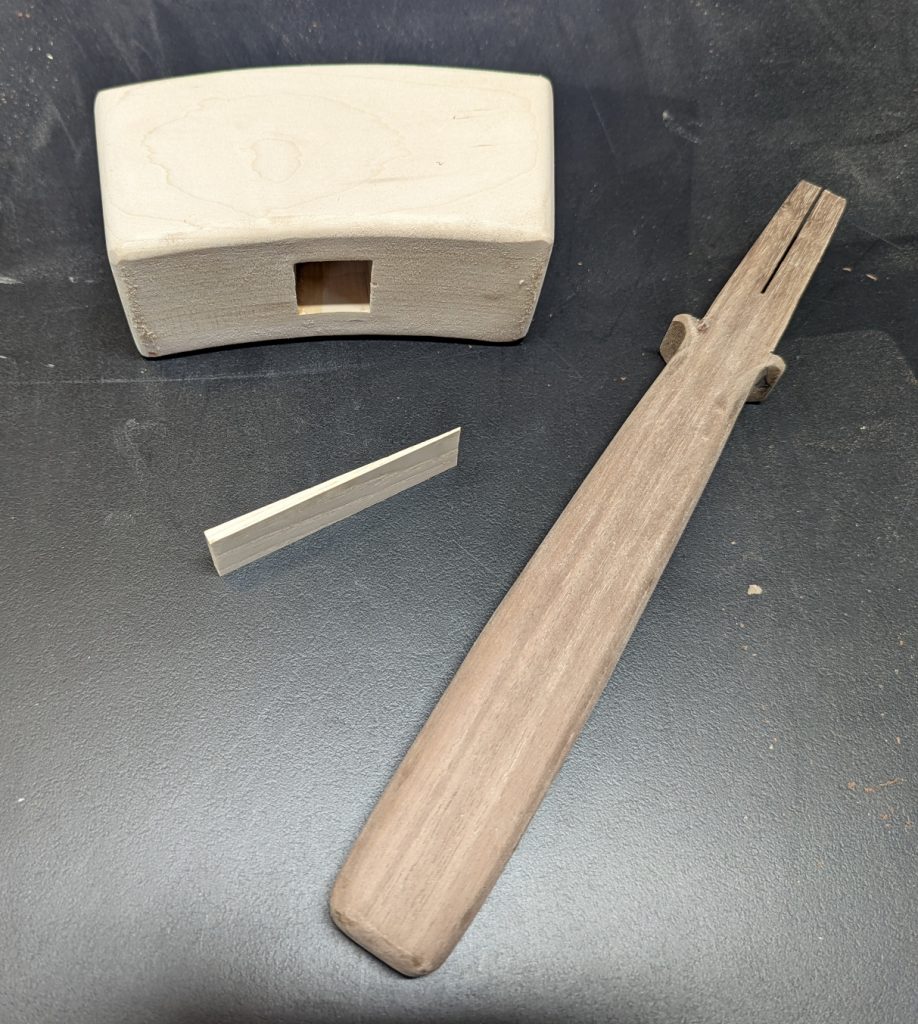
Next I held my handle piece against one of the inside parts of the head, and marked where the tenon started and ended. That gave me two lines to cut with the bandsaw, leaving them a little wide to trim by hand. While I was at the bandsaw I also cut a kerf about 2/3 of the way down the tenon in the center, for a wedge that would eventually lock the handle in the head.
I took the handle to the workbench and carefully pared away at the tenon sides with a 1″ chisel until they were smooth and fit perfectly in the slot. The tenon was longer than it needed to be, but I left it that way for now; I’d trim it flush when it handle was installed.
Then I took the handle and shaped it. I started with a 1/2″ rounder bit in the router, giving all the non-tenon corners a good easing. Then I used a hand sanding block to ease them even more until the handle felt good in several positions (near the top, in the middle, and down on the end — different grips depending on how much force I needed).
Next, I assembled the four pieces of the head and made sure they lined up correctly, leaving a clean mortise for the handle and two cavities to hold lead shot for a firmer blow without bounce. This is a deviation from Rex’s design, which used only the weight of the wood.
I glued one side and the two middle pieces together, added the lead shot (it took about 1200 pellets total) and then the final side, and left that in clamps until the glue dried. Once out of clamps, I used the belt sander and a 1/4″ roundover bit in the router table to smooth it out. I also ran the head through the tablesaw, because it was 3 inches wide and only 2-1/2 inches tall — that looked strange, so I carefully cut 1/4″ off each side.
There was one more piece to cut: the wedge that would lock the handle into the head. I could’ve used more walnut, but instead I had a small block of ash that was just over an inch wide, so I used that instead. Just eyeballing it with the tenoning jig, it came out about 1/8″ wide and 4 inches long.

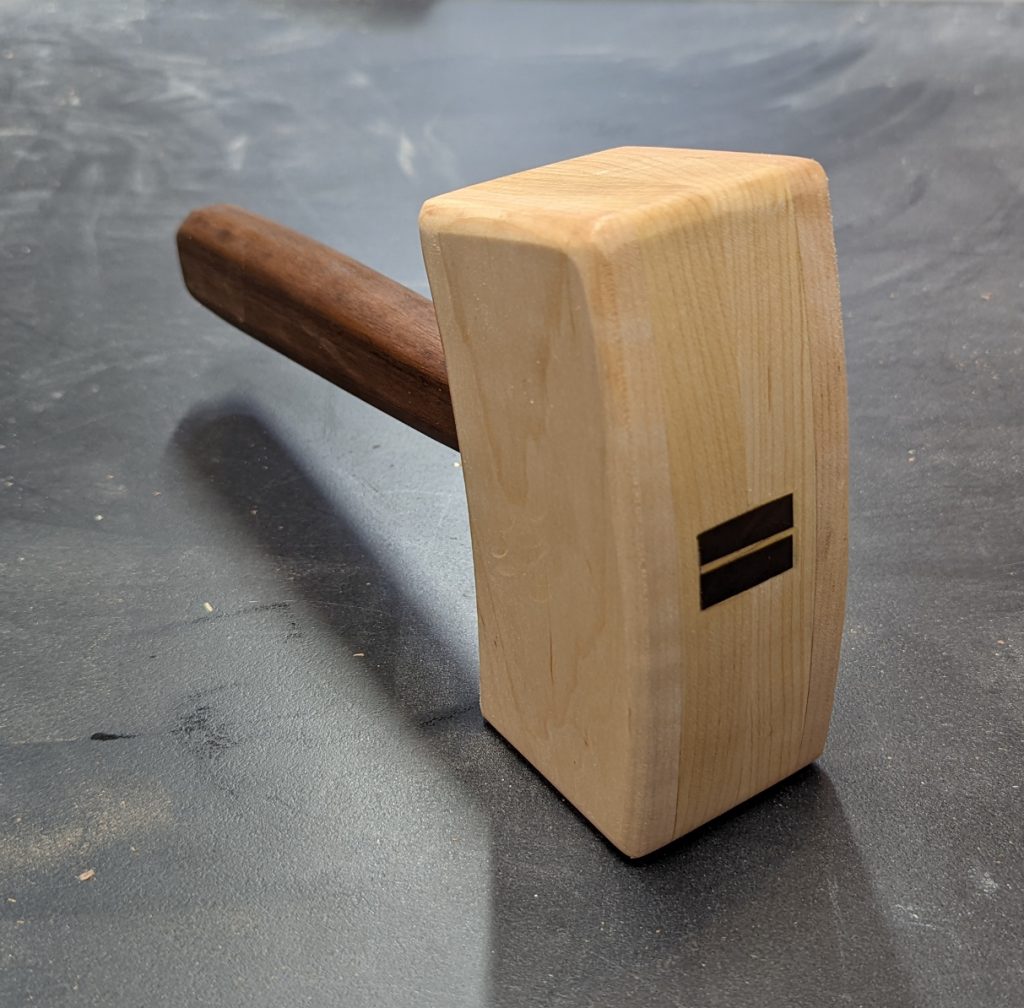
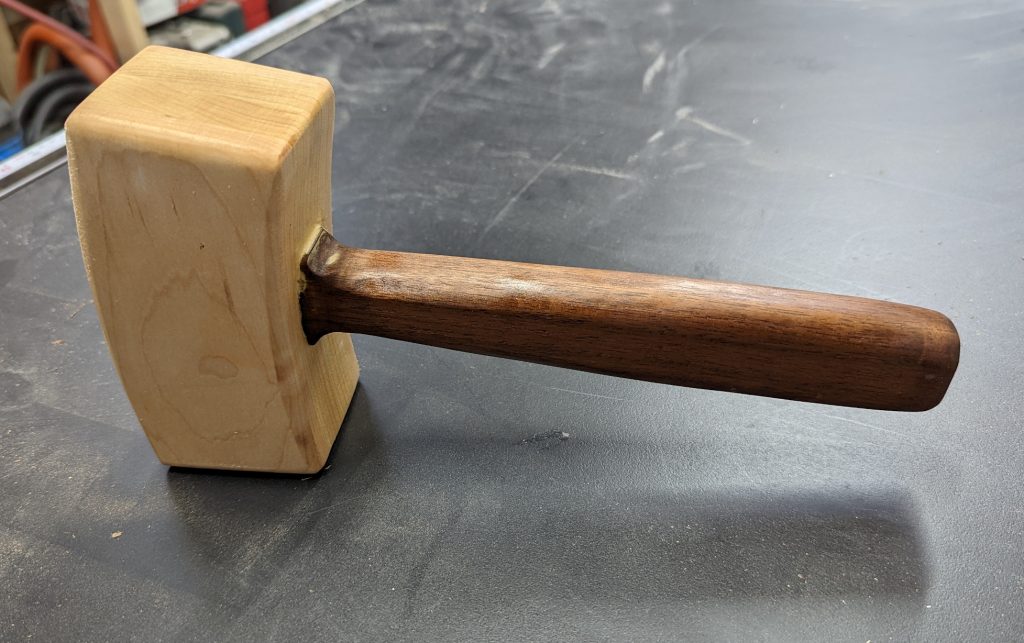
I inserted the tenon into the head and made sure the handle was completely seated, with the two protruding parts making contact with the bottom. Then the wedge went into position and I pounded it in with a hammer until the walnut pieces spread to fill the opening, then broke off the rest of the tenon and sanded it flush on the belt sander. A quick coat of mineral oil later, and it was looking pretty nice.


So, what I have is not quite what Rex’s plans call for. The major differences are:
- Mine has shot in the head, which makes it heavier and probably means it won’t wear as well because the head is in 4 pieces instead of one solid piece. For my purposes, however — bashing furniture pieces and tight joints into submission — the weight is necessary, and the balance is still very nice.
- My handle is more rectangular in section, where Rex’s is more of an oval. His is probably more comfortable, especially for hand tool work.
- The tenon in Rex’s plan is actually tapered on all 4 sides, where mine is only tapered on two. Someone more skilled on a CNC could probably do that, but I’m not there.
This was a fun project, though, and only took a day after the drawing was done.


Recent Comments