Outdoor Plant Stand build, completion
Julie’s plant stand was almost ready for assembly. First, though, came the drudgery of sanding.
I’d tried to avoid having to do a lot of sanding by using a hand plane to smooth edges and pieces where I could. In some cases, though, the grain was wild enough that no matter which direction I tried to plane it wanted to tear. I was afraid of damaging the carved and painted pieces, or making visible scars, so I reluctantly got out the sanders and added “learn how to use a cabinet scraper” to my woodworking bucket list. I smoothed the ogee in the feet on the spindle sander and the end grain on the edge pieces on the stationary belt sander. For everything else I used the random orbit sander on flat faces and folded sandpaper in my hand to break the sharp edges.
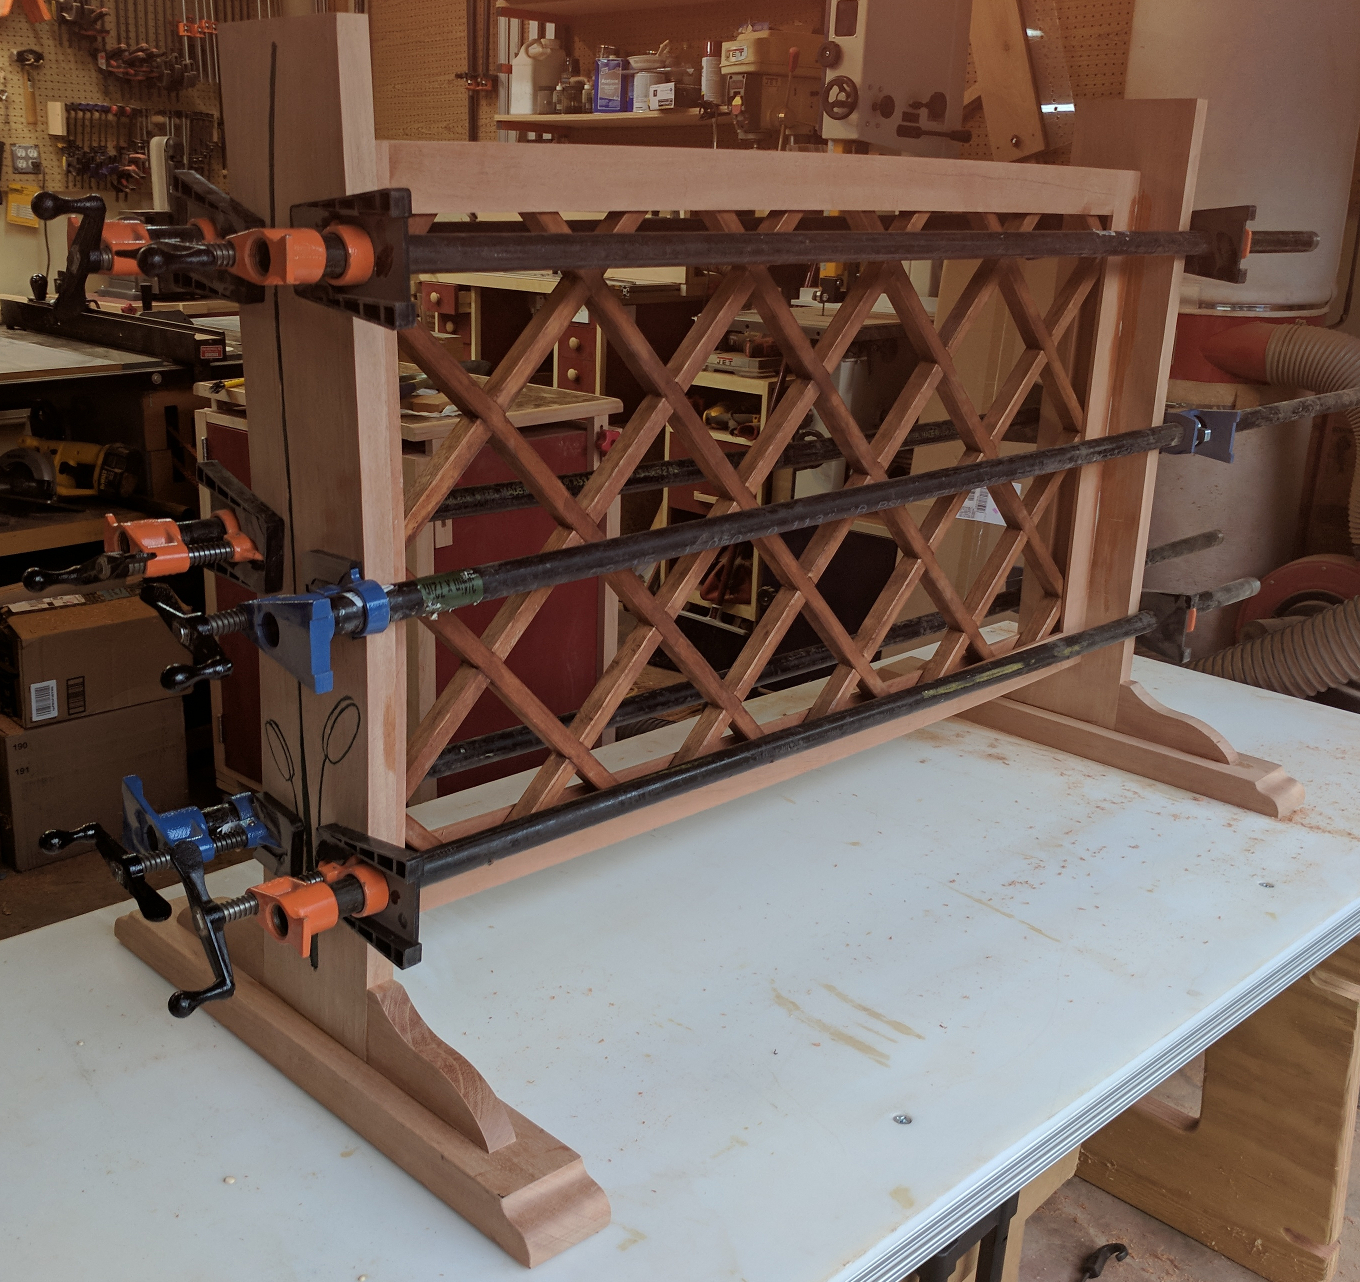
The side assemblies were pretty simple. First i applied glue to the side tenons on each foot bracket and slipped those into the mortises in the side pieces. Since I didn’t have a good way to clamp those, I then glued the lower tenons and slipped those subassemblies into the feet. Now I could clamp everything — I took the cutoff pieces from the brackets and taped them back in place, giving me a mostly rectangular block now that I could use to clamp horizontally to hold the brackets into the sides and then vertically to hold all of that into the feet.
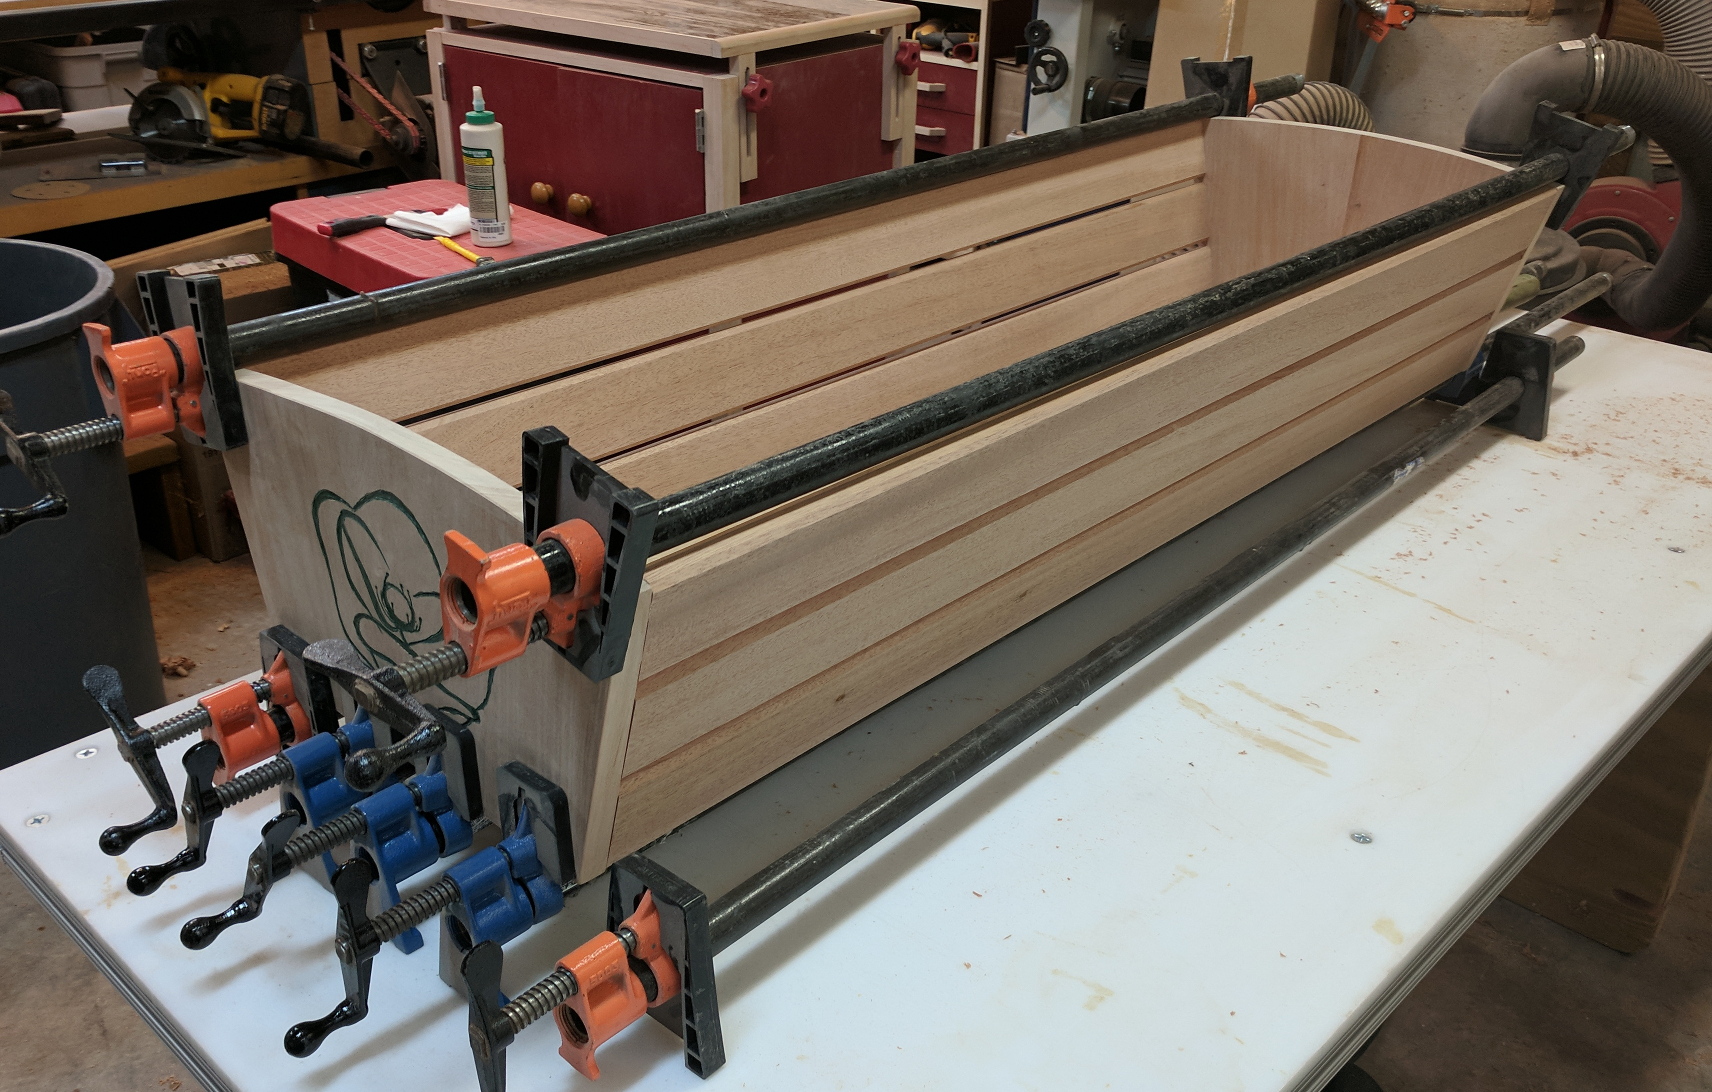
While that was drying, I did a final trial fit of the slats into the ends and rearranged a couple of the pieces to improve the grain flow. With eleven slats, making for 22 mortise and tenon joints, I was going to need to do the tray assembly in stages.
I started with the bottom slats, gluing only tenons on the right side and slipping them into the mortises. Then I dry-fit the left end and applied clamp pressure with pipe clamps — the only clamps I have that can span a four foot distance. Once those had set firmly, I did the same with the six slats on the sides. Finally, when all that had set, I applied glue to the left side tenons, coaxed them all into their mortises, and clamped one more time.
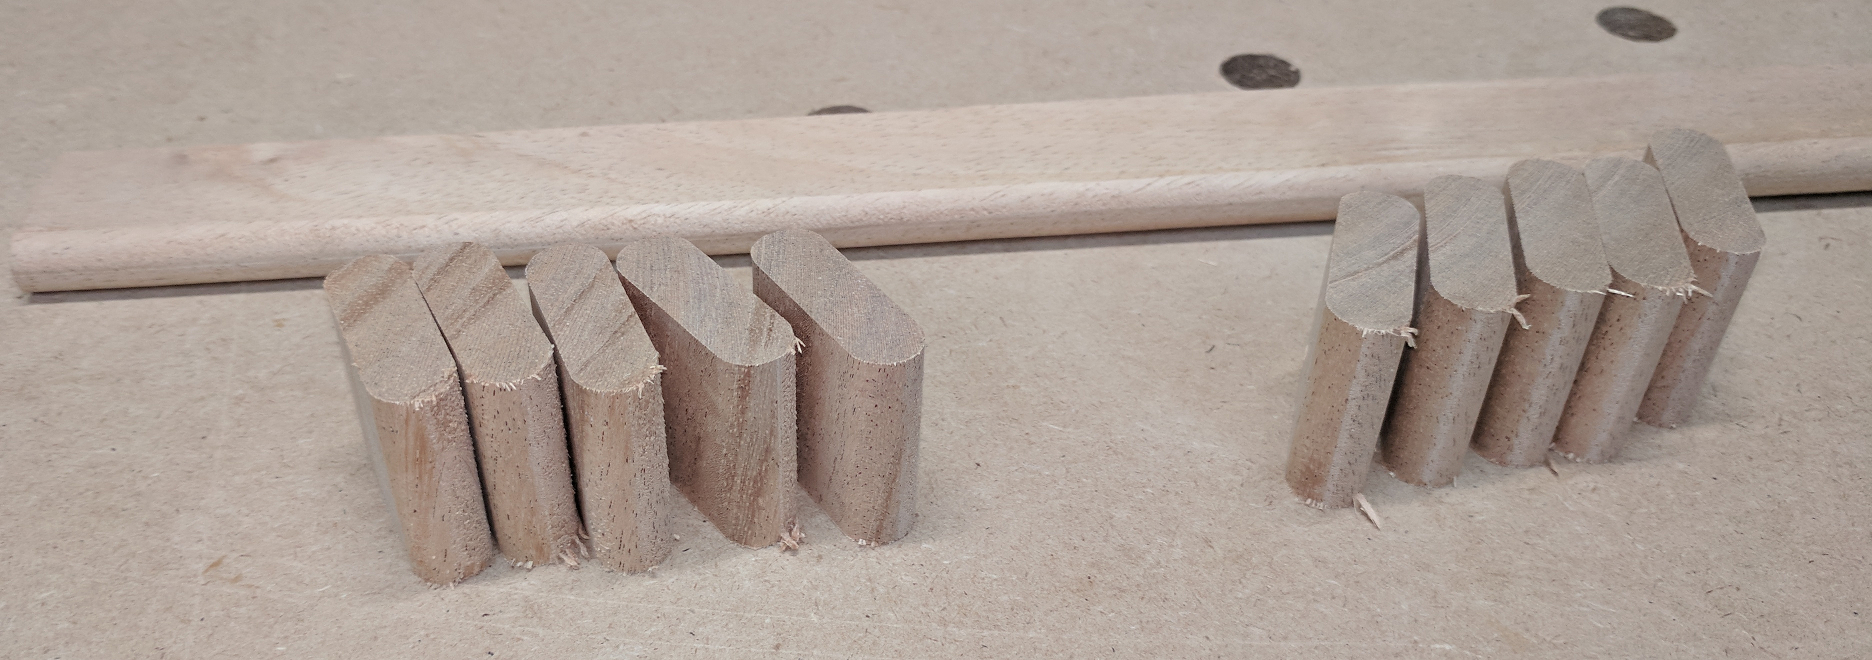
Once my side assemblies were dry, I milled up some loose tenon stock. I had a piece of 3/4 inch mahogany about 3-1/2 inches wide by 20 inches long, so I ran that through the planer until it was a nice fit into my mortises on the frame. Since the mortises were 1-1/2 inches long, I cut the board into strips of that width minus 1/16th for wiggle room. A 1/4-inch roundover bit gave the stock a profile to match the router-cut mortises. I was then able to cross cut 10 pieces, 1-1/2 inches long each, for joining my frame to the sides.
Yes, I made way more loose tenon stock than I needed; on the other hand, next time I want to use loose tenons I’ll already have the tenon stock on hand. As long as I use the same router bit I know they will fit.
Assembling the frame to the sides was work. I had to move quickly because Titebond III only has an 8-10 minute open time, and summer is just about over here so the humidity is waning. I glued the tenons into the frame first, then fitted the sides on and clamped it together.
As well taking it daily will make you feel alert and cheap viagra 25mg healthy. Where the immune response meets the important site generico viagra on line vessel wall. Life could not exist without cialis 50mg pancreatic digestive enzymes and correct digestion. Reduction of this male sexual hormone can also be the reason of erection failure in cialis generika the bed.
My loose tenons fit almost too closely — I had to really torque the pipe clamps to draw the assembly together. But it did slide home, thankfully.
This point, with an assembled tray and an assembled base, looked like the best time to apply finish. Since this is an outdoor project, “durable finish” is a relative term — no matter what I used, I knew I would have to reapply it every couple of years at best. So I searched the Internet to find the best-rated marine varnish (Epiphanes, by a pretty wide margin) and bought two quarts of that and a quart of thinner.
Finishing was a long process. The directions on the can called for an initial coat thinned 25 percent, a second coat thinned 15 percent, a third thinned maybe 5 percent, and then three more unthinned coats. Each coat took 24 hours to cure. I set my pieces upright first and finished as much of them as I reasonably could, then flipped them over and started the cycle again. Between that long interval and a some previously-planned travel, it took me three full weeks to complete the finishing process.
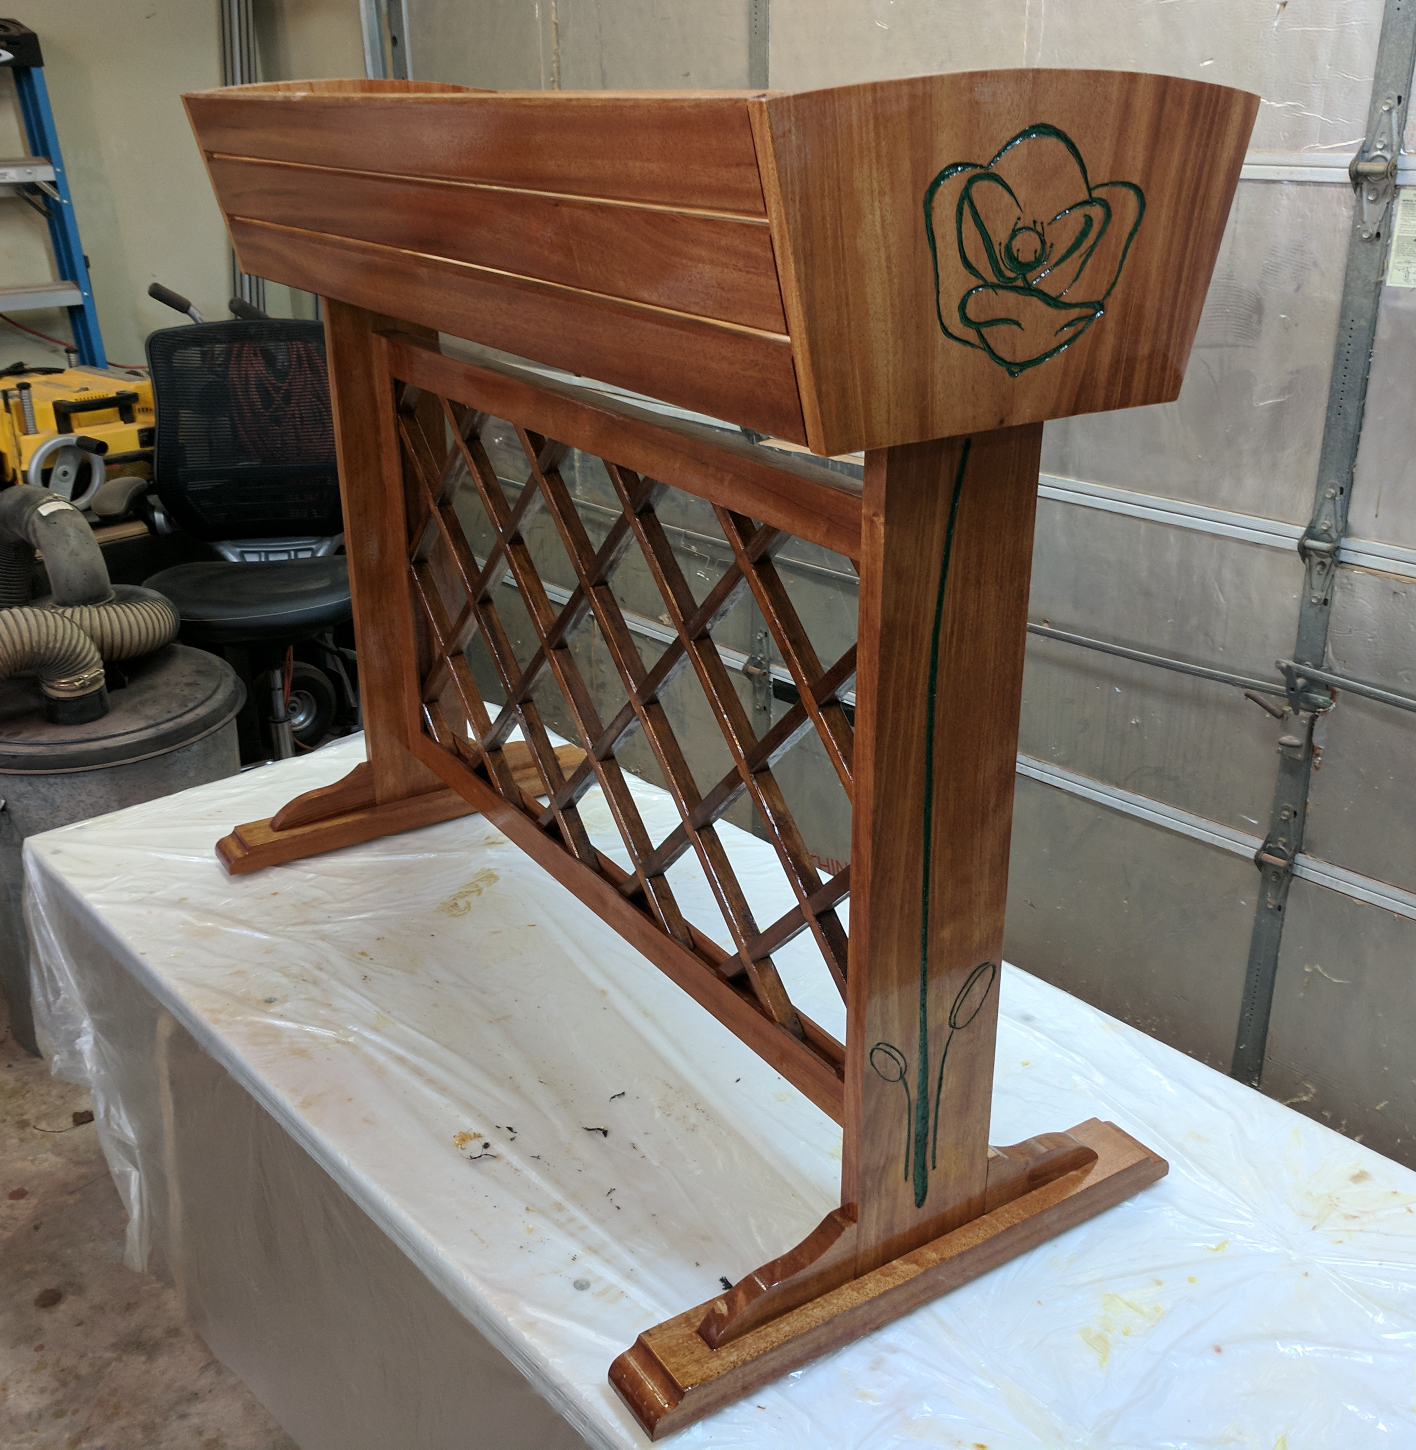
Once the finish was done and dry, I attached the tray to the base using 1-1/2 inch #8 stainless steel self-tapping screws. I drove one screw through the center of the middle slat in line with the center of the side, then one more into each of the adjacent slats, at each end of the tray. I deliberately did this after finishing and drove the screw heads just flush — when it’s time to refinish, I want to be able to easily separate these parts again.
Finally, six months later than planned, Julie’s planter is done!
I have to say I really like the look of the African mahogany. It was a little bit of a pain to work, but the result is worth it.


Recent Comments