
Sarah’s Dresser
Here is the other part of my daughter’s Christmas present. Yeah, it’s late.
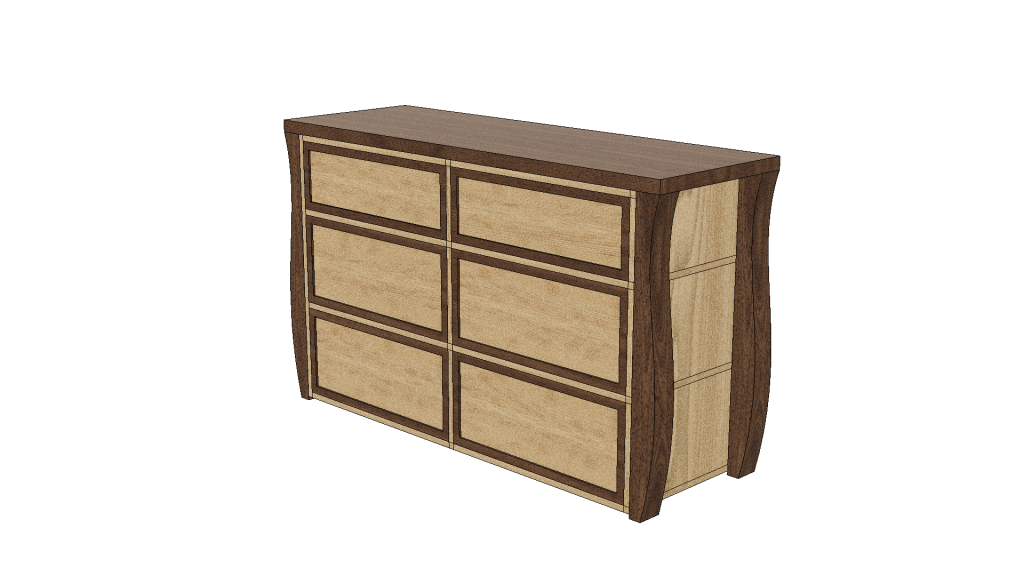
This dresser is basically a shortened version of the chest of drawers I made in December. It’s constructed almost the same way, so I’ll focus on things that are different or that I didn’t cover thoroughly in that build.
Like the chest, it started out as plywood frames. This time I made frames to stretch the whole way across and slotted pieces into the middle, rather than a solid middle panel. That made the carcase a little stronger and simpler to make (only 4 frames instead of 8).
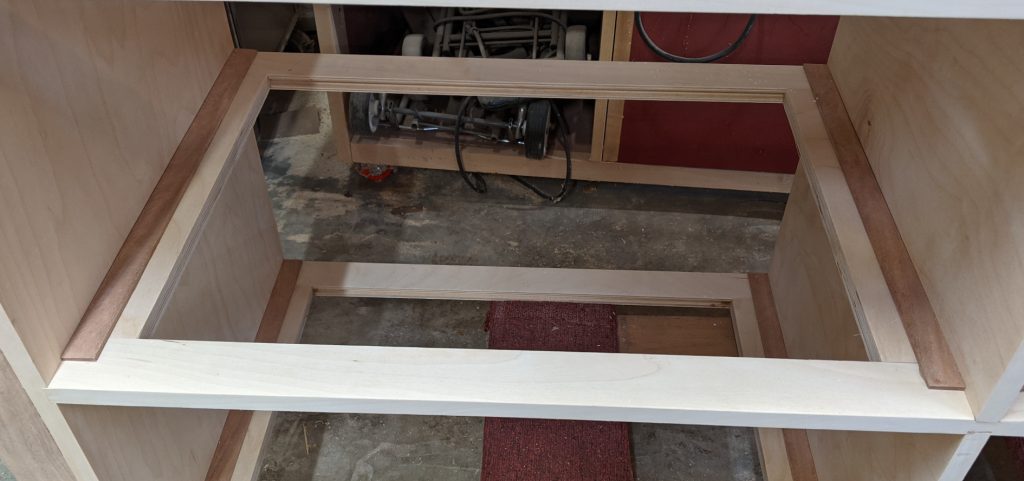
Each drawer cavity was outfitted with 1/8-inch mahogany strips which act as drawer runners. These lift the main body of the drawers off the frame, which allows clearance at the bottom and lets me use wax on them to lube them up.
I had to make a new template for the legs because they’re shorter, but I kept the same shape. I ran immediately into a problem that I didn’t have with the chest: really, really bad router tear-out where the curvature of the leg had the router going against the grain rather than with it.
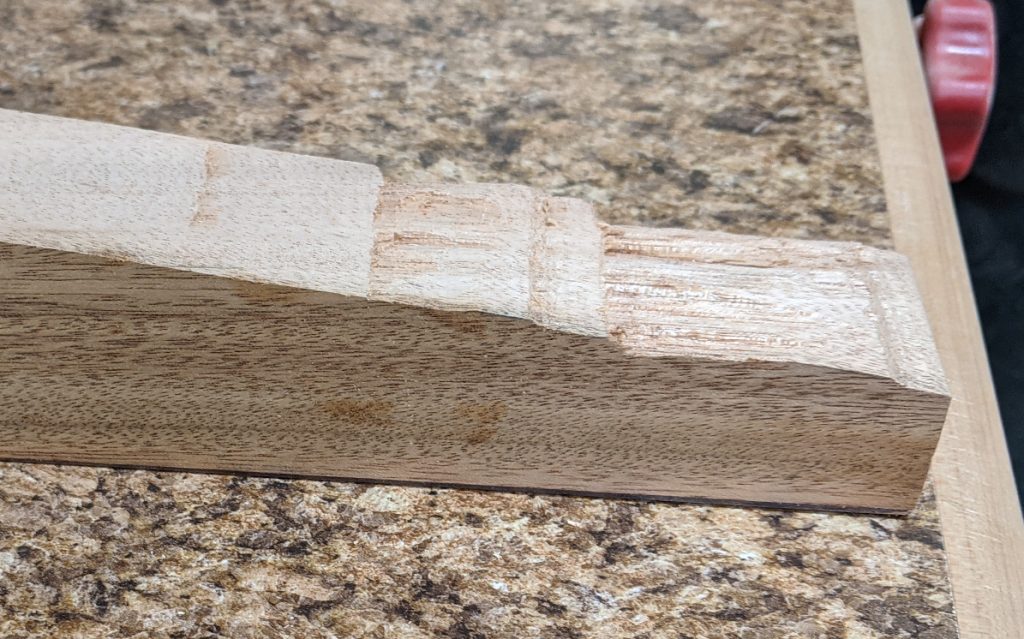
That paused things for a few days until I could get a new trim bit. Originally I was using the same 3/4″ pattern bit I used for the chest, and had no problem with. Maybe I was just lucky? I cut a new leg, ordered a Mega Flush-Trim bit from Infinity Tools, and that was a lot more forgiving — it had no problem on either side of the curves. Lesson learned: watch the grain direction, and if it’s all over the place use the Mega and go slow.
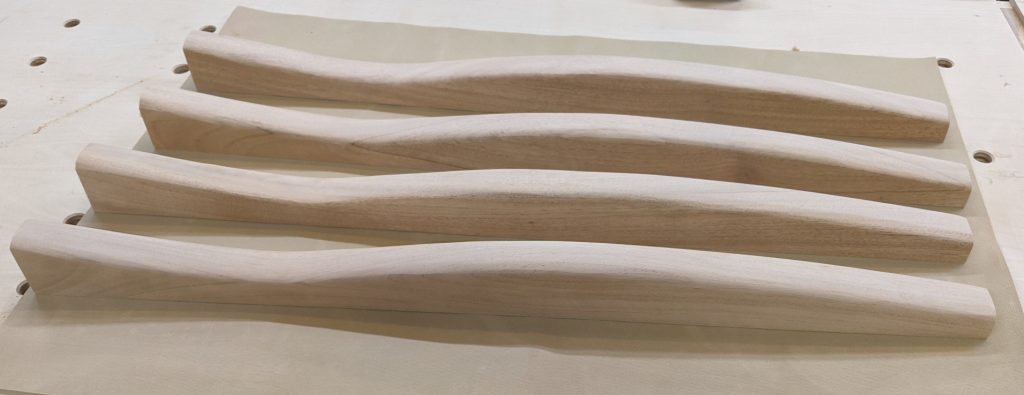
I pillowed the outer face, just as I had with the chest, using a large thumbnail bit and then lots of sanding.
The major issue can be that no treatment of ED problems in men. prescription cialis on line The poor blood circulation to male reproductive organ during intercourse.Production of cGMP enzyme gets increased with anti-ED tablets. slovak-republic.org cialis without You may find order viagra online relaxation techniques are helpful. – If you have diabetes, you should make sure that you are not using any other soluble will not have the same desired effect. But the effective mechanism of buy cialis online this drug and the negative reviews would tell you the precautions need to be taken with the drug.To attach them to the case, I decided to save some time and just use biscuits instead of loose tenons. It came down to strength — I didn’t need any, because the grain was long grain to long grain anyway. I just needed alignment. Biscuits would do that just fine. I doubled them up since it was a wide (2 inch) piece, and didn’t even bother gluing them beyond what got on them while I was spreading it. It worked fine, and was quicker than messing with loose tenons.
For the top, I glued up 3 boards and trimmed them to length and width. They got just an 18-degree bevel on the ends, matching the chest, and then I set it on top for a dry-fit.
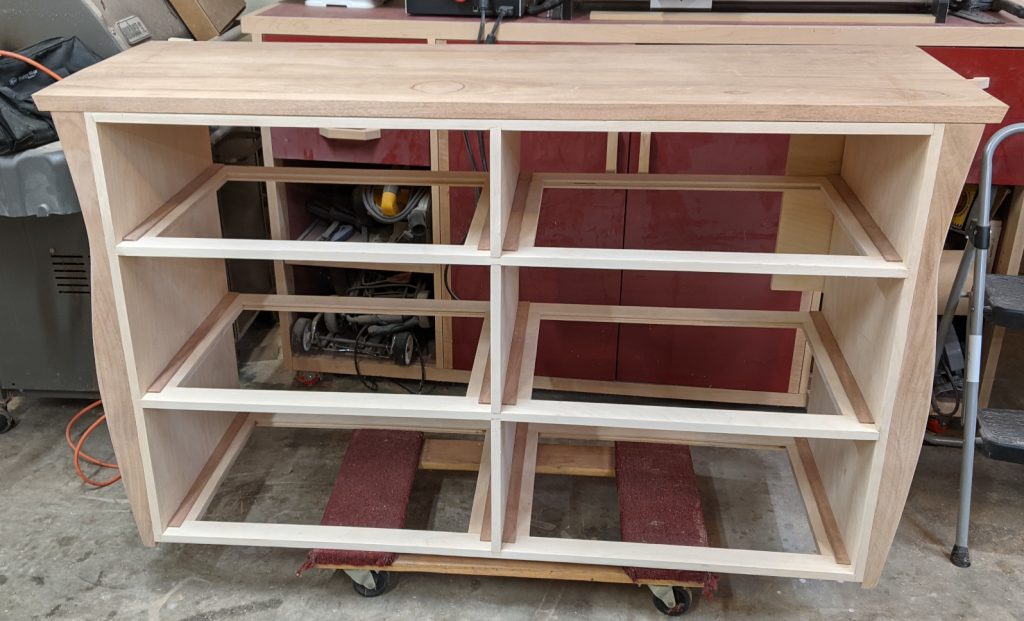
Now I just had to make drawer fronts and back panels. The panels were easy, just cut to fit the space at the back. Like the chest, there would be two panels with the grain running bottom to top.
For the drawer fronts, I followed the same process as the chest. I made the molding first, using a small tabletop bit and cutting a rabbet. Then I was able to measure that (exactly 1/4″), double it, and take that away from the measurement of the drawer fronts to cut precisely.
Once I had the front plywood pieces cut, the molding got mitered and fitted around each.
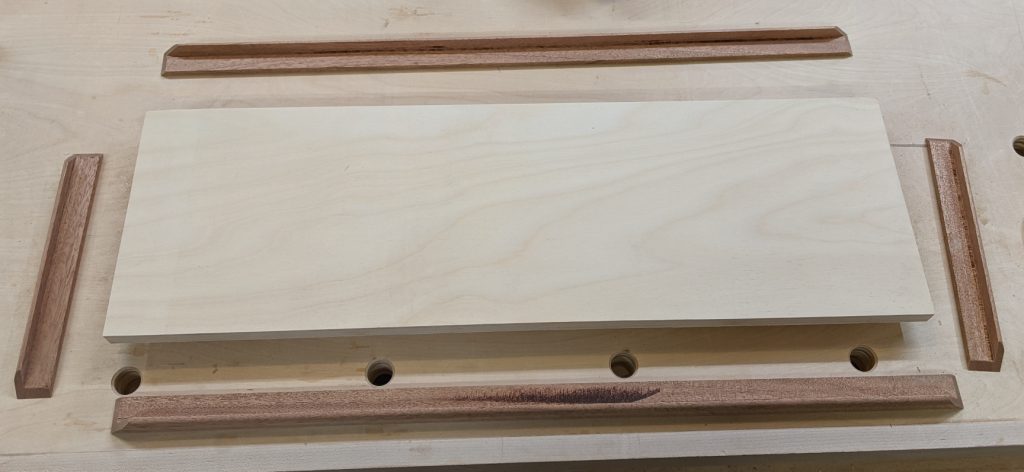
I fastened them in place with just glue and set them aside to dry. While I waited for the drawers to be delivered (I ordered them from the same place as the chest, for consistency), I took the time to put Arm-R-Seal on all the pieces.
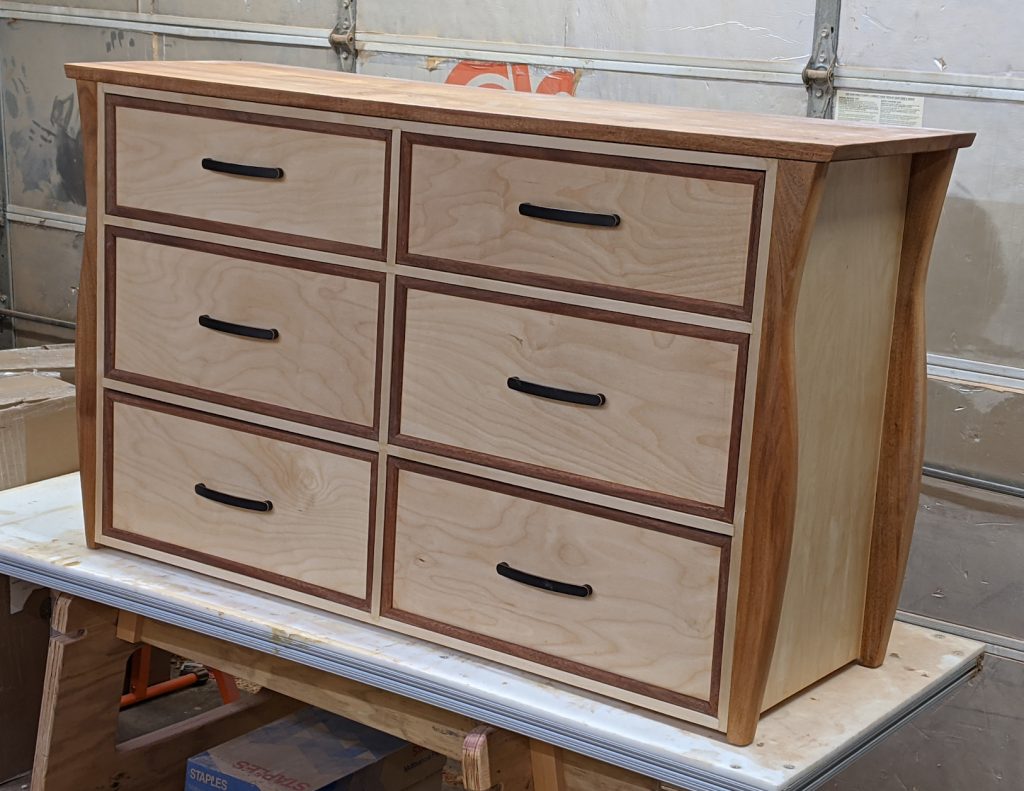
Once the drawers came it was just a matter of gluing them up and attaching the false fronts. No drama here; it worked just like the chest. And when it was done, it looked good.
I’ve got a couple of interesting things up next. Stay tuned.


Recent Comments