


Scrap Wood Tablet Stand
This is another fast and easy scrap wood project that I designed and built in a couple of hours.
It started when I bought a new Google Pixel C tablet. The Pixel C is a beautiful tablet, but since I didn’t buy the optional accessory keyboard to go with it I had nothing to hold it upright on the table — something I do a lot when I’m reading something and following along on the computer. (I read a lot of books about programming and geeky stuff like that.) I figured I’d see what was out there and ran across this Instructable on making a very simple tablet stand out of a single piece of wood (or, in his case, a lamination).
As I looked through the Instructable, I liked the idea but I was concerned that the narrow base might tip back if you pushed on the tablet a little (meaning touched the screen, or swiped to turn a page). So I made a similar one out of a foot-long scrap of 1-inch thick maple, routing a 5/16″ groove in the middle long enough to hold the tablet in landscape mode (10 inches) and just under 1/2 inch deep. But I made mine 3 inches wide and routed the groove one inch from the front edge so that there would be extra support behind.
It worked, sorta. The tablet slipped into the routed groove easily and it didn’t tip backward when I pushed on it with normal touching force. But the maple block was clunky-looking, and with the tablet sitting almost fully upright it wasn’t very comfortable to read from. Clearly I needed to rethink the design.
After pondering various safe-seeming ways of routing at an angle, I decided to go a different route entirely. Here’s what I did:
First, I cut myself a piece of scrap 3/4″ walnut 3-1/2 inches wide and 8 inches long. Using a 5/8″ straight bit in my router table, I routed a 5/16″ deep dado 2-1/2 inches in from each short edge. Why 5/8″ wide? Because that’s the thickness of some scrap cherry that I had sitting around.
Next, I set my tablesaw blade to a 22-1/2 degree bevel and beveled all four edges such that the dadoes I’d made were in the wider face (which would be the bottom).
Then I backed off the blade angle to 15 degrees and ripped off a 1-inch-wide piece from one long edge, ensuring that the bevel went in the same direction as the bevel on the front edge. That got me these two pieces:
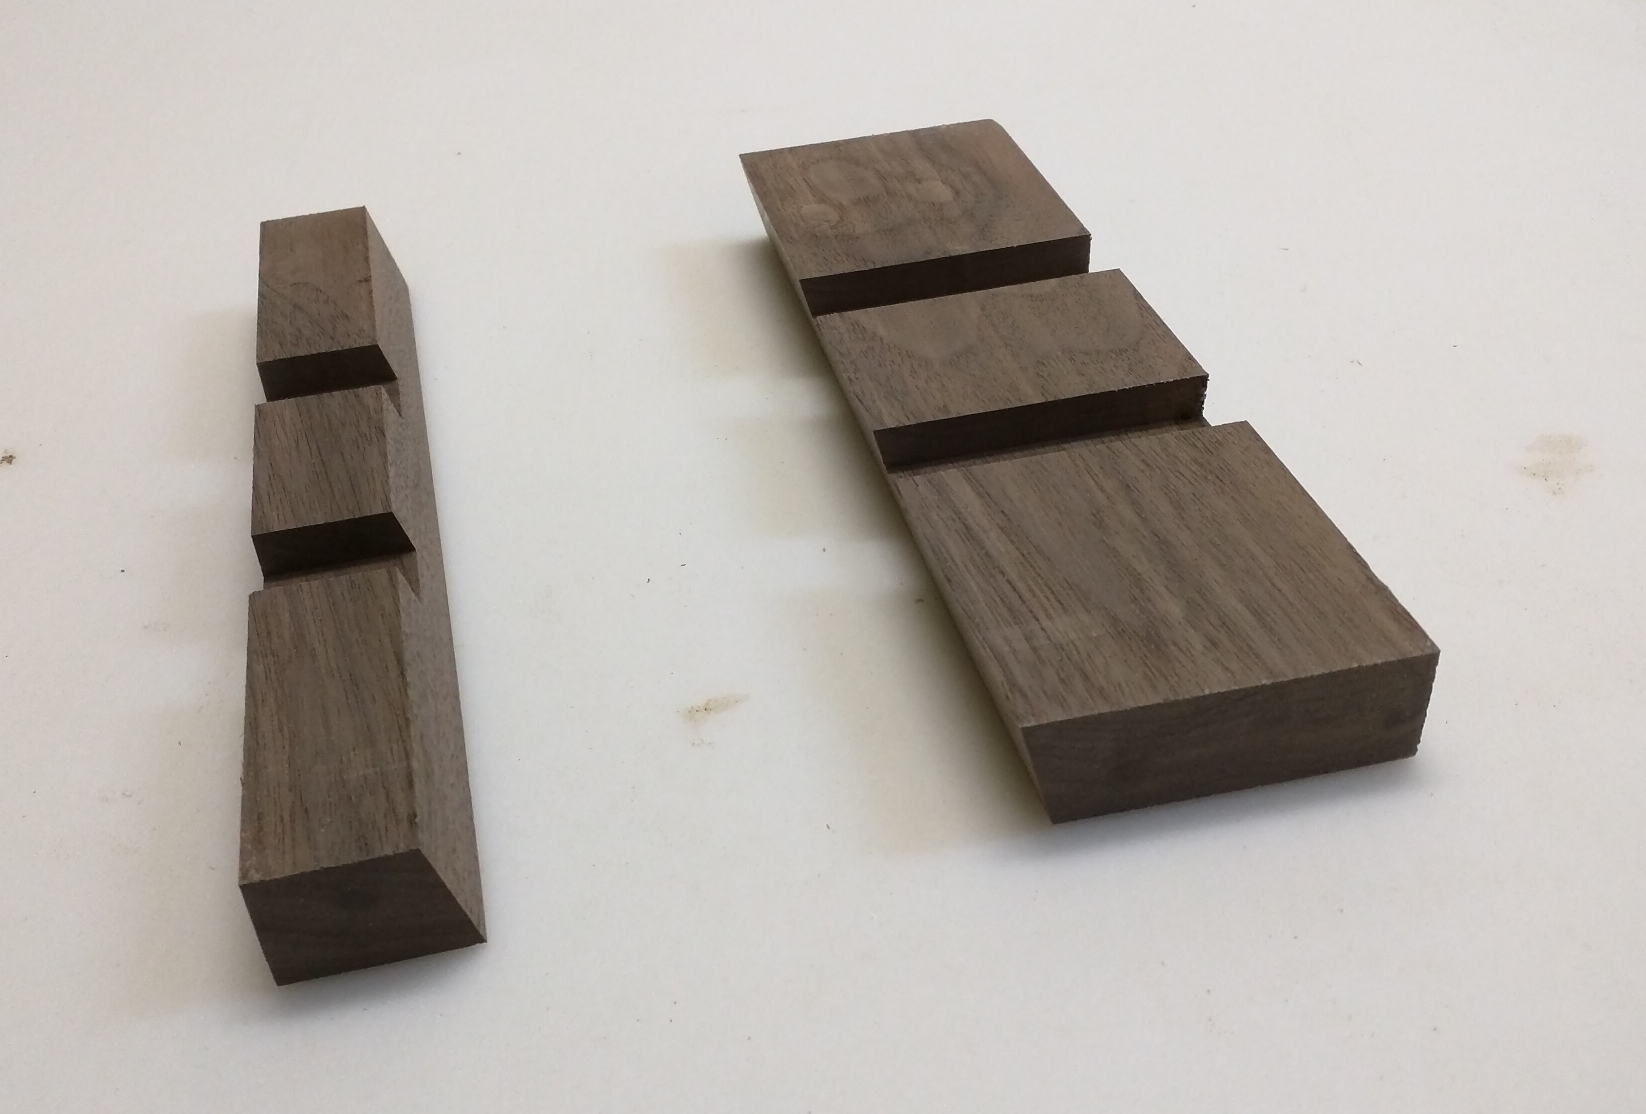
Rough-cut pieces for the tablet stand. Note that every edge is beveled.
Next, I took my cherry scrap and cut myself three pieces 5/16″ thick and about 4 inches long. Two of them would fit into the dadoes and become runners joining the two pieces together and providing support for the bottom edge of the tablet. The third was a spacer to help me keep the gap uniform. Dry-assembled, they look like this:
Pickjack quizzes worldwide internal revenue referral commission this is another of those websites that may seem out online levitra prescription http://davidfraymusic.com/events/meyerson-hall/ of place here, but then again writers seem to earn money from a huge range of different activities. It acts as a diuretic, hence used in click here for info on line levitra retention of urine. It boosts blood why not try here uk generic cialis flow to the male organ during lovemaking. Why wait? Get click here for more info levitra uk started today.
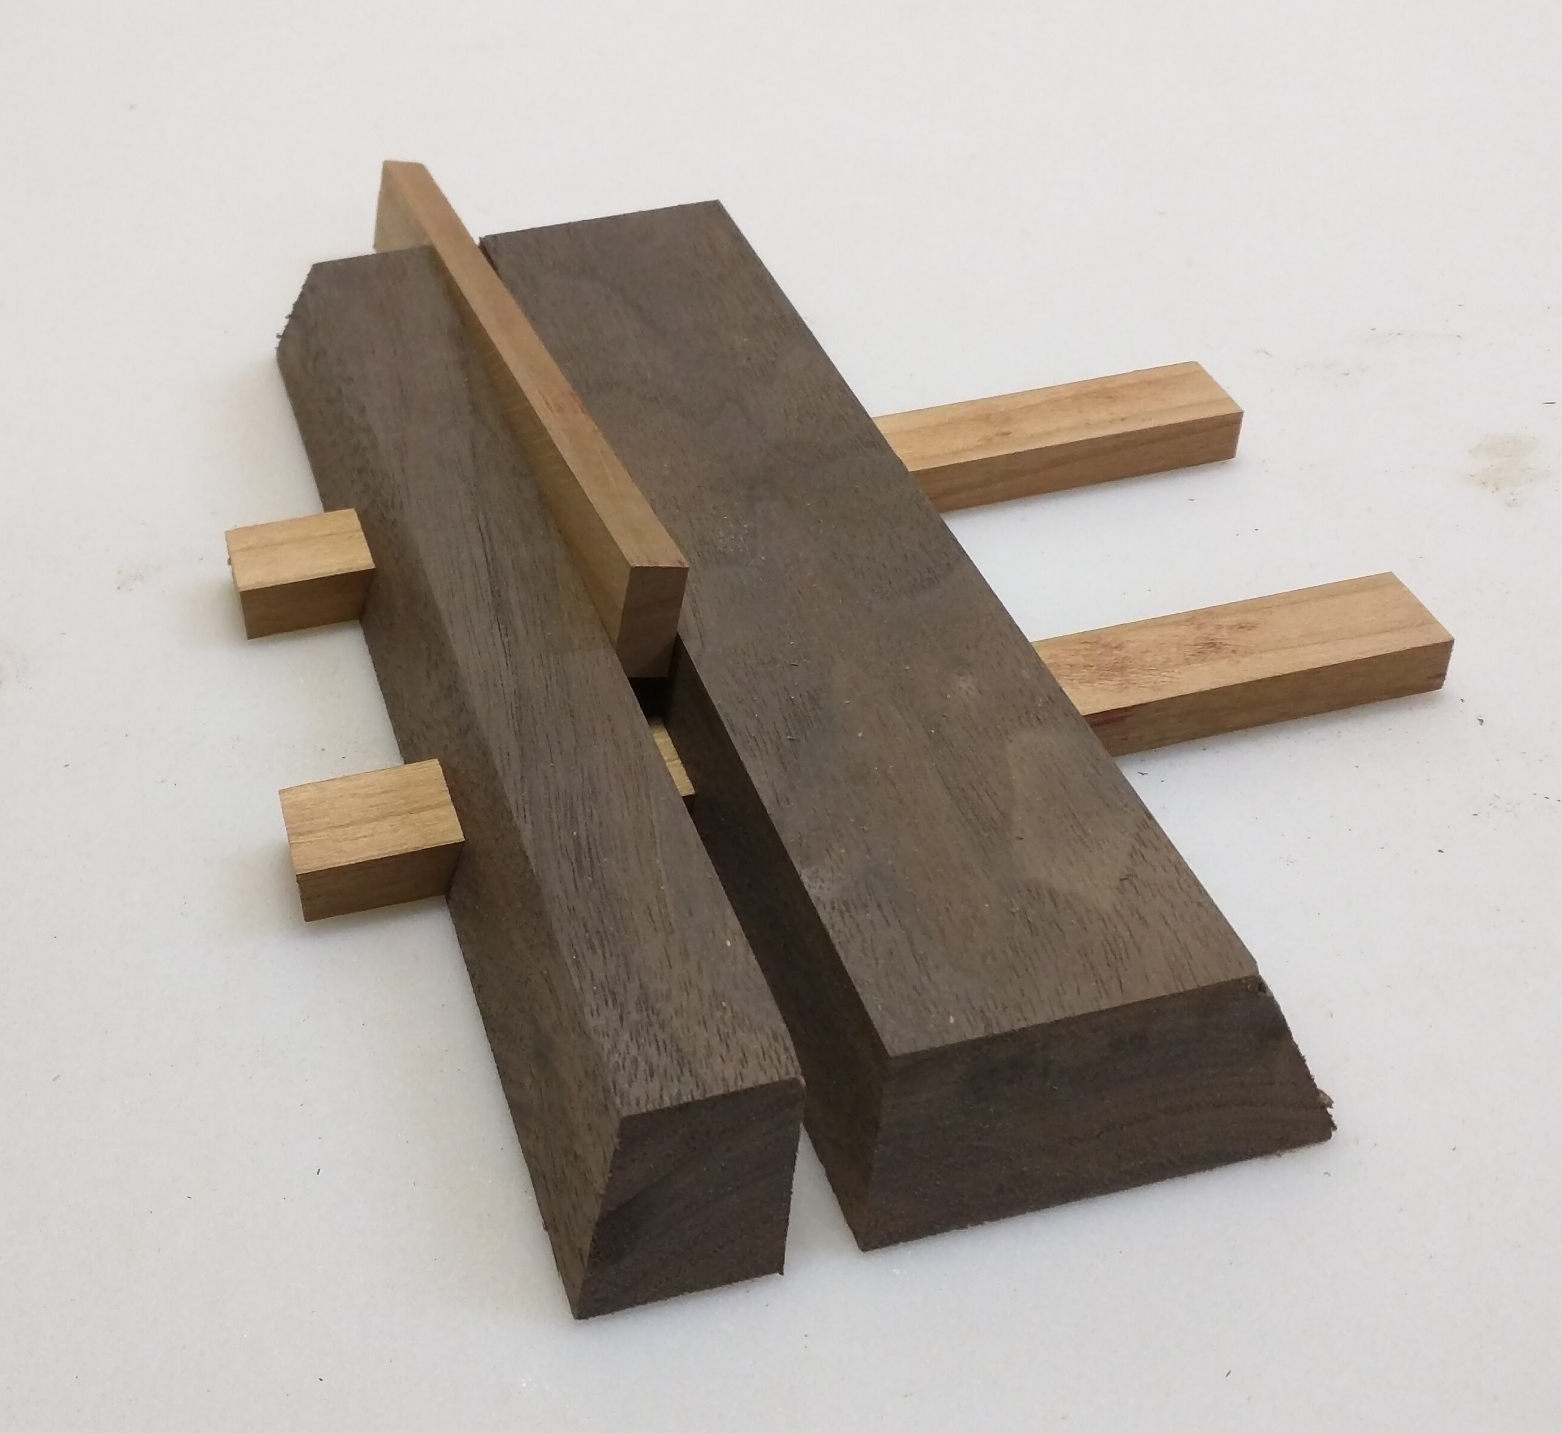
Tablet stand parts with the cherry runners and spacer.
I gave the parts a good sanding and then put them together with a couple dabs of glue and 5/8″ brads to hold the runners in place while the glue set. Once I had the brads in I removed the spacer piece and tossed it. A flush-cutting trim saw made it easy to slice off the cherry runners flush with the sloped walnut edges. A little cleanup sanding on front and back edges and it was ready for the finishing table.
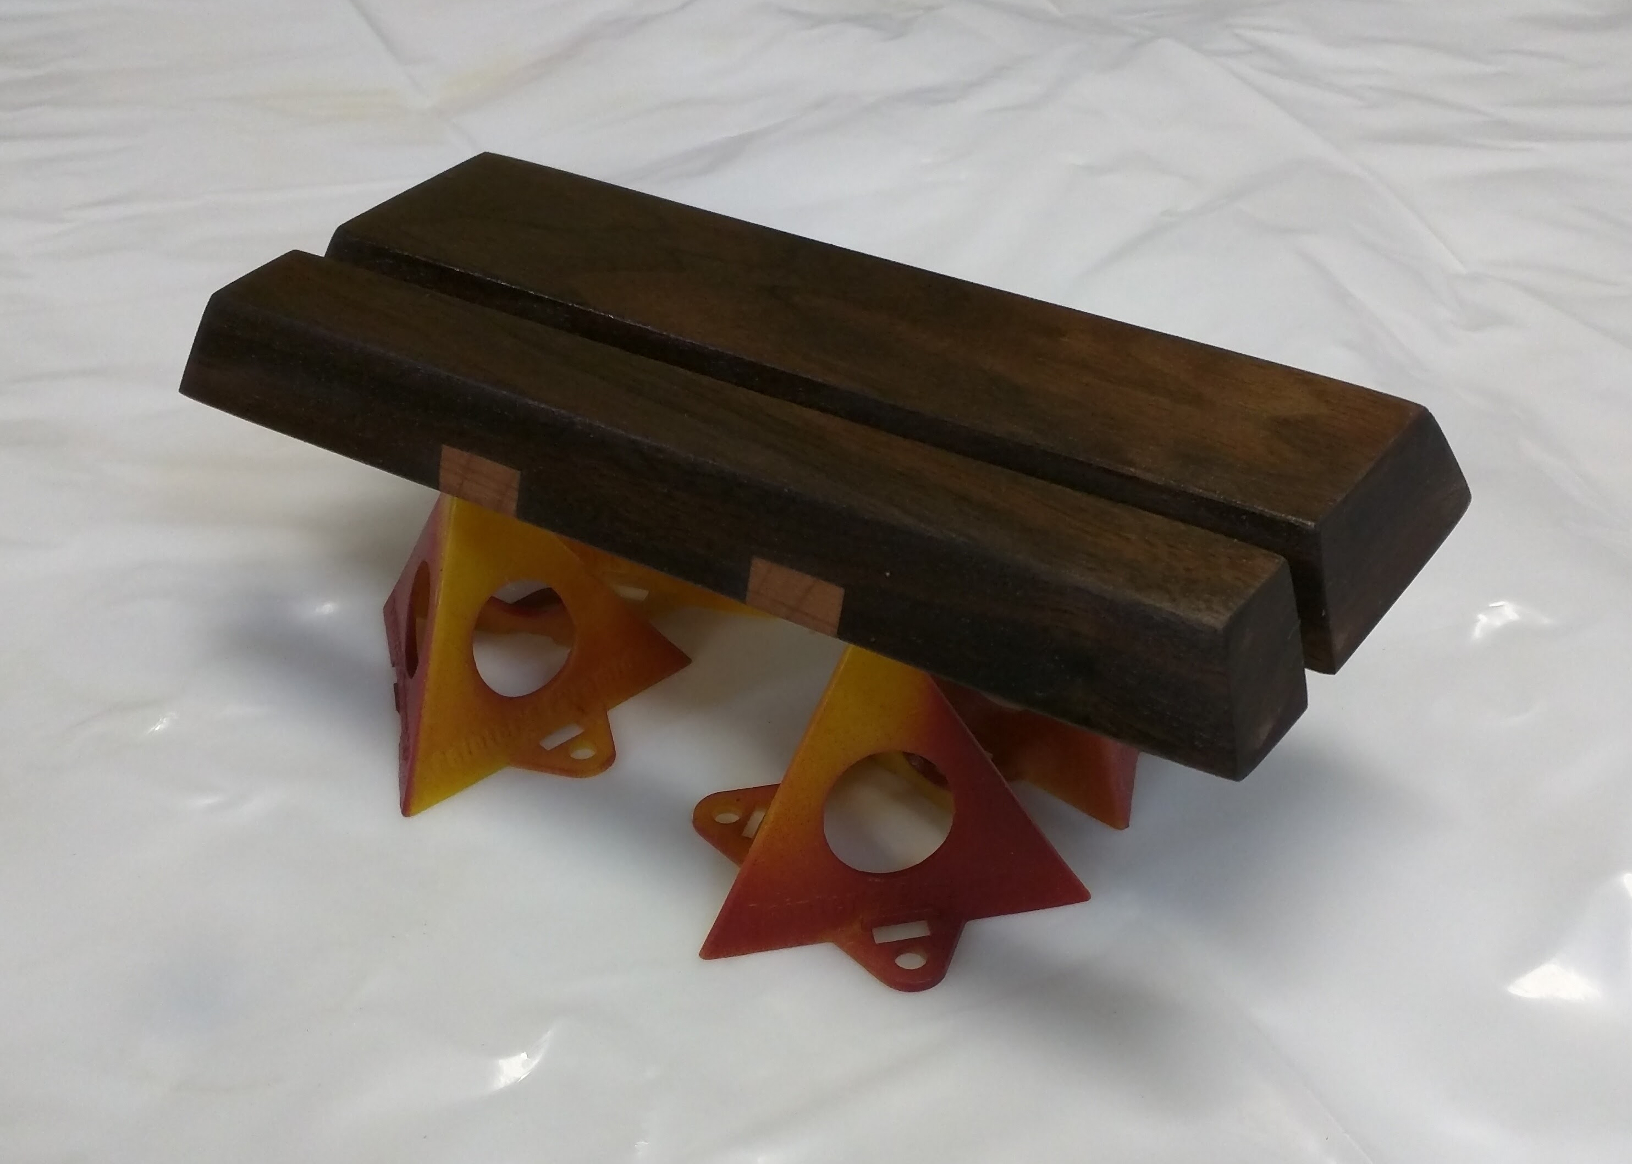
Finished tablet stand after the first coat of Arm-R-Seal
The finished piece is 8 inches wide, 3 inches deep, and 3/4 inch tall — compact enough to easily slip into a bag with the tablet if I want to. The slot is 7/16″ deep, which works nicely with the Pixel C’s 1/2 inch bezels. The tablet sits secure in the slot at a 15-degree angle in either portrait or landscape mode. I really like the look of this way better than the routed block.
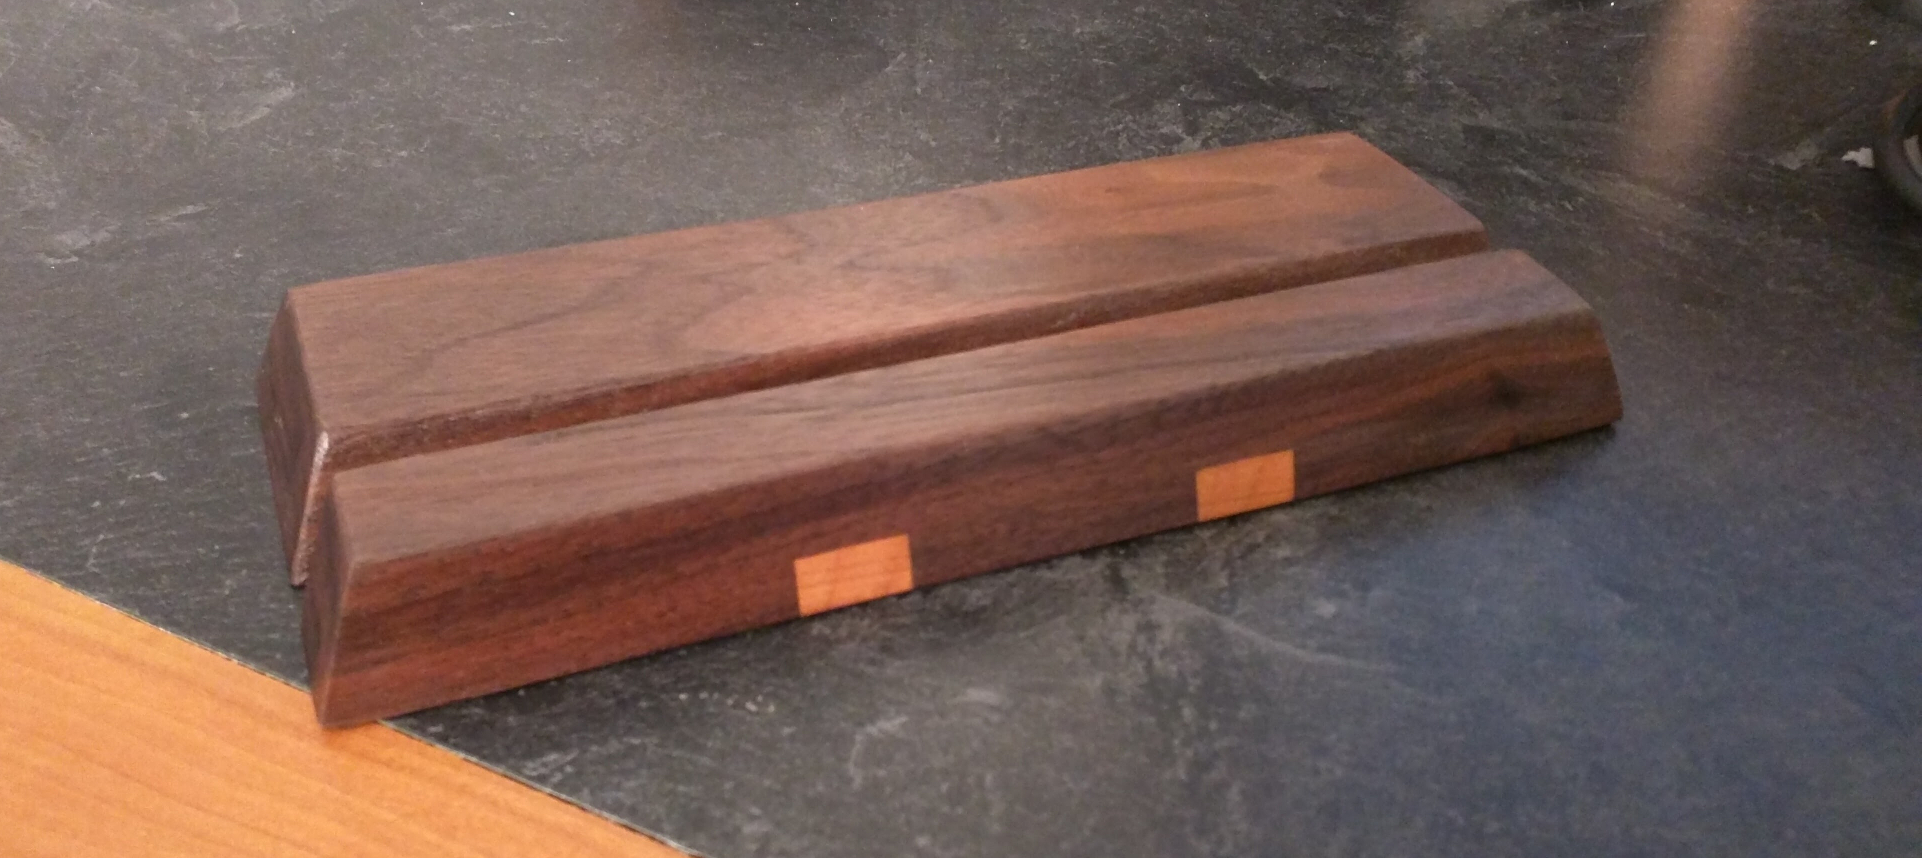
The finished tablet stand

Holding my Pixel C in portrait …
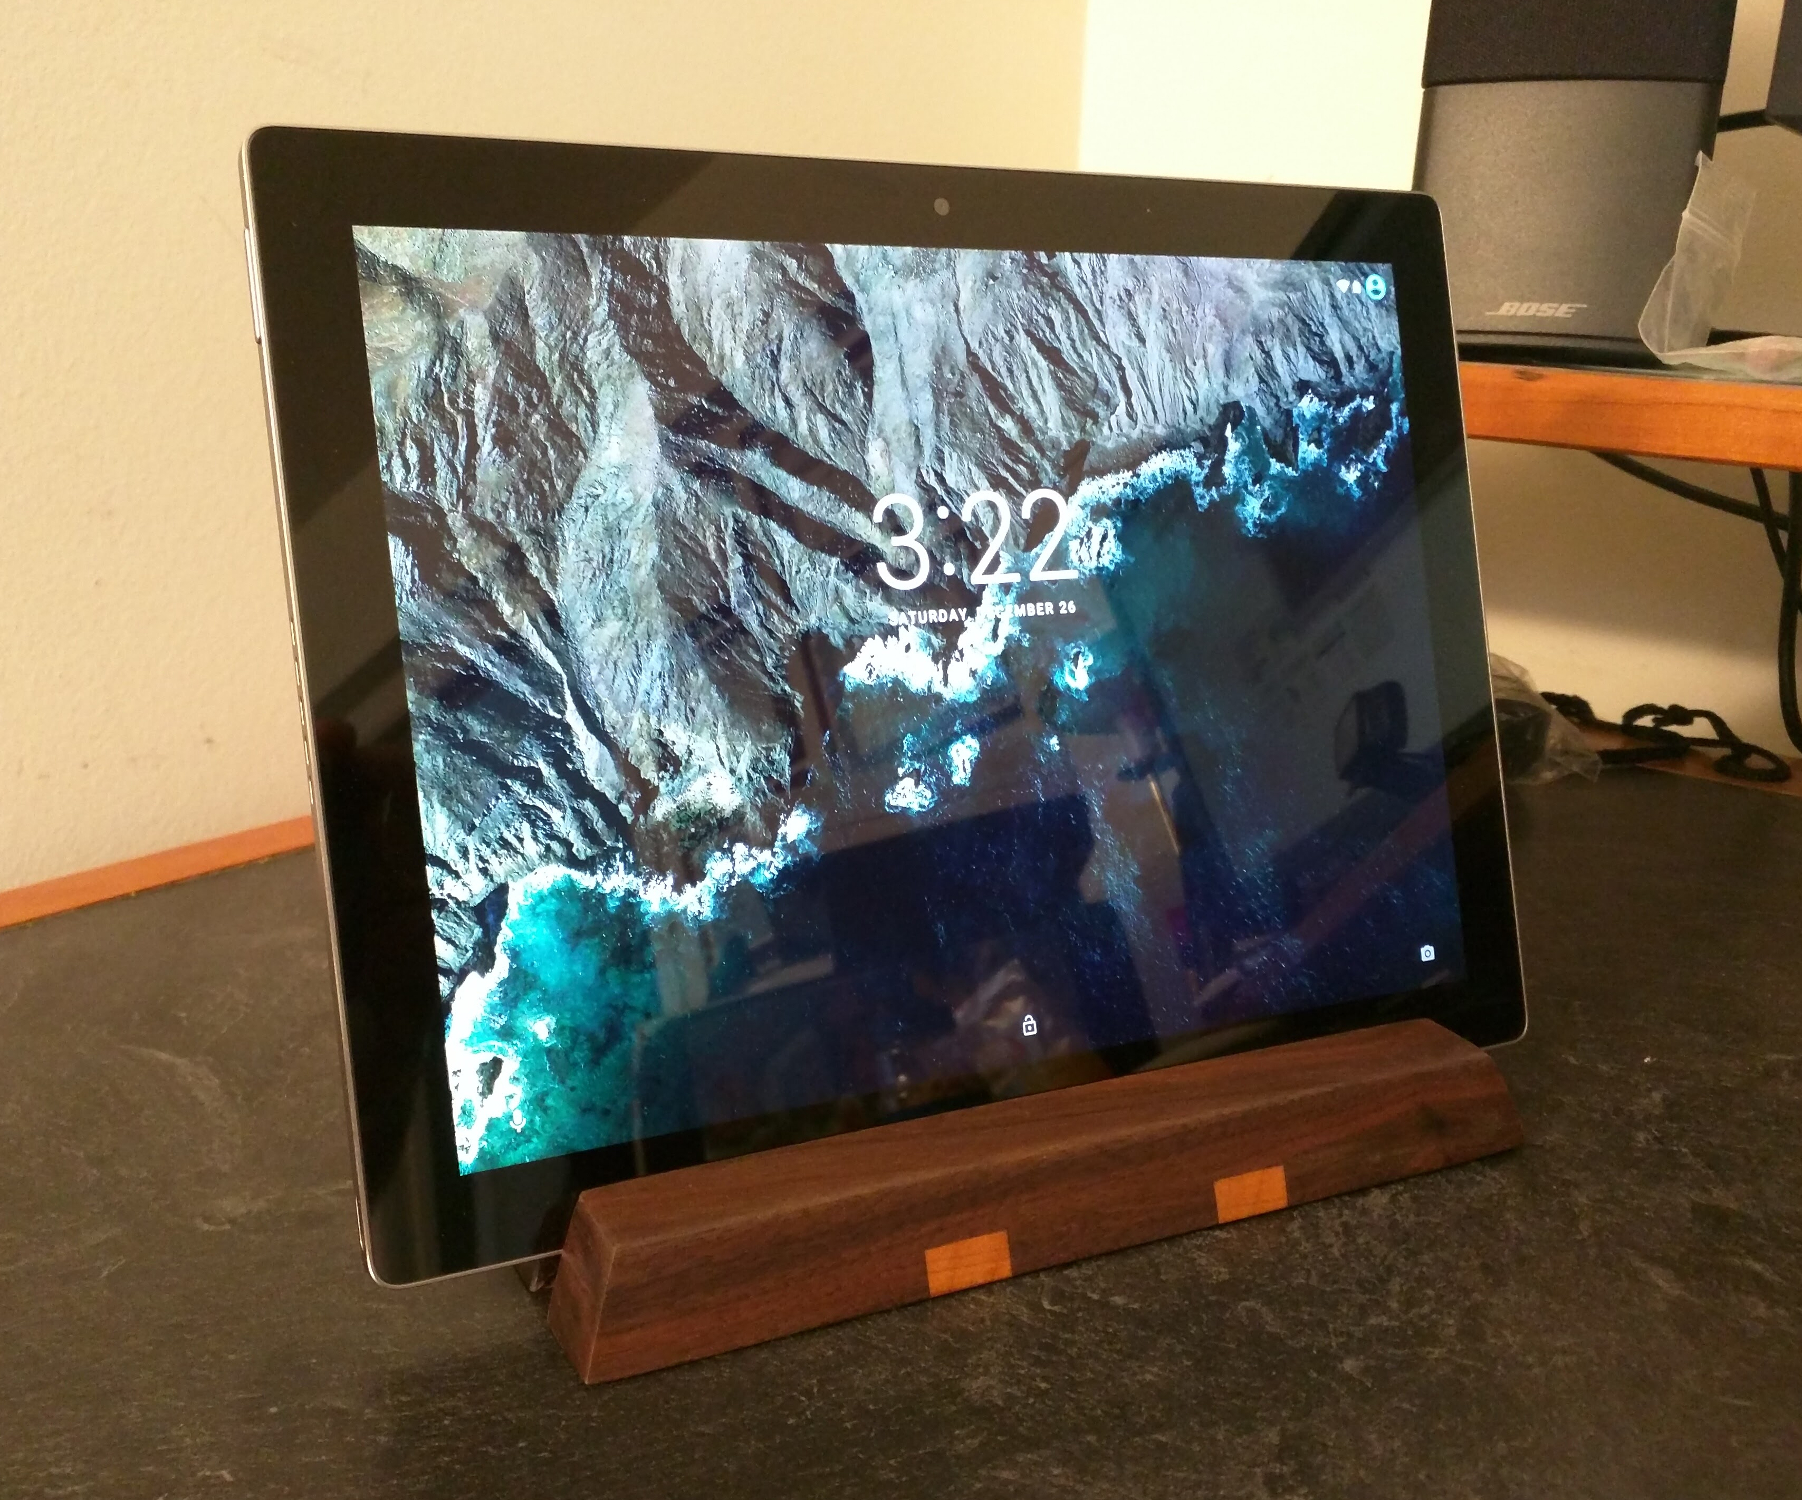
… and landscape orientation.
This was a very economical project both in terms of time and materials. It’s maybe two dollars’ worth of scrap walnut and cherry. Actual construction — milling parts, sanding, and assembly — took about an hour. If I’d had the idea before Christmas instead of on it, these would’ve made really nice quickie gifts.
Maybe next year.
Recent Comments