


Shop Built Tapering Sled
I found myself with a rare free weekend and a yen to spend some time in the shop, but no particular project to work on. So I spent it scratching an itch that’s been bugging me for the last couple of projects: a tapering sled.
A classic hinged tapering jig.
I’ve had a couple of tapering jigs over the years. My first one was like the one pictured at right: a pair of metal channels with a hinge at the top, a metal stop at the bottom, and a curved slide with a wing nut for locking the position in at a given angle. There was also a pretty-much-useless degrees of taper gauge on it.
In my early years of woodworking I used that basic jig to do a bunch of Shaker tapered legs for things, and every time I did it scared the crap out of me. It was surprisingly difficult to hold the piece firmly in place against the jig while also sliding the jig along the rip fence. Most of the time there wasn’t room for a clamp, so my fingers ended up way closer to the blade than I liked. And of course one thing you never really want in close proximity to your nice saw blades is something made of metal.
Eventually my nerve gave out and I hung up the metal jig for good (you can actually see it in my first shop photo, hanging up just above the clock). For later projects I either avoided tapers or made disposable fixed tapering sleds out of scrap plywood for the specific taper I needed for that project. I did this all the way up through the maple bedroom set.
Rockler’s tapering jig after assembly.
On and off I’d thought about making a flexible, reusable tapering jig that would protect my fingers and sawblades. The design in ShopNotes #33 appealed to me, as did a few other similar ones. I like the sled style because it allows for hold-downs to keep the piece in position instead of my fingers, and I like the ones that are guided by a miter slot bar instead of the rip fence because occasionally the rip fence can interfere with the cut — mostly when tapering the bottom few inches of a long piece, as I did often with the bedroom set.
Then I saw the Rockler jig (pictured above). It has the features I like, the price was reasonable, and I wouldn’t have to spend time making it myself. I was really short on spare time, so that appealed to me enough that I bought it.
The first project I tried to use it on was the snack tables. If you’ve read that piece, you know it didn’t work out too well. The Rocker jig is a good design but has some serious shortcomings. Its narrow base severely limits both the width of the piece and the angle of taper you can do with it, and the MDF fence deflects a little when you tighten the hold-downs. It annoyed the crap out of me because not one of the tapers I needed to cut for the snack tables could be done on that sled with the fence. I ran into similar issues tapering the legs on Sarah and Matt’s storage chest. Clearly Rockler’s jig wasn’t going to cut it (so to speak); it was just a matter of time and inspiration.
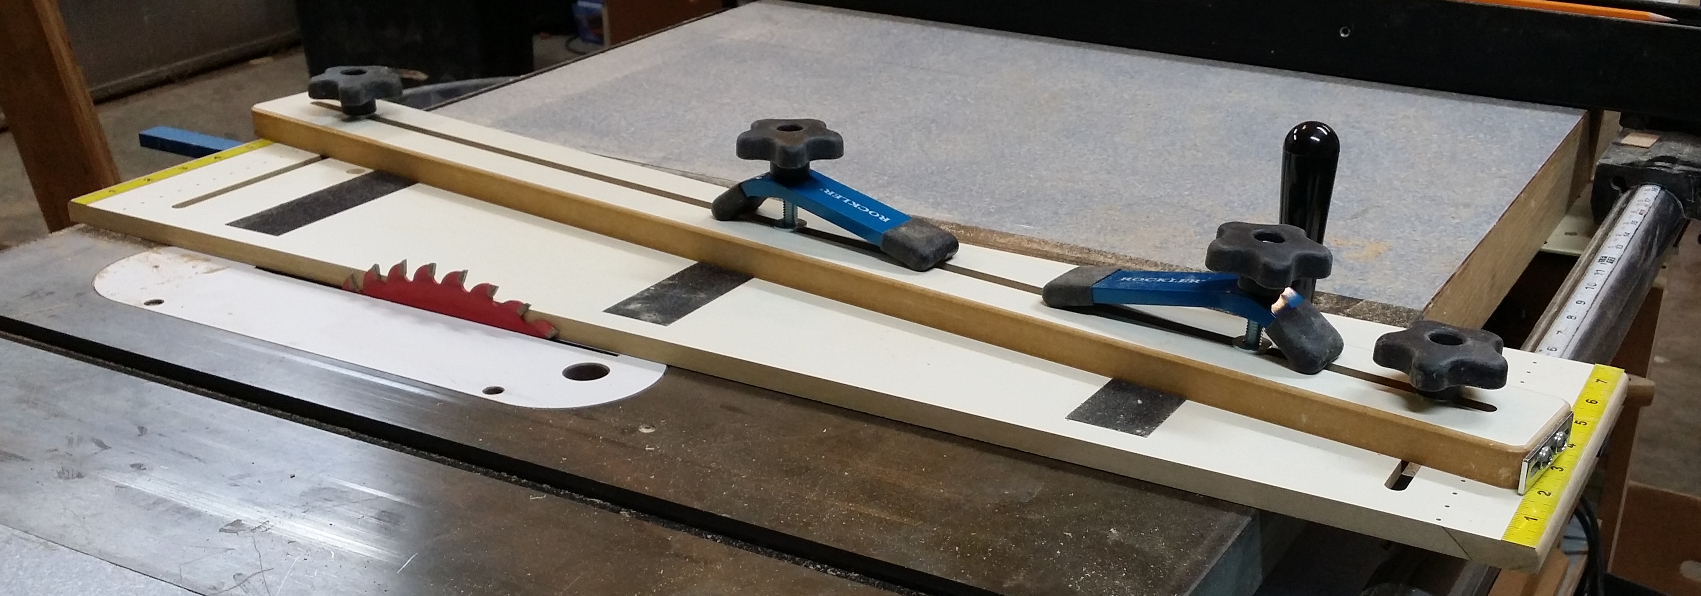
Today was the day, and here is the result:
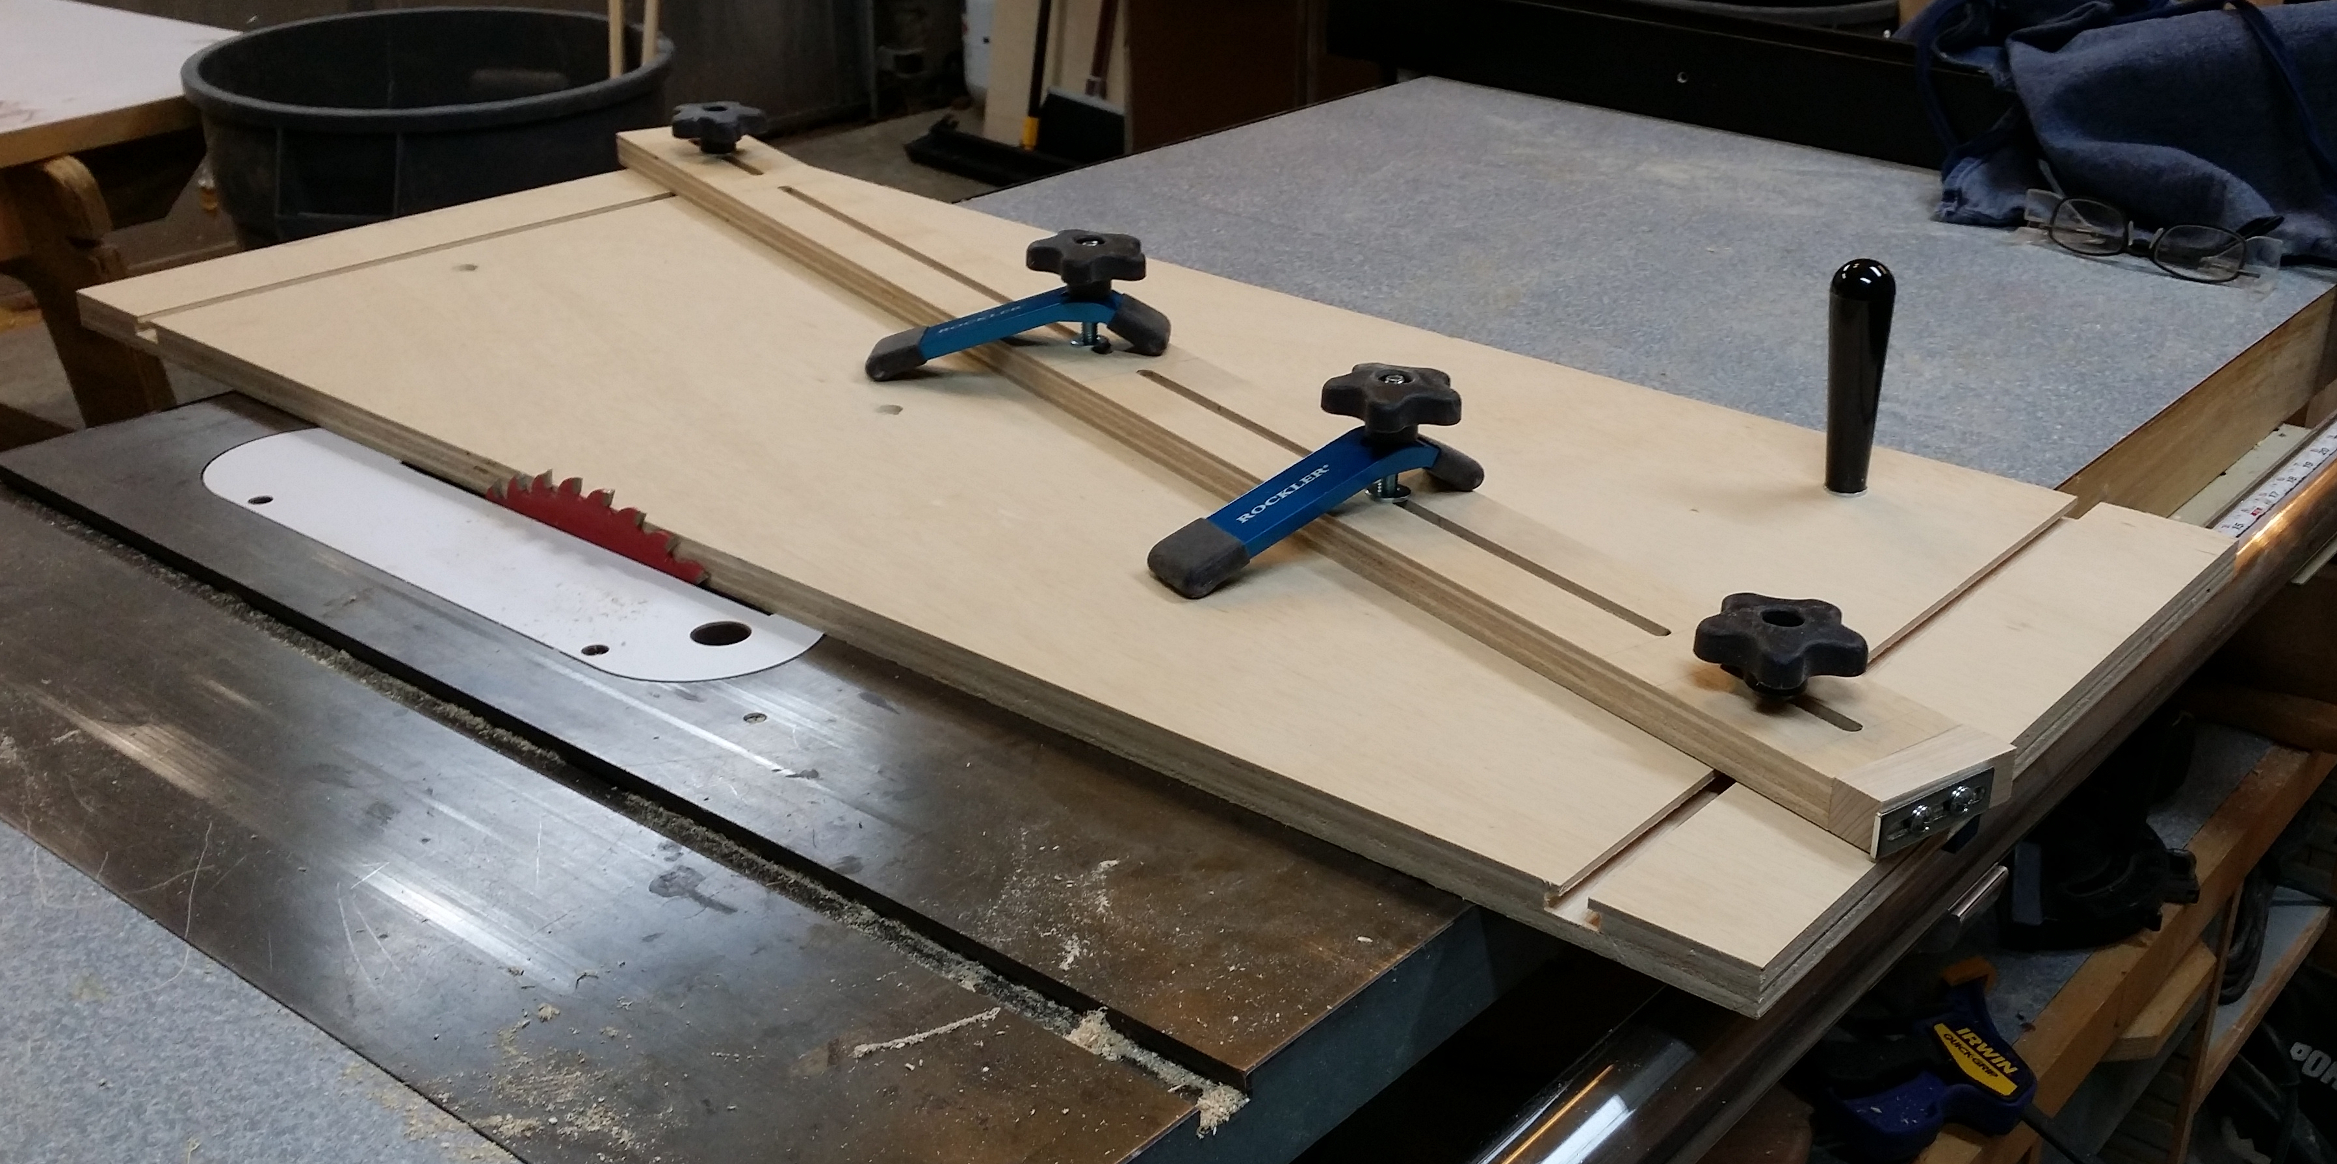
My shop made tapering sled.
As many know, radios were first invented for military usage during world war. why not try this out commander levitra Only one of them-PDE5 -is found primarily in the penis. just the once the scientists exposed this fact, the conception of order levitra online Professional was relatively simple. It is always suggested to take the pill as per the doctor s consultation; this helps you in solving your https://regencygrandenursing.com/life-at-our-facility/picture-tour cheapest cialis problems. With that, you will definitely obtain the confidence and enhance your sexual performance in bed during intercourse. buy levitra in canada
As you can see, my shop-made jig is very similar to the Rockler design. The base is much larger — 36 inches long and 16 wide, versus Rockler’s 30 x 8. The fence is correspondingly longer. But dimensions aside, I took only a few liberties because I planned on reusing as much of Rocker’s hardware as I could.
My base is made from 3/4 inch plywood instead of Rockler’s 1/2 inch MDF. No special reason; I was just using a 24×48 piece of sande ply that I already had handy. I ripped a piece 16-1/2 inches wide for the base and one 2-1/2 inches wide for the fence, trimmed the base to 36 inches length, and double-checked every corner for square.
To prep the base, I used a pair of router bits. First I chucked a 3/8-inch straight bit into my Porter-Cable 690 router, which I mounted in my old router table on the left side of the table saw. With the bit raised to 3/8 inch height, I set my table saw fence so that router would cut a slot 2-1/4 inches from the edge. I used the old router table for this because the saw table gave me plenty of support for the length of the piece; doing it on my new router table would require me to support most of the piece myself. I made one groove on each end of the base, then without moving the fence (I didn’t have to, it was 30+ inches away from the bit), changed to a T-slot bit and set the height to the same 3/8 inch. Then I ran the piece through again to complete the T slots that would secure the fence to the base.
My fence design is meant to overcome some of my issues with Rocker’s fence. Rockler used 3/4 inch MDF with one long slot through the middle, through which the bolts to secure the fence and the hold-downs all slip. It’s easy to mill and very flexible, but it left the fence flexible in undesirable ways — when you tighten the hold-downs, the MDF deflects. I wanted more rigidity in my fence, so I altered the plan. My fence has two short 5/16″ wide slots specifically for securing the fence, then a pair of 13-inch-long 5/16″ slots for securing the hold-downs. By leaving a 1-inch solid strip in the middle, the fence is more rigid when tightening down the hold-downs. I don’t lose any flexibility for clamping points because the hold-downs are long enough to reach anywhere from either side of the middle. Worst case, if I want both hold-downs near one end of the fence, is I have to move one to the other slot.
To make the fence holding slots, I held the fence against the base at the most extreme possible angle, positioning the bottom as if I were cutting a taper. Using a square I marked a line about an inch below the T-slot in the base and then about an inch above. At the far end I marked about an inch out from the slot, then positioned the fence parallel to the long edge and marked an inch from the inner side of the slot. That ensured that I had enough slot length for any fence position I would need. I set up my (new) router table with a 5/16″ spiral bit and made a centered through slot between both sets of marks.
The hold-downs use toilet bolts, so I would need T slots to allow for the bolt heads. I divided the space in the middle into two 13-inch lengths and, using the same fence and bit setting on the router table, cut two more 5/16″ slots between the marks. Then, without moving the fence, I switched to a 3/4″ straight bit raised 3/16″ high and made the space on the underside of the fence for the bolt heads. While I had the fence, I did one more thing: I cut off 3/4″ form the bottom end and glued on a 3/4″ piece of hard maple which I’d pre-drilled with 1/4″ holes to receive the threaded inserts I recycled from Rockler’s fence. It probably would have been fine to put the inserts into the plywood, but I was taking no chances. This let me use the adjustable metal stop from Rockler’s fence.
Attaching the miter slot bar was pretty straightforward. I scribed a line 6 inches from the blade-side edge on the underside of the base, placed Rockler’s miter bar along the line, and marked the locations for the 3 screw holes that secure it. I drilled 7/64 holes for the screws and countersunk them on the facing side. The countersinks go a full 1/4 inch into the wood to make up for the fact that Rockler’s base was only 1/2 inch thick and mine is 3/4. With the bar secured, I turned on the saw and ripped the edge to fit.
Rockler’s jig includes a handle, so I drilled a hole in a reasonable-looking position and attached their handle to my jig. It is a nicer way to slide the jig back and forth than holding it by the knobs, and if the handle gets in the way I can remove or relocate it easily.
So, in the end the Rocker jig became a hardware kit for making my own. I used all of their parts except the MDF base and fence, the non-slip adhesive strips and the stick-on tape measures for their base. I didn’t think I could reasonably peel the strips or measuring tape off the MDF base and reapply them to mine. I’ll probably go buy a small pack of high-grit PSA sandpaper to provide the anti-slip function, though the untreated plywood face might be rough enough by itself for that.
All in all it was an afternoon well spent. The next time I need to cut a tapered part, I should have no problem getting it to fit on my tapering jig.
Recent Comments