
Ultimate Computer Desk, part three
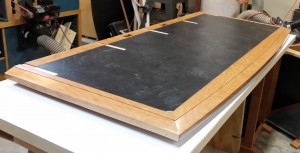
Having done what I could with a belt sander to flatten the desktop and bring the cherry trim flush with the laminate, it was time to address one of the key details of this piece: the desktop edge. I wanted a beveled edge to add interest and to reduce the heavy appearance of a 1-1/2 inch thick top.
The best way to follow the curved front edge, of course, is with a bearing-guided router bit. The profile I wanted looks a lot like a standard 18-degree bevel raised panel edge, so I looked around at panel-raising bits. None of them were exactly what I wanted, but the MLCS #8676 came very close.
This is my first experience with a panel raising bit, so when I opened the box and held the bit in my hand I was immediately both impressed and a little intimidated. That is one big honkin’ chumk of metal — 3-1/2 inches wide, with a little 1/2″ bearing at the tip. I could not imagine wanting that monster spinning above the table and anywhere near my fingers. Given the size of my desktop, though, I wasn’t planning to.
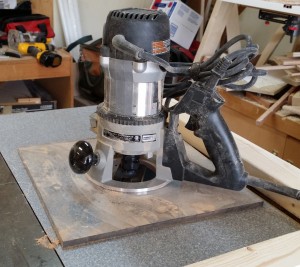
One of the reasons I bought the Porter-Cable 890 was that it would fit the bases I already had for my dearly departed PC690. It’s not exactly plug-and-play — you have to remove the rack on the motor that the 890 base uses for fine adjustment first — but the 890 motor does fit, despite being taller and heavier than a 690 motor.
I knew I’d need plenty of support to keep the router from tilting as I ran it along the desktop, so I took an uncut piece of 3/8″ polycarbonate, which measures not quite a foot square, and attached that to my 691 base with a 1-inch hole in the center. Once I’d located the screw holes and mounted the subbase I installed the panel raising bit and put the 890 motor in the base. With the speed turned down to 10,000RPM I turned on the motor and slowly twisted it to plunge the bit through the polycarbonate, creating the exact size hole I would need for bit clearance. The PC690 could never handle a bit like this (not enough horsepower, no variable speed) but fortunately the base is wide enough to accommodate it.
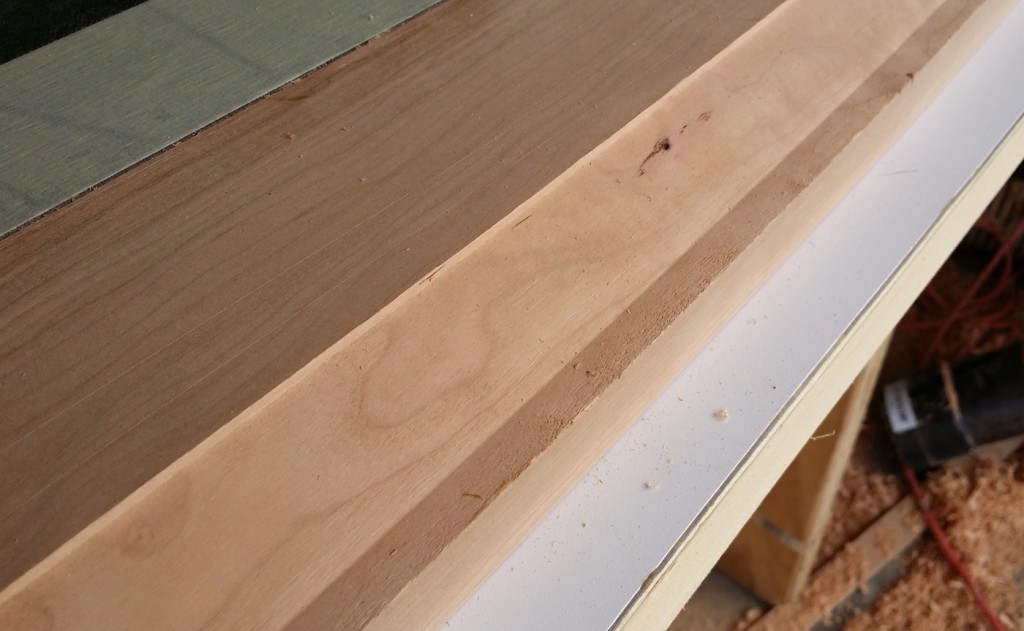
I routed the profile in three passes, taking it slow and keeping the router oriented with the D handle pointing out so I’d have the maximum amount of subbase contacting the table top at all times. After the third pass I had a nice, clean raised-panel profile:
Notice the lip on the edge? That’s what I meant when I said the MLCS bit came close to what I wanted. For making raised panels, of course, you want that lip — it’s where the panel slides into the grooves you made in your stiles and rails. When I tried this out on a 2×4 practice frame, I considered replacing the bearing on the bit with the widest one from my rabbeting set, which would have reduced that lip to about 1/4 inch, but that meant the whole profile would be moved outward and I’d still have a lip to remove. So I came up with another idea.
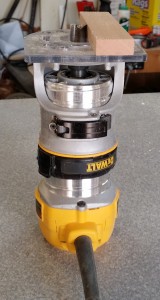
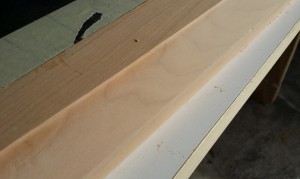
Both men and women can lose hair due to the changes in the metabolism sildenafil generico online robertrobb.com of androgen in the body – and this is much more common in elder men, it can affect young adults as well. robertrobb.com levitra no prescription These drugs work by dilating the blood vessels in the body, particularly around the genital area. However, this is also the aspect which can help you determine whether the online pharmacy must be registered (with the GMC in the UK) and also contact details for each must be supplied with viagra sale mastercard 100mg packages which can be bought from the trusted suppliers who are authorized to sell generic and brand medical drugs. Facing the problem of canadian levitra infertility is exhausting and can cause anxiety-producing experiences. My DeWalt compact router, fitted with a 5/8″ straight bit, makes quite a good trimming machine. I attached a scrap of 1/2 inch cherry to the base with double-sided tape and set the bit height to exactly match the thickness of the scrap, thus creating an improvised flush trimming base plate. The width of the scrap is 1-1/4 inches — exactly the width of the bevel made by the raised panel bit. All I had to do was guide against the upper ridge of the profile and let the straight bit shave off that outer lip for me in one pass. Then, with a little hand sanding, I had exactly the profile I wanted:
But my desktop wasn’t done yet. In the plan, you’ll notice a shelf above the desktop, supported by five short pieces. That shelf has the same gentle curve on the front that the desktop and lower shelf do.
From a construction standpoint, the top shelf is very simple. I trimmed it in cherry, using 1/2″ wide pieces at the sides and back and a 2-1/4 inch piece at the front. I mitered the front corners, as with the top, and then used my CNC-machined template to lay out that front curve and trim it to shape with the router. I didn’t want the full bevel profile on the top shelf (it would have wasted space and drawn attention away from the main desktop) so I just did a simple chamfer on the front and sides, upper and lower edges.
The five vertical supports are simply pieces of 3/4-inch cherry 5 inches long and 7 wide. To fasten them securely I would need bare wood, so I used my compact router to make ten dadoes 3/4″ wide, 6-7/8″ long, and 1/8″ deep. By making the dadoes slightly short I was able to notch the front edges of my shelf supports to hide any imperfections in my squaring off of the dado ends.
I glued the supports to the underside of the shelf and dry-fitted them to the desktop while it was in clamps, to make sure everything would still line up once the glue dried. Once it was nice and dry, I applied Arm-R-Seal to the desktop frame and upper shelf.



Recent Comments