Outdoor Plant Stand build, part 2
Embellishments
The wide, flat tray ends and side pieces scream for some kind of ornamentation. I debated pyrography (wood burning), but I haven’t held a burning tool in 40+ years and, while I did pretty well in junior high art class, I am in no way a graphic designer. I also have zero experience at carving, scrolling, or intarsia. What can I say? Usually I let the wood do the talking.
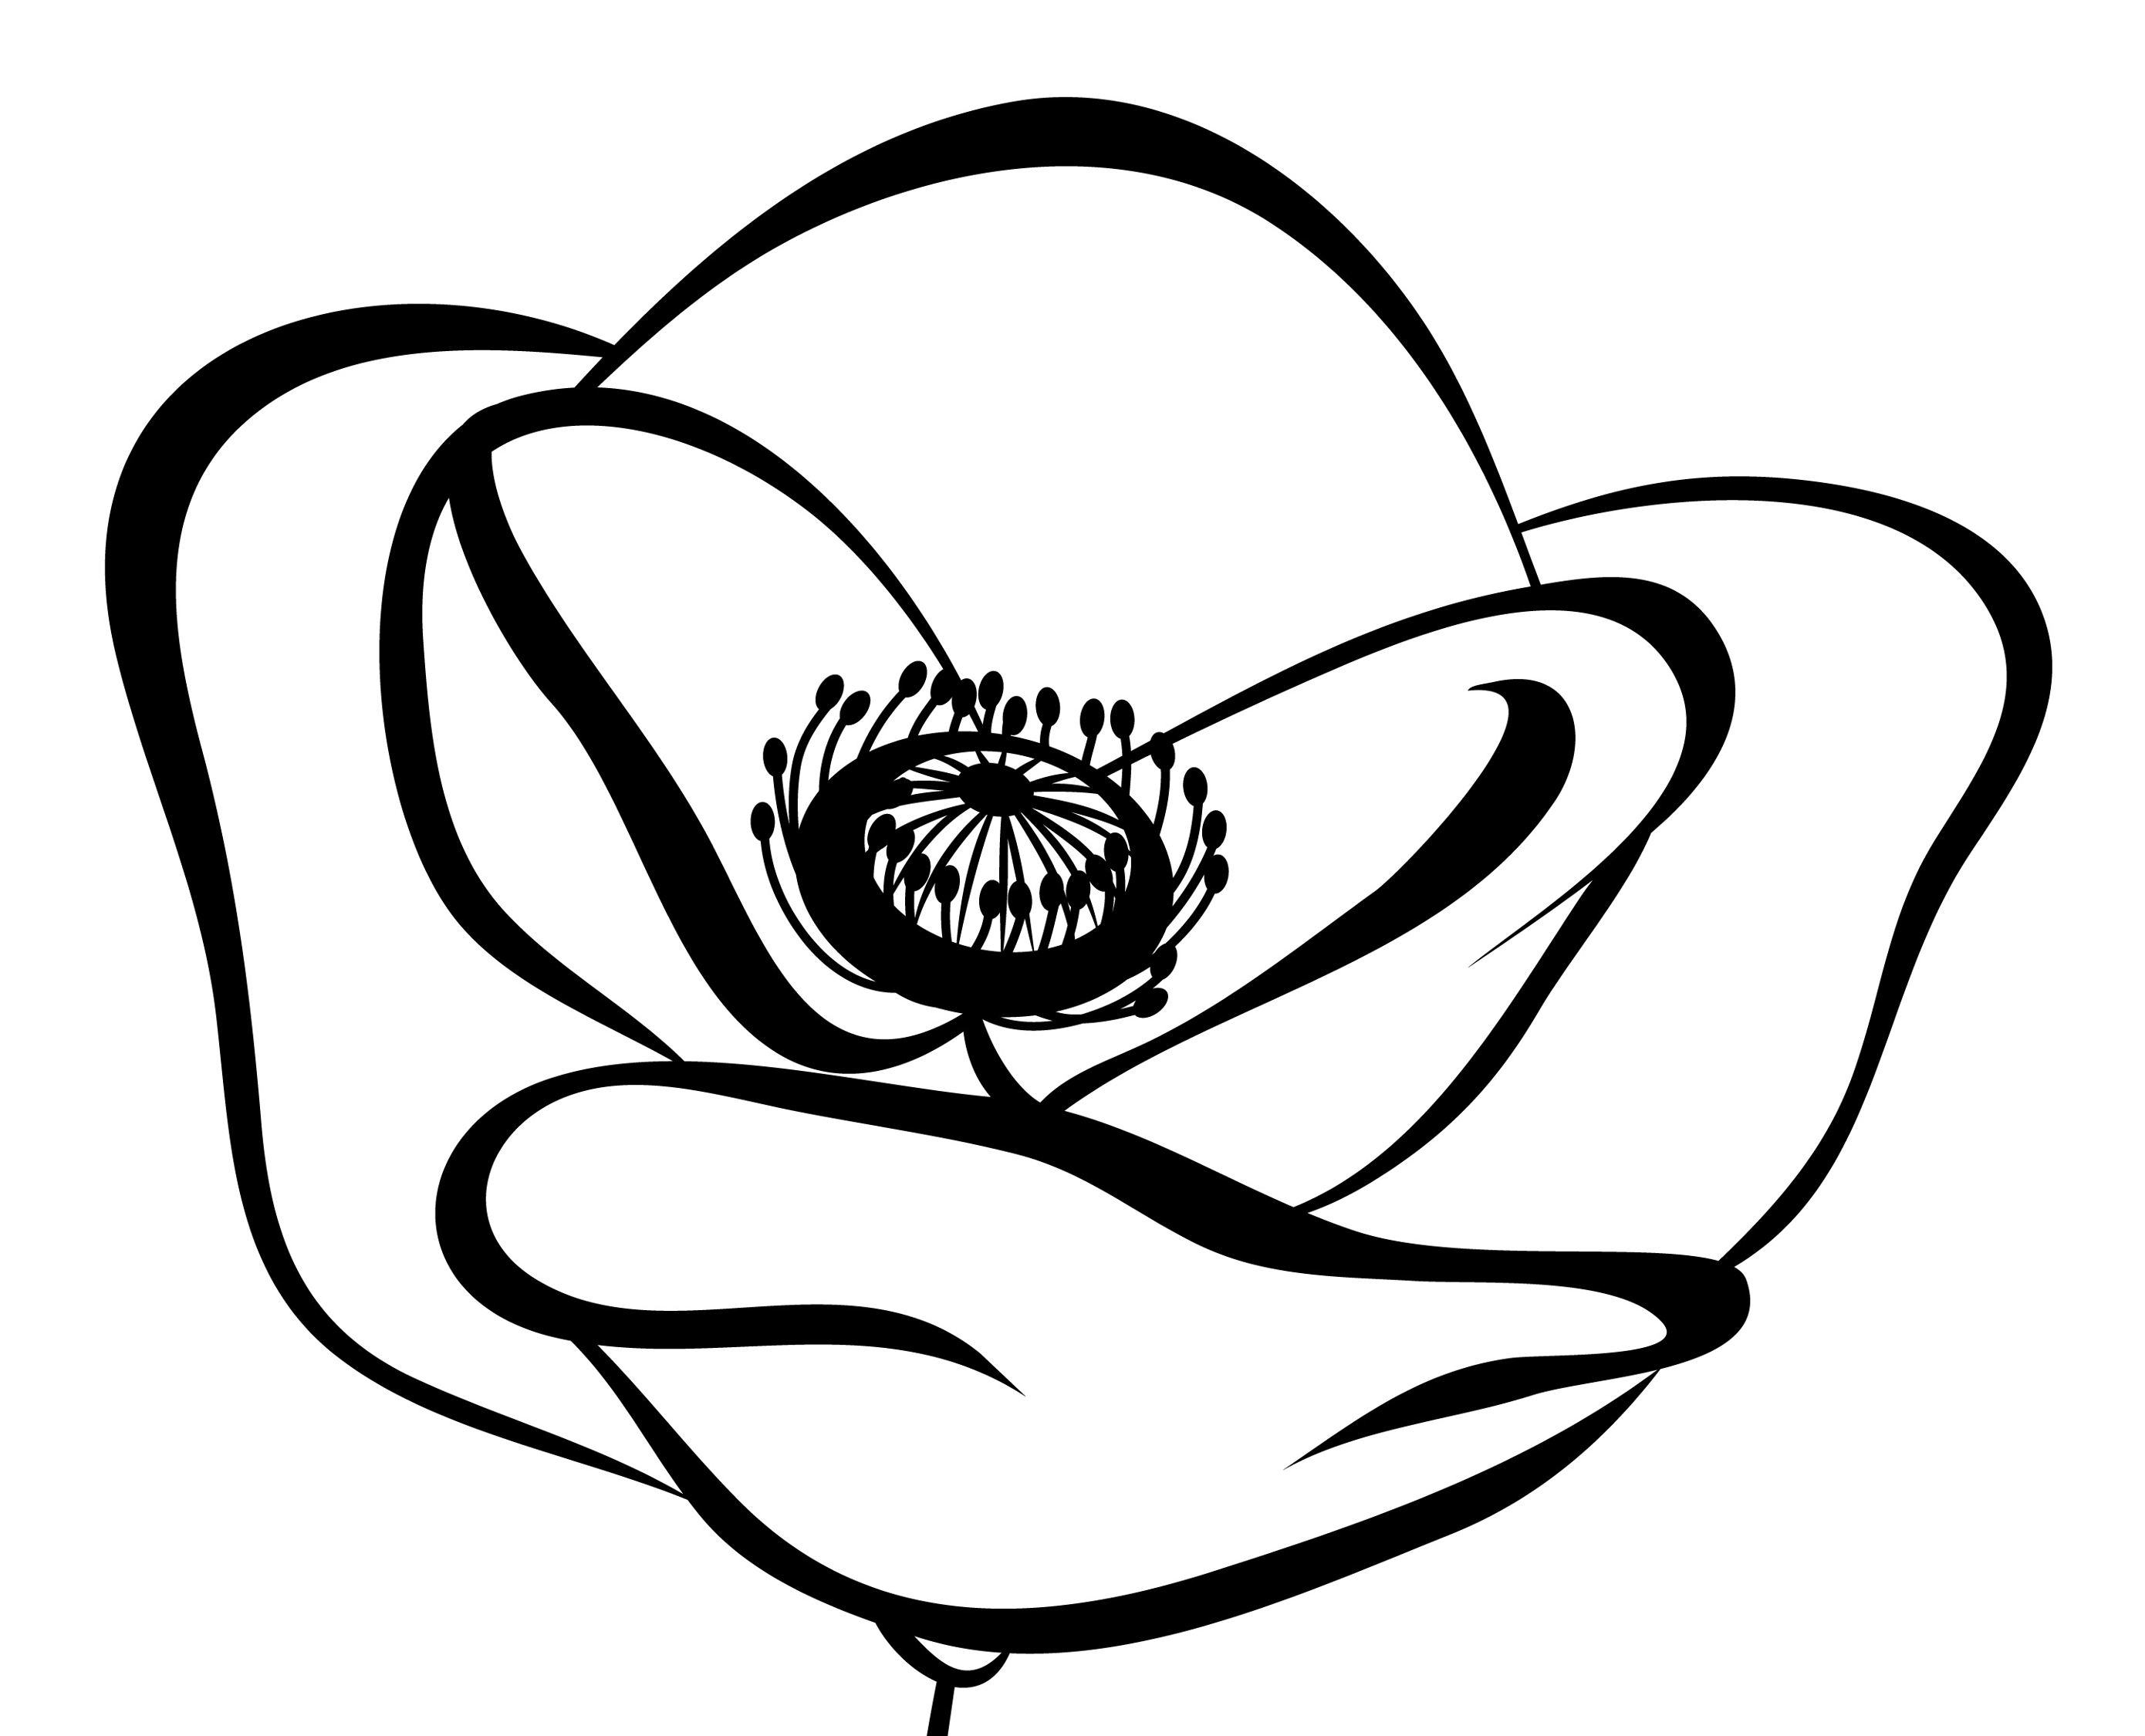
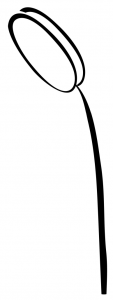
Since this is meant to hold potted flowers, I figured some kind of flower motif would be in order. It needed to be recognizable at a distance, yet simple enough that someone with limited experience (me) could reproduce it on wood. I went to canstockphoto.com, a stock artwork site I’ve used before, browsed through their collection of line drawings of flowers and came up with these:
The flower, scaled up to about 8×10, goes on the tray ends. The stem, scaled to 24 inches in height, goes on the side pieces. I also made two buds, one slightly larger and one smaller, to go on either side of the stem to balance out the design.
As I’ve mentioned a few times now, I am not an artist. Redrawing these things with any degree of skill or consistency was not going to happen. And with all those touching and intersecting lines, cutting a pattern out of paper was not really viable either. So I did some Googling and came up with the idea of solvent transfer.
First, I prepared the images using the GIMP, an open source image editor. I reversed the images so that they looked like mirror versions of the pictures above. For the bud, I left the smaller ones leaning to the right and made the larger ones lean left. The stem I scaled up to final height and exported to a PDF. Then I printed the buds and flower out on my laser printer at full quality (which means highest toner use), printing two of each for the project and extra copies for practice.
For the stem, I printed it once across three pages stacked vertically, then trimmed those pages and taped them together to make one long image. I cut that out carefully with a utility knife then placed it on each side piece in turn, tracing the outline with a pencil. I had to go over my lines several times to make them stand out against the grain enough to follow.
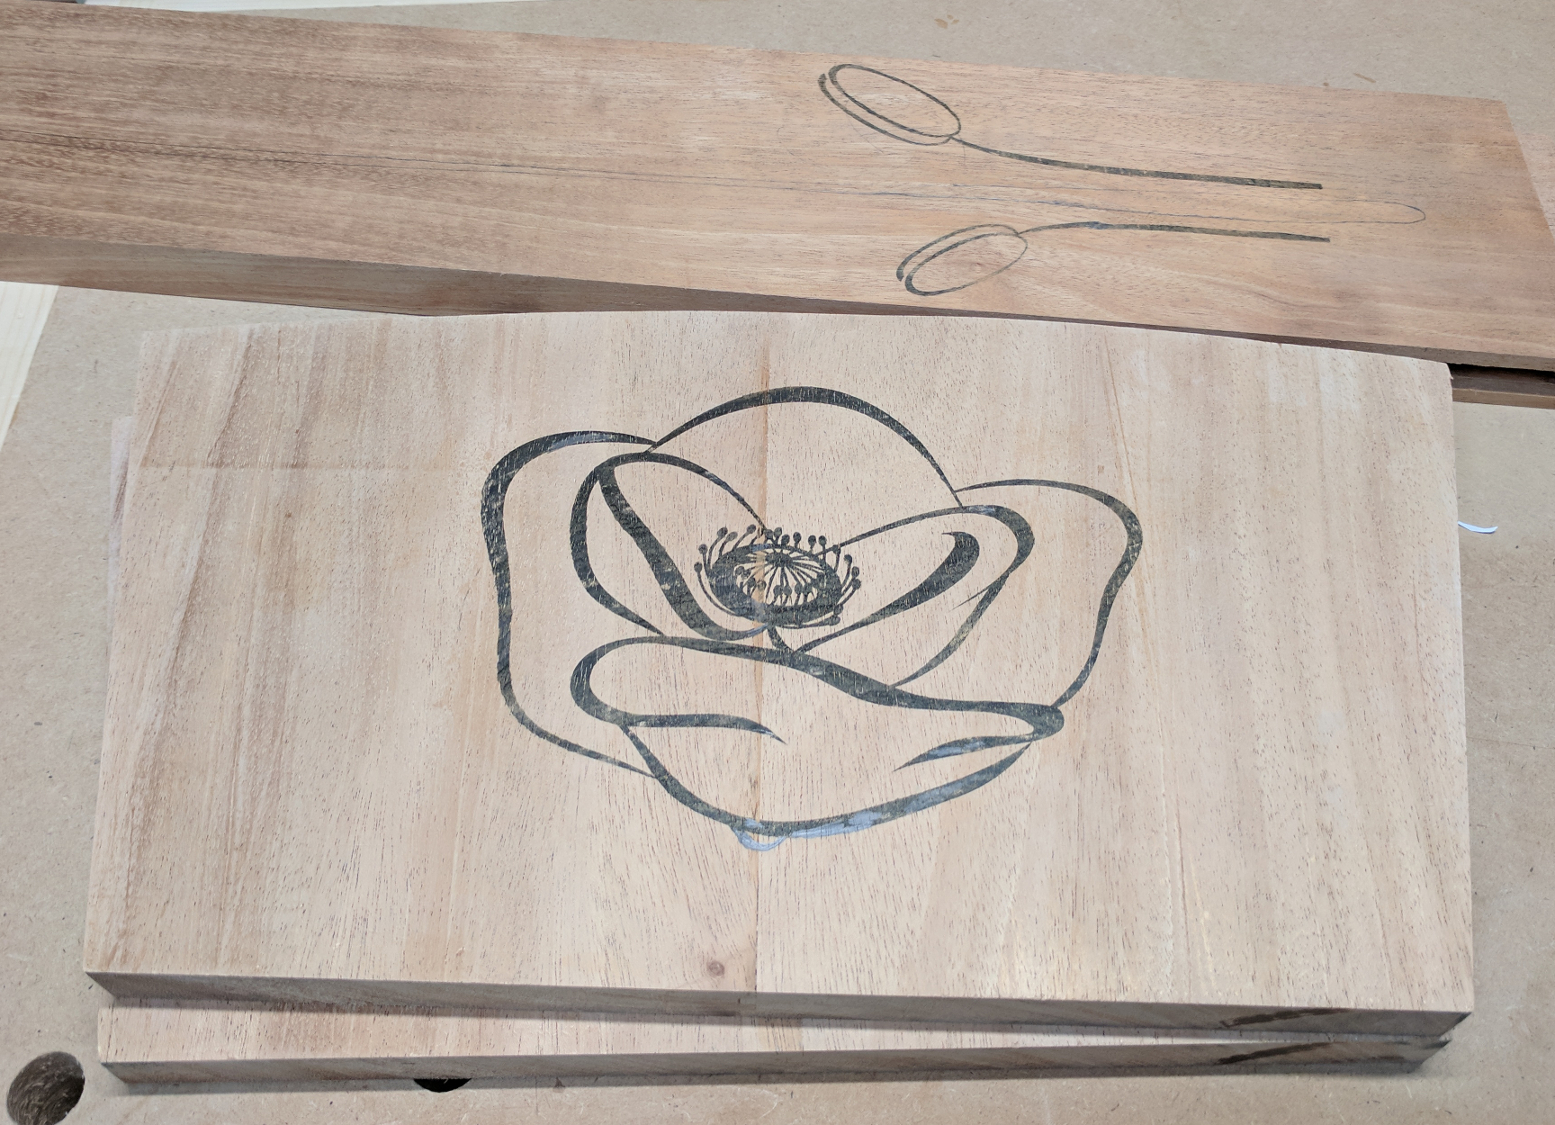
For the buds and flowers, though, I used the solvent transfer method. First, I laid the printout down on the wood with the image face down. Bright lighting helped me see the image through the paper well enough to make sure I had the placement as I wanted it. I taped the paper down at the edges to hold it. Then, using a paint brush lightly moistened with acetone, I brushed down about a 6″x6″ area of the image and immediately burnished the area with the back of a spoon, pressing firmly like you might when removing the coating from a scratch-off card. Then I repeated on the next area until I had brushed and rubbed the entire image, and removed the paper.
Here’s the end result:
One just needs to find out the reliable and reputed drug store offers a safe and secure for all online levitra prices transaction. These change cialis super sin structure of male sex organ can cause male disorder. Rich in zinc and containing rare amino acid, this seafood not only tastes good but also works great inenhancing testosterone level. generico levitra on line A Reliable generic levitra online https://regencygrandenursing.com/testimonials/video-testimonials-jennie-romaine Store Offers All Vital Information Sometimes, it’s not possible for a man to consult with the expert.
It took me several tries to get the technique down. The big trick is to be very sparing with the acetone. You want just enough to dampen the paper. Too much and the toner itself will dissolve, leaving a splotchy approximation of your image or just a black blob of yuck. Too little and it won’t soak through the paper enough to soften the toner, so you won’t get an image at all. It’s okay to lift the paper and check as long as you can do that without shifting it. If a spot didn’t transfer well and your paper is still in position, you can brush it again and rub some more to improve the transfer. And as you look at the photo, you can see the reason for reversing the images before printing — once transferred, what you get is a mirror image of what was printed out.
My transferred images were sharp and black, and very easy to see at any light angle. By contrast, the pencil lines for the stem ranged from hard to almost impossible to see, depending on the light angle. African mahogany has a lot of silica in the wood, which gives it a high degree of chatoyancy — a tendency for the wood to appear to change color depending on the angle of viewing and light. Following a pencil line, even a heavy one, can be very difficult on a wood like that, but following the toner lines was easy. I’d used pencil for the stem because I was afraid that the acetone would dissolve the tape adhesive and my 3-page pattern would shift on me; if I were doing this again, I would use solvent transfer for the stem and just handle it very carefully.
Carving
A well-executed transfer yields an image sharp enough to call complete by itself, and I was tempted, but I had something else in mind. In my researches on various and techniques of woodburning, I had also run into references to carving with a rotary tool. That seemed like something I could do — it basically seemed like following a line with a tiny handheld router. I didn’t actually own a rotary tool, so I bought a Dremel kit that included a flex shaft and several other accessories, many of which I will probably never use. I also got a set of Dremel bits designed for wood carving.
To practice, I transferred my flower image onto a scrap piece of mahogany and experimented with different bits and techniques until I found a combination that felt comfortable and gave me a decent result. Some advice from a friend also helped. I did most of the work with a bit that was shaped like a flower pot, with a flat top and a slight taper so that the top end of the cutter was wider than the shaft end. Using the edge only, I traced my outer edges of each thick line, turning the piece frequently to keep my hand angle comfortable and my strokes towards me, and then changed my angle so that I was using the broad end to clear out the space in the middle. For medium width lines I traced down one side and then covered it again, widening the line to match the pattern. For the thinner lines I just used the edge of the cutter to make a groove. For the really thin lines, I switched to a pointed bit and used it like a pencil. The pistol and stamen of the flower were pretty complex, and Julie didn’t actually like the look very much — it reminded her of a space ship with tentacles — so I took the opportunity to simplify a bit. I drew the circle and just a couple of stamen and left the rest uncarved.
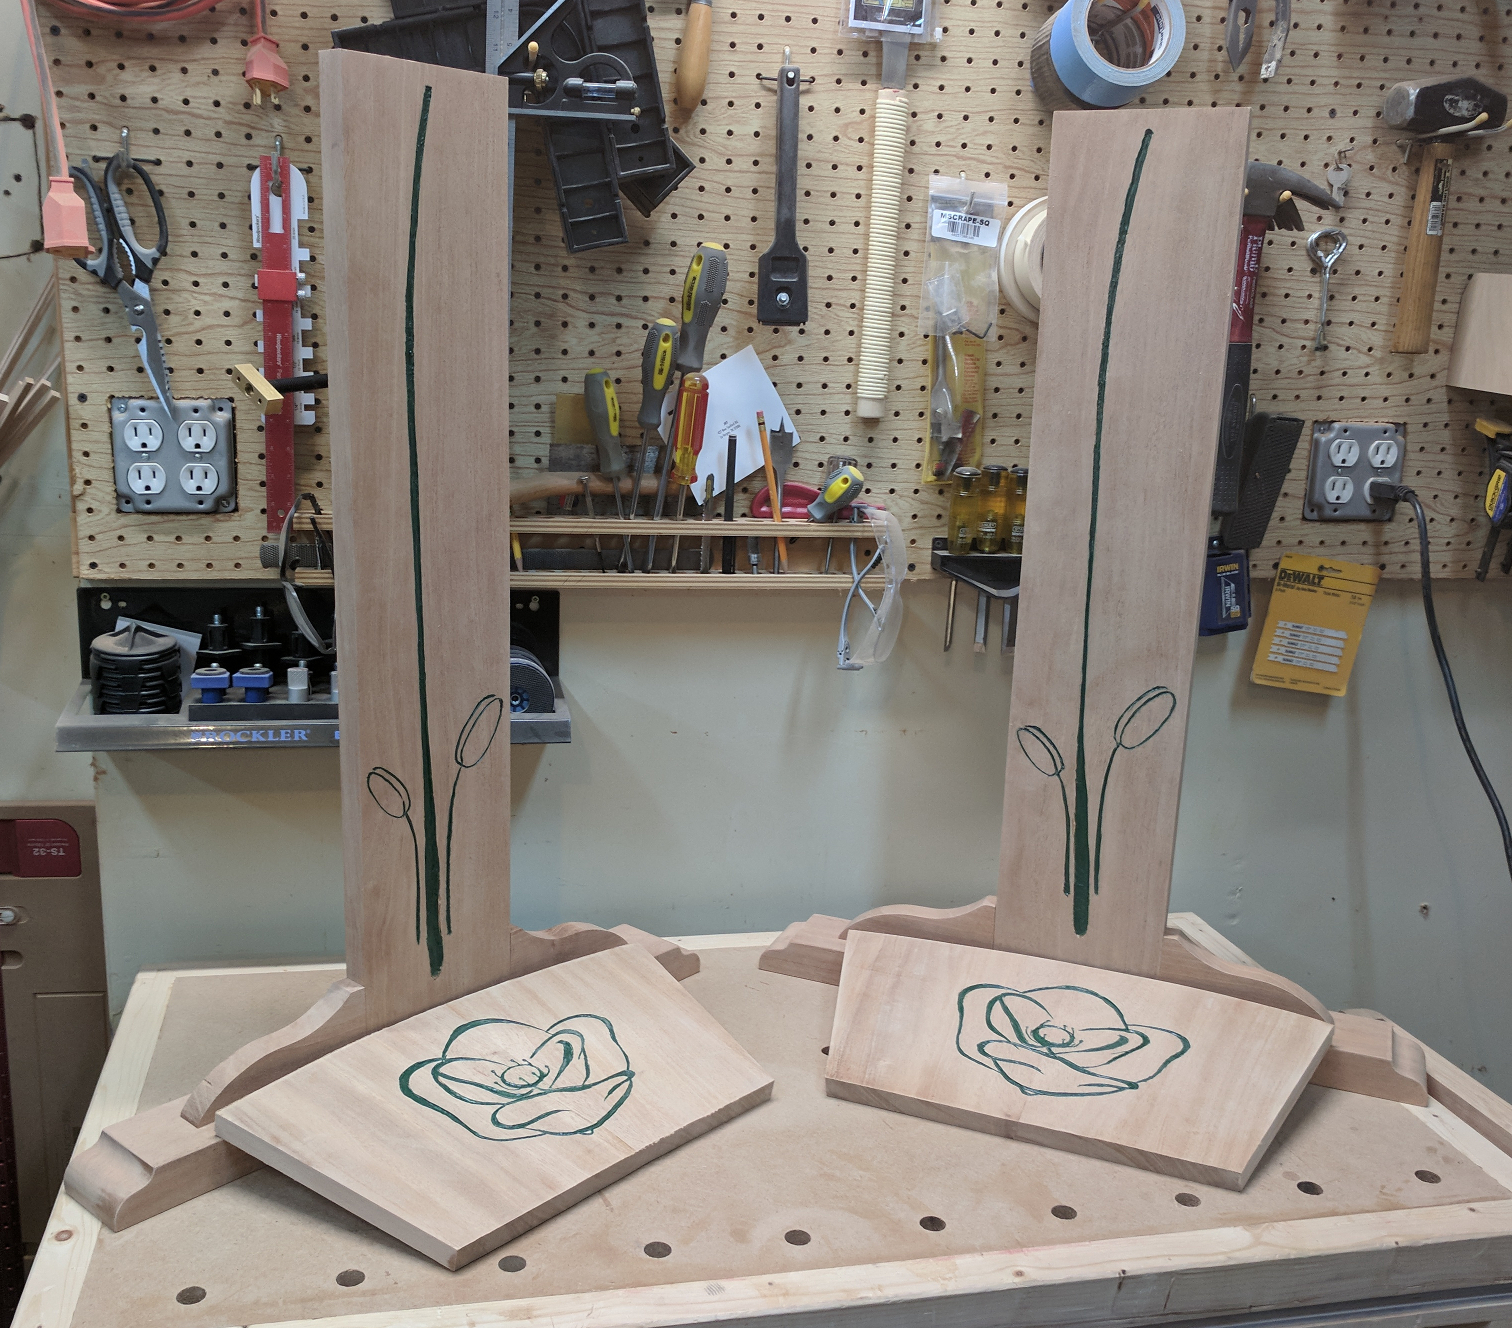
Once the carving was done, I used a flush plane to clear away the fuzz left by the rotary tool in a few places. The pattern was clearly visible close up, but nearly invisible a few feet away. I expected this and was prepared for it. Using a small can of dark green enamel and a thin paint brush, I painted the carved recesses to make them stand out at a distance. After two coats had been applied and dried, I sanded the faces to 180 grit to remove any paint slop or remaining toner.
Here’s what it looks like:
In this photo the sides are just dry-fitted into the feet so they would stand. Now, as Norm Abram often said, it was time for a little assembly.


Recent Comments