Sarah’s Bookshelf
This one was quick and easy compared to the easel. I didn’t even draw anything, because it’s going in the same room as the dresser and chest of drawers and they wanted the same style. I still had the pattern from the legs of the tall chest, so I basically designed this around that.
It started at Woodcraft, where things were a little odd. I actually bought this wood at the same time as the easel — before anything happened in Ukraine, in other words — but the price of 18mm Baltic Birch had doubled anyway. Guess the secret got out and people started using it more. But 15mm (5/8″) ply was not in as great demand and was still at the normal price, so I figured it was good enough for this … right? I bought it.
Then (doing things in reverse order again), I called Sarah to discuss dimensions and what they planned to store on it. And the answer was, actual hardcover and paperback books! Okay, but it created a problem of how to handle that weight. A 5/8″ thick shelf can handle knicknacks and maybe a few paperbacks, but a full shelf of books would bow it and then break it very quickly. To reinforce the shelves enough to hold 50lbs each, I would have to make them 2 inches thick. That wasn’t going to work aesthetically or practically. I came up with another idea to reinforce the shelves, which I’ll get into shortly.
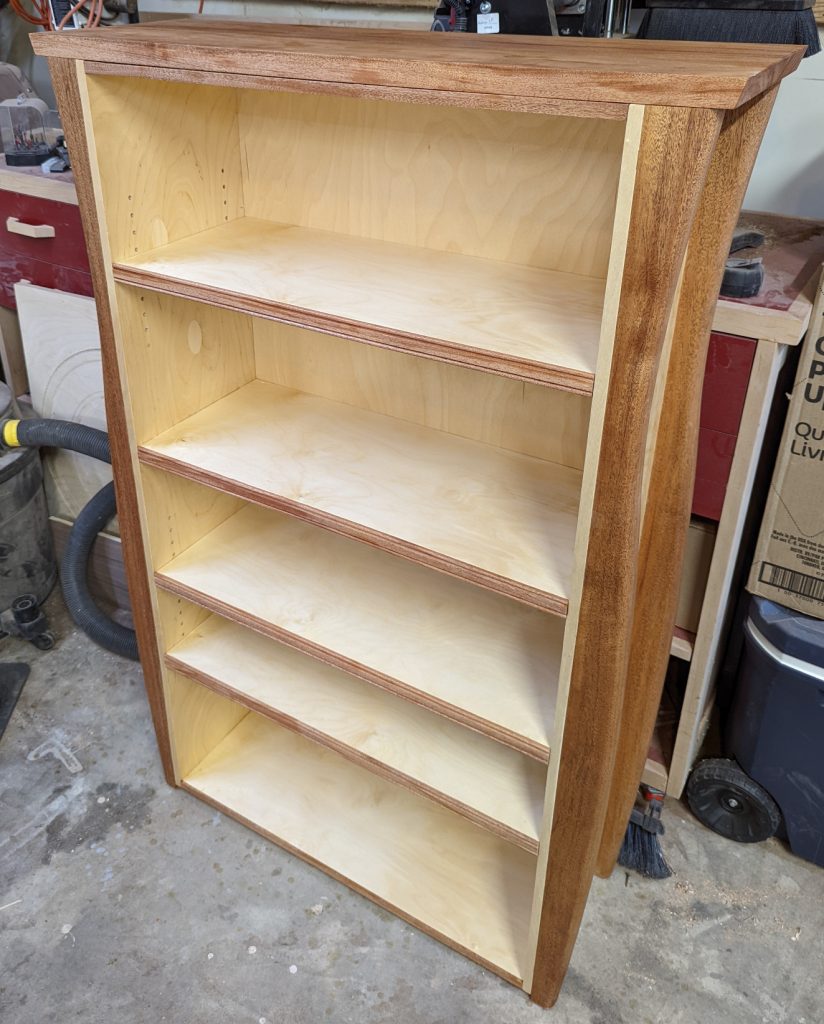
I made the final dimensions 54″ tall, just under 30″ wide, and 12″ deep (because some of the books are oversized). The height came from the leg template I already had, and the width from the necessity of cutting the plywood into 30″ pieces to get it in the car. With that established, I began with the most difficult part, the sides.

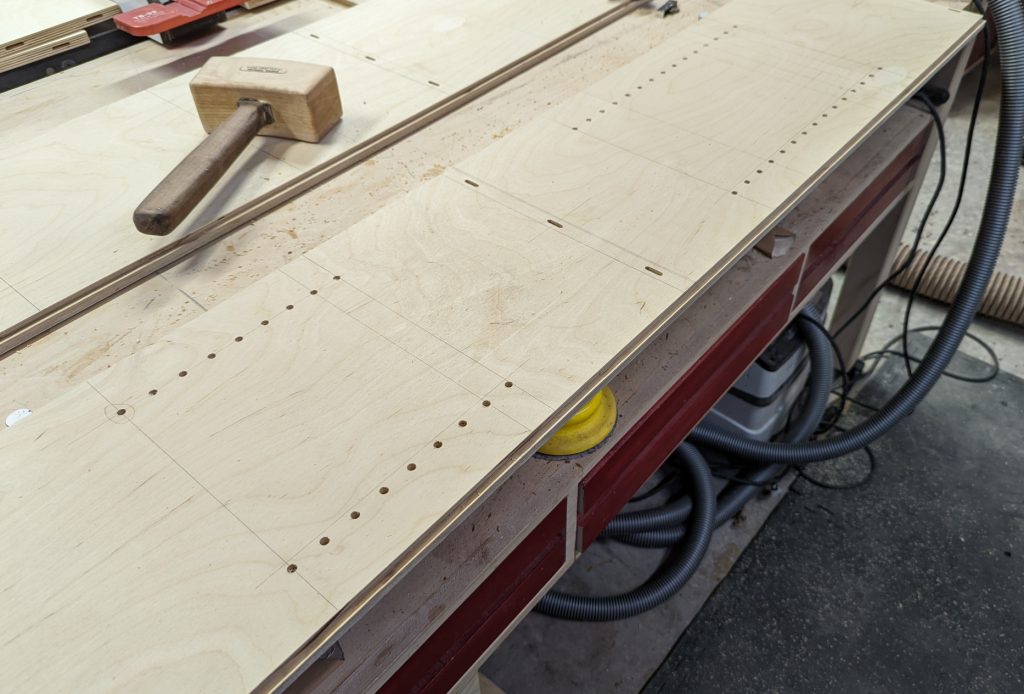
I didn’t have a Domino when I did the earlier pieces, but I have one now so I shamelessly used it to connect the basic box together. I made the top, bottom, and 1 shelf fixed and allowed for 3 adjustable shelves. The Domino worked nicely for the fixed parts, and I have a shop-made jig for drilling shelf pin holes with a router so this part went quickly. I put a rabbet on the back edges to receive a back, and my main case was done. And while I was cutting parts, I did the adjustable shelves too, but I didn’t actually assemble anything just yet.
Then I moved on to the mahogany legs and top. Since I still had my pattern, making the legs was nothing. I just traced out the pattern 4 times, rough cut the legs on the bandsaw, and finished with the router. A 3/4″ roundover made a nice bullnose profile, and the Domino was perfect for aligning the parts and making sure the legs would be tight.
The top was pre-designed, because I’d already done it twice before. I glued up a panel because my mahogany wasn’t quite wide enough get the whole top from one piece. When that was dry I gave it an initial sanding and sized it to fit right over the top of the carcase, using 15-degree bevels just like the other pieces on each side.
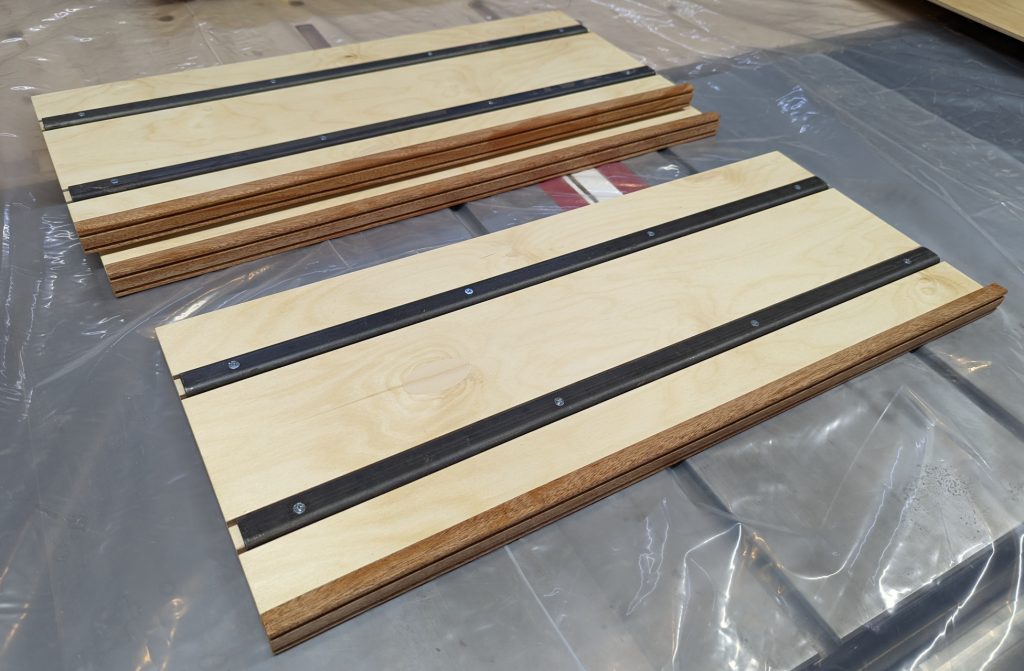
But before I could put anything together, I had to solve the weight problem. My idea, ripped blatantly from YouTube videos of river tables and “live edge” slab tables, was to reinforce the shelves with steel. I ordered 12 pieces of C channel from Home Depot (1″ wide, 1/2″ tall, and 36″ long) and planned to use 2 pieces under each shelf, epoxied and screwed to the underside.
I’m not a metalworker. Not even close. I do have a drill press, an angle grinder, and a hack saw so I could have cut the steel down, made countersunk holes, and spent the better part of a week doing that. But I’m also someone with two sons who work metal every day, and they have multiple huge and amazing machines that can do those same things way more accurately and efficiently than I can. So I reached out to Adam, who made time for me, and in a little over an hour we had all twelve pieces sized and countersunk way more professionally than I could ever hope to do. (Thanks, Adam!)
And now that I had them, I could work out exactly where I needed to groove the bottoms of the shelves so the sides of the C channel would fit into the shelf and screws go in from underneath. The steel would sit 1/8″ proud of the underside of the shelf and dig in about halfway through my 5/8″ thickness. I placed the grooves just inside the shelf pin columns.

To hide the steel a from view unless looked at from the floor, I added a homemade molding to the front of the shelves that hung down 3/8″. The molding was easy to cut from the waste of the top.
Now I could start actually assembling things! The carcase went together quickly with Dominoes, and the legs went on the sides just as simply. I cut a 1/4″ plywood back and the aforementioned shelf trim, and then faced the mountain of hand sanding.
I would have liked to use hard wax oil on this, but it was going to the same room as the other pieces and I hadn’t discovered hard wax oil yet when I made them. So I used Arm-R-Seal to be consistent, 4-5 coats in all. Then I attached the top, back, and put the steel in all the shelves except the top — I figured between the 5/8″ plywood and the inch-plus of solid mahogany the top would be fine.

This was fun and really very easy, thanks in large part to Adam’s help with the steel. I have every confidence this thing will be able to handle a full load of books and then some.


Recent Comments