Julie’s Bow-front Chest, final
It was time for the final fitting and finishing … which, frankly, was some of the worst woodworking I’ve done in a long time. I’m pretty unhappy with the final product. But here goes.
I suspected I had a problem when the middle drawers, especially at the top, had to be trimmed a little bit to get them to fit. Trim them I did, and they fit okay, but they were definitely squeezed at the back. This became more pronounced when I actually glued the carcase together, I guess because it was now rigid. Now those two drawers were very loose in the front third, okay in the middle, and really tight in the back. The top one in particular was really bad. I took out a couple shims and it was better, but I’m still not happy with it.
Then came the drawer fronts. The design feature of the project, so they had to be right. Well … they weren’t quite. It started when I fitted the long blanks into place to make sure I had the right sizing.

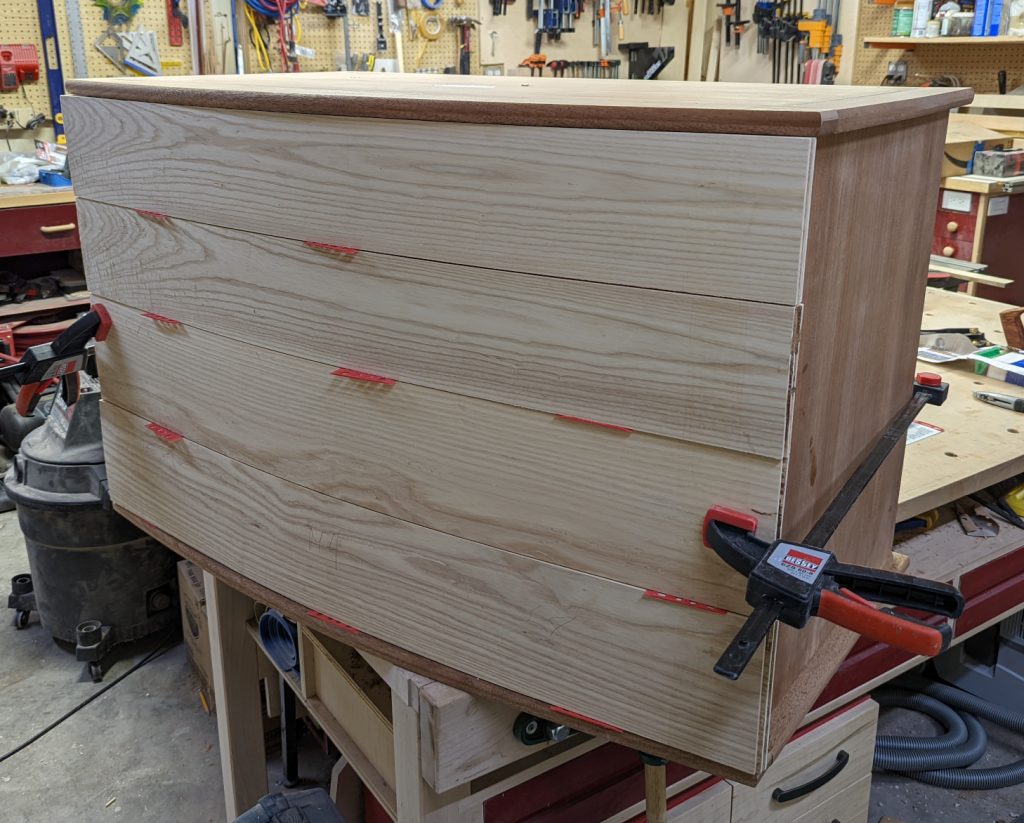
Looks pretty good, right? Not really; the curve doesn’t match the curve of the top and bottom — my mold was too thin at the bottom, and it curved up to meet the workpieces, resulting in my losing about 3/4 of an inch on each side. As a result, while I had the width okay, was that they didn’t come back to the side panels and the gap was pretty noticeable.
The right way to fix that, I guess, would have been to remake the top and bottom panels, or at least recut the curve to match the drawers. I chose instead to, essentially, force it to fit — I was going to cut each piece into three anyway, so I figured I could use those gaps to make it conform.
News flash — that was a poor choice. But I’m not sure remaking the top and bottom would have worked out better, because my big problem turned out to be that the same curve was miscut in my drawer boxes too. And since they didn’t conform, I couldn’t make the fronts conform any better.
In the end, knowing it was going to go in the bedroom closet, I opted to build out the external panels a little extra and force-fit the fronts a little, and hope it evened out. And it mostly did.
Turning 4 blanks into 12 drawer fronts and fitting them on proved to be the grimmest, ugliest part of this build and I need to find a better way to do it before I try anything similar again. I started from the center of each blank, using the bending form as a table saw sled and slicing off the centers first. Then I marked and cut each side piece to length, measuring it in place with appropriate spacers and using the carcase itself instead of trusting a tape measure. That wasn’t so bad.
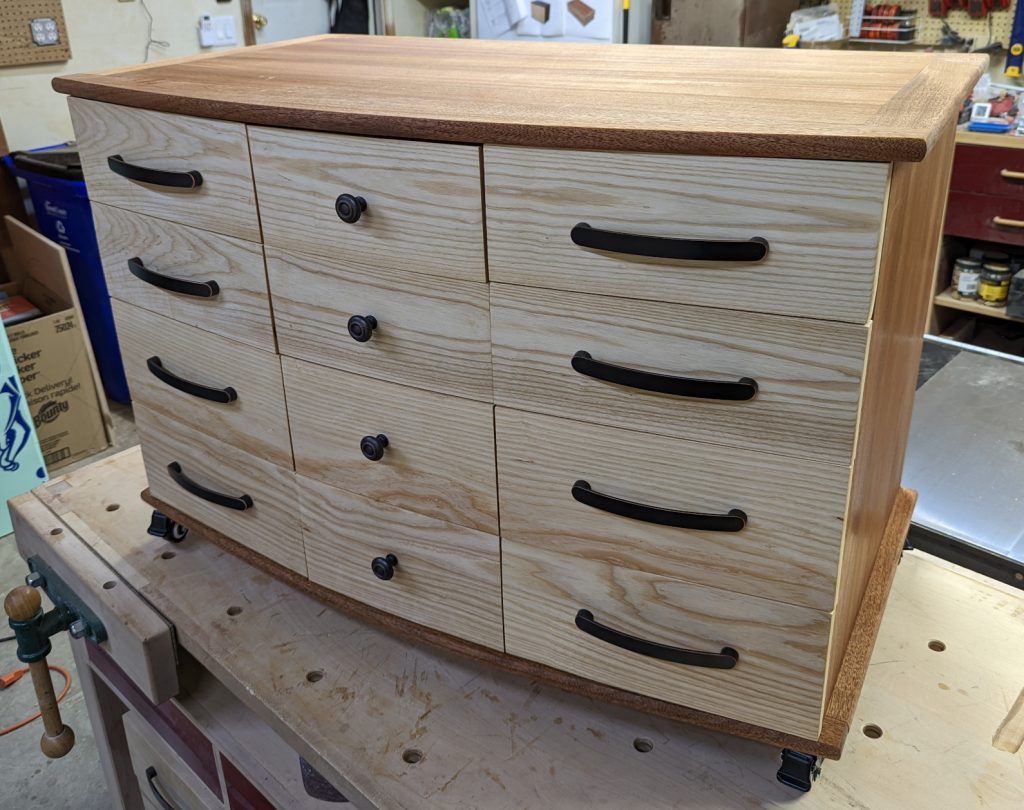
But then attaching the drawer fronts … that was ugly. They were not in plane with one another, and sometimes the unevenness was over 1/4″ from one drawer to the next. I used a combination of a power plane, belt sander, and random orbit sander to get them close and in the process, through taking them off and putting them back on, some of the gaps changed. It was a complete mess and more than once I thought about tossing the whole piece and starting over. But Julie was happy with it, and I was a little too stubborn and refused to let the project beat me. In the end it’s amateurish-to-okay at best, but it all fits together.
I attached wheels to the bottom (the better to move it into the closet with) and cut a plain back out of 1/4″ plywood to help hold it all together. The outside got finished with Oli Natura and it went up to the closet.

Julie is very happy with it, but I’m really not. It will do, and it’s in the closet so I don’t have to see it every day. I just look at it and see all the mistakes. Then again, I do the same thing when I look at myself, and Julie doesn’t mind my flaws. I guess that’s what love is about.


Recent Comments