A Quick “Hunny-do”
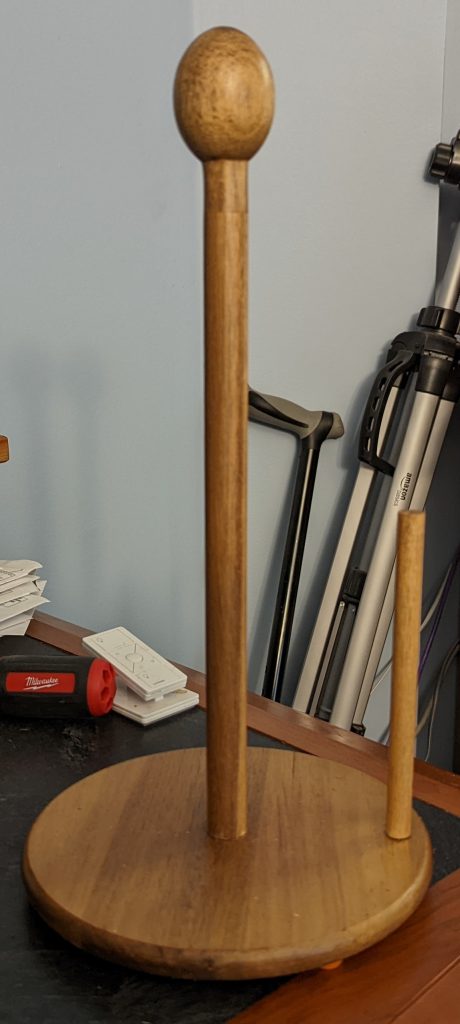
We all get these projects from time to time, don’t we? In this case, it was a paper towel holder we’ve had for years that we’d finally had enough of.
The design was fine, mind you. It’s designed to hold one roll, has a little bar to help with tearing them off, but it’s able to be picked up and taken near a spill rather than sitting in one place. The roll slips on and off easily but there is still a knob at the top to grab it by.

Ours was made in China, and it’s worked fine for us until it started to break. The central shaft has tiny cracks in it that, so it longer captures the threads, and the bar at the side is also loose. I could have just bought another, but dammit, I have a workshop! And, let’s face it, after kind of blowing the last project I needed a pick-me-up.
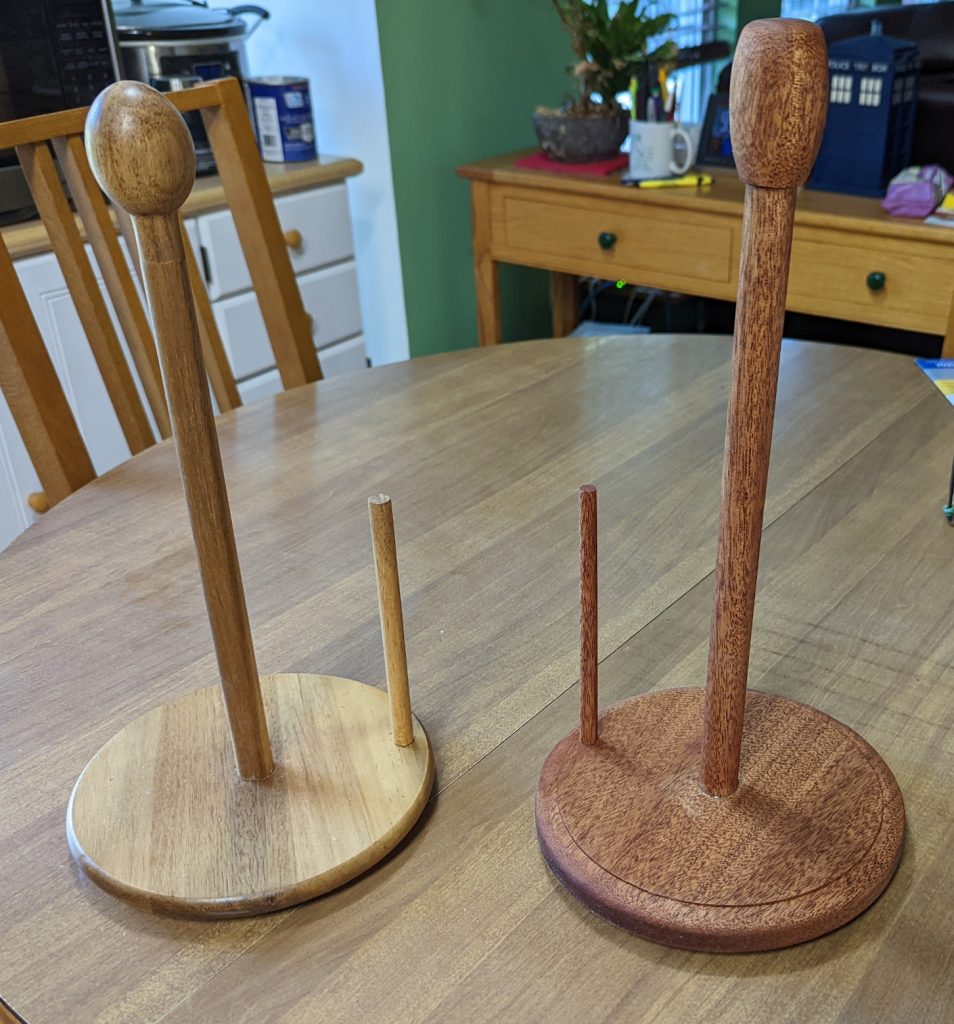
I had some leftover sapele, so I used that. It’s basically a round piece (7-1/2 inches round), thick (3/4″) and thin (3/8″) dowels, and some sort of knob at the top. The only real challenge here was that I don’t own a lathe, so none of these pieces could actually be turned.
I started with the base. The size is pretty small, so instead of getting out the big trammel I inaugurated my 6-in-1 Universal Trim Router Jig, which I’d bought from Tamar Hannah. It worked well, though it was difficult to do increasing plunge depth because only the fixed router base would fit the jig — I have plunge bases for both my Milwaukee and DeWalt trim routers, but neither would fit. But I took shallow bites (about 3/16″) and got through that fine.
To make sapele dowels, I used another trick which Tamar has used — cut an overlong square piece of the size I need and use an appropriate-sized roundover bit to turn most of the square piece into a round one. So I cut a 15-inch piece of 3/4 x 3/4 stock and used a 3/8″ roundover to turn most of it into a 3/4″ dowel, leaving about an inch at each end to stay square. Then I cut a piece 3/8″ square and used a 3/16″ roundover bit on that one. Cut off the square ends, and that’s that.
For the knob, I glued up a small block 1-1/2″ x 2″ from my 3/4″ stock and let that dry, then clipped off the corners to make it an octagon. I had a 45-degree jig from an older project that I could sit the workpiece in to do this at the tablesaw.
Now I had a 2″ x 1-1/2″ octagon. I drilled a 3/8″ hole about an inch deep in one end right at the centermark and glued in a dowel. I left this dowel long at first (about 5″ sticking out) and used it to chuck the piece in my drill. Then I turned on the stationary belt sander and held the piece against it, turning it away from the rotation of the belt, and my octagon quickly became round and perfectly symmetrical.
Since I still had the 3/16″ roundover bit in the router table, I used that to ease the bottom edge of the base. Then I switch to a small table-edge bit to ease the top edge and leave a little lip for a reveal. There wasn’t much to sand so I just did it all by hand, starting at 120 grit and then going to 180 grit.
The hardest part of the assembly was drilling the larger rod. My 1/4″ pilot hole from the center pin of the router because a mounting hole for a 1/4″ dowel, and I had to drill by eye up the center of the dowel to fit it down over the pin. Then I had to drill the other end with a 3/8″ bit to a depth of about an inch and cut the excess length off the knob. The same 3/8″ bit made a hole at the edge for the smaller dowel to sit in. A few drops of glue, let that dry, and then a coat of mineral oil and wax for a final finish, and it was done.


Recent Comments