
Sewing table, part 2
A Drop-Leaf Top
I’ve never done a drop-leaf anything before, so this was one of the new challenges that drew me to this design.
I found lots of pictures online of drop-leafs that were just hanging there, with no joinery aside from hinges, but that seemed unrefined. I also found several examples where the leaf simply folded over the original top and lay flat. I hated that because it would mean having to fully clear the table top before it could be opened and again before it could be closed.
No, I wanted actual rule joints for this. The big benefit of a rule joint is that your table top is supported all along its width on the joint side, and only needs one point of solid support farther out to be nice and stable. The hardware is hidden but very simple, consisting of drop-leaf hinges that are asymmetrical (longer on one side than the other).
The supports for the leaf can take any of several classic styles, from simple pull-outs that run parallel to the table top to a full swing-out leg assembly, which provides the ultimate in support. For this design, which features drawers and will roll around on wheels, I went with a swing support that takes weight from the top and transfers it to the cabinet side. It’s technically not as strong as an extra leg, but should be enough for this application and doesn’t require me to deal with extra casters.
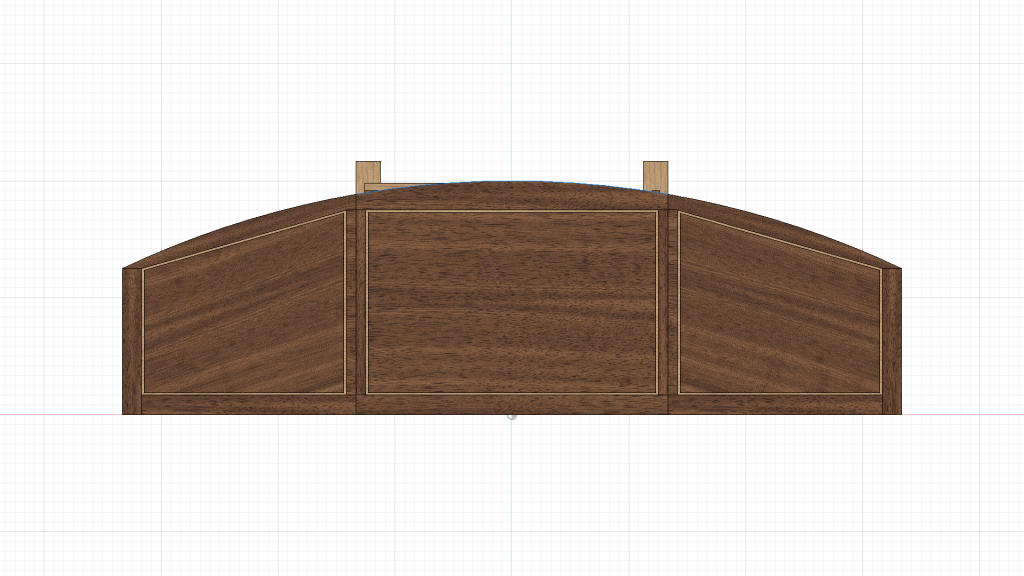
The top starts as three separate pieces. I started with plywood centers, and cut the two sides with a bevel on the front. Then I wrapped those pieces with 3/16″ maple to create a contrasting stripe — this was purely for decoration, but I like the way it came out. And finally, I framed those assemblies with solid sapele. Because I wanted a curve on the front, the front rails are 4 inches wide while the sides and back are 2 inches. I also added an extra half-inch to the width of the internal dividers so that when I cut the rule joint they would look equal to the others.
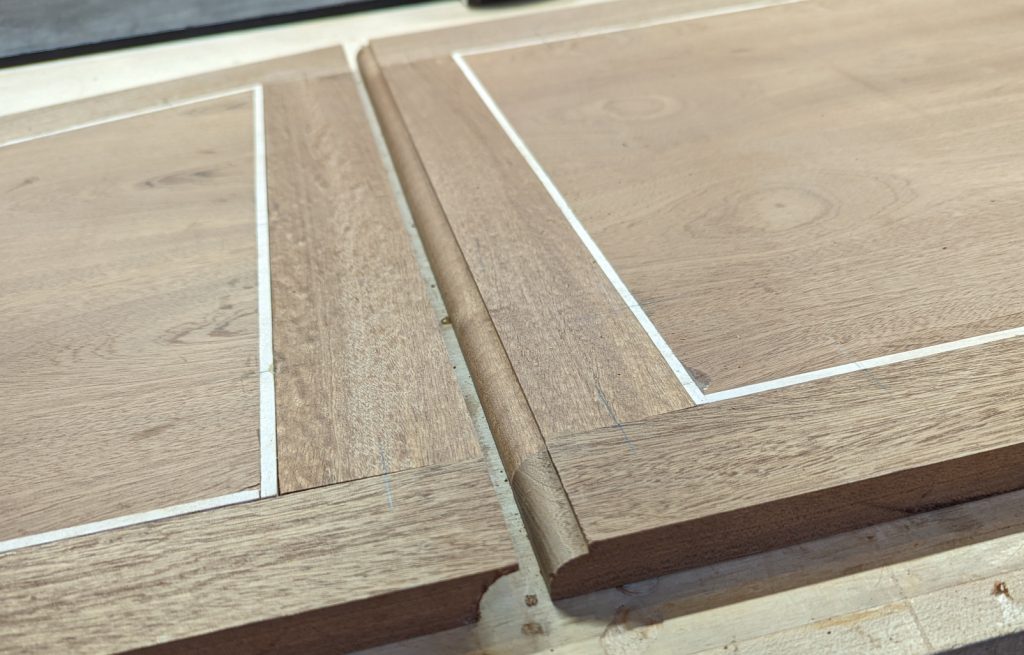
Next, I cut the rule joint. Because this is a 3/4″ thick top, I went with 1/2″ roundover and cove bits and a 1/8″ reveal on the top. As you can see below, the result looks like 2 inches and matches the rest of the rails.
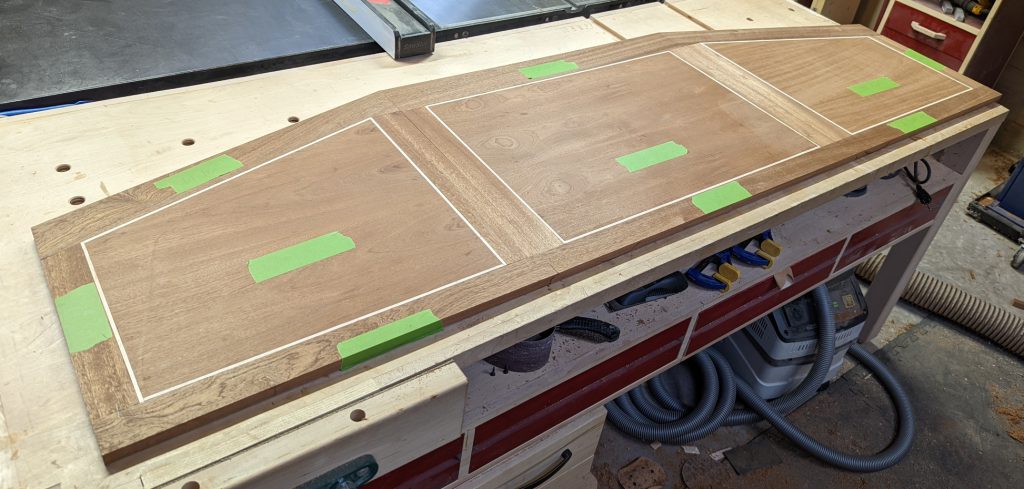
I sanded the entire top assembly so it would lay flat, and then it was time to address the mortises. I read up from a couple sources on how to do this, and started with practice scraps. There are two different router setups involved: one to do the deep part of the mortise that accommodates the hinge knuckle, and another to cut the more shallow parts around that. The trick is locating then correctly: 2-4 inches from either edge, and adding a third or fourth hinge if the distance between those two is more than 15 inches. Mine was 16 inches, so I moved each in to they are 5 inches from the edge. Cheating, but I thought it looked better than a third hinge.
Now, with the sections clamped together, I could lay out the curve on the front. My drawing bow wasn’t long enough to do the whole thing, so I laid it out in sections, starting from the center and then matching up the same amount of curve on both ends. I cut the curves on the bandsaw (mostly because I have never felt confident using a jigsaw for precise work) and refined them on the spindle sander. While I was at it, I eased the front and side edges with a table edge bit, which is a slightly elongated roundover and fillet.
I left my two router tables set up once I made the test pieces, and once I had that dialed in I left my two hand-held routers set up with spiral bits for the mortises. This would be fortuitous.
When the test joint worked well, it was time to do the actual table top. I used one router to do the knuckle of the hinge, and a different one to freehand route the mortises just to the inside of my marks, then finished them with a chisel.
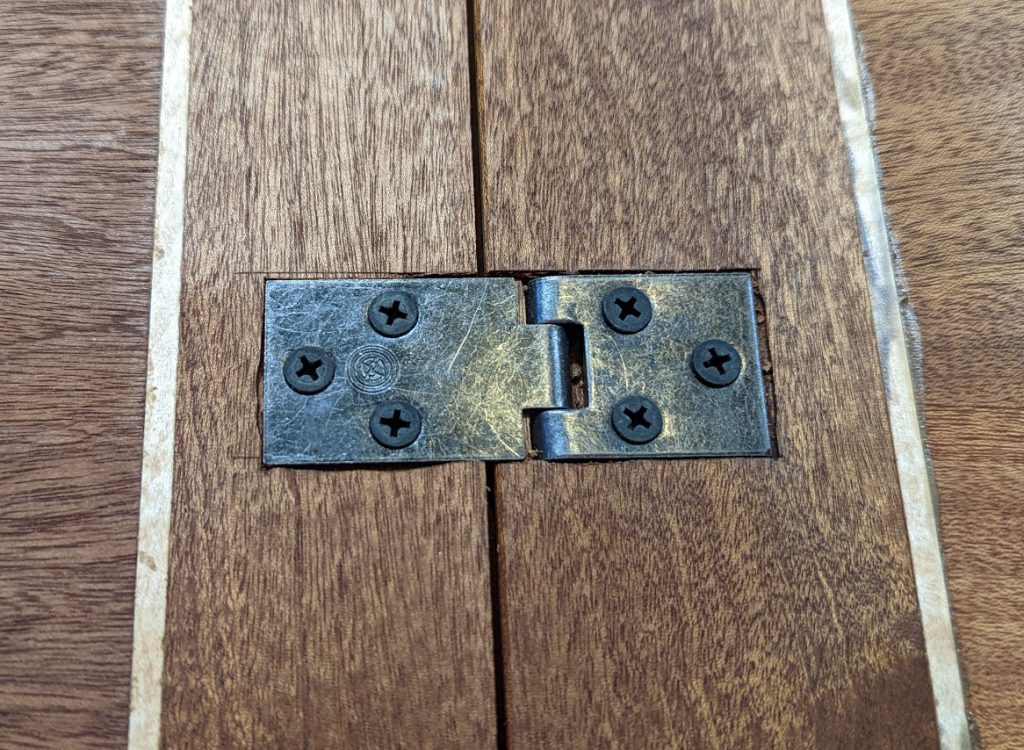
Feeling triumphant, I took the assembled top over to the cabinet … and cried. I hadn’t allowed for the inset of the hinges on the tabletop side, which effectively made the table 1 inch shorter — which in my case, meant one inch too short to fit!
There was no fix for this except to remake the center top from the beginning. So I did that, making the top one inch (and 1/8″ fudge room) wider but otherwise identical. And this time, it fit perfectly.
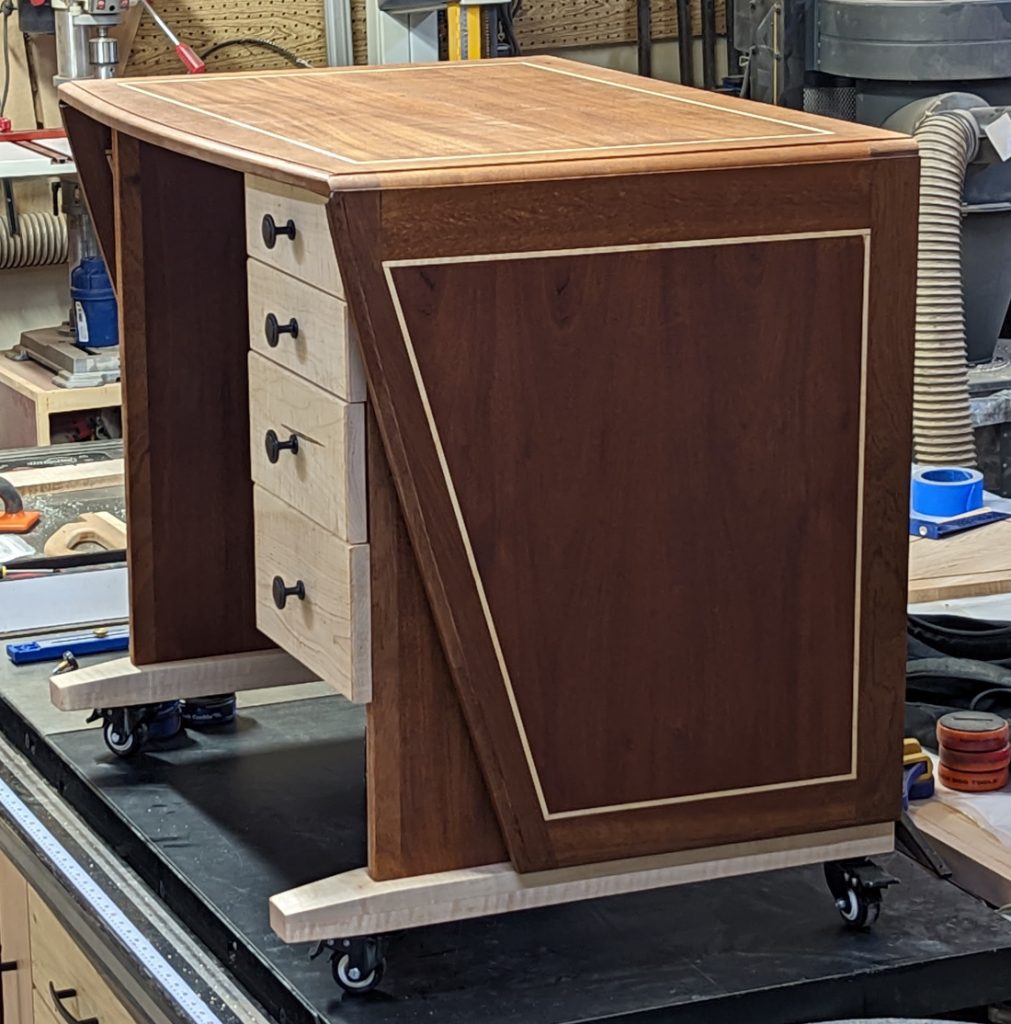
Next up: adding swing supports, looking at the drawers, and putting on a back panel to complete it.


Recent Comments