
Adam’s end tables
The second part of Adam’s housewarming gift was a pair of end tables to go with the coffee table. He had only one requirement, which was for a drawer 5 inches deep. Seemed fairly simple.
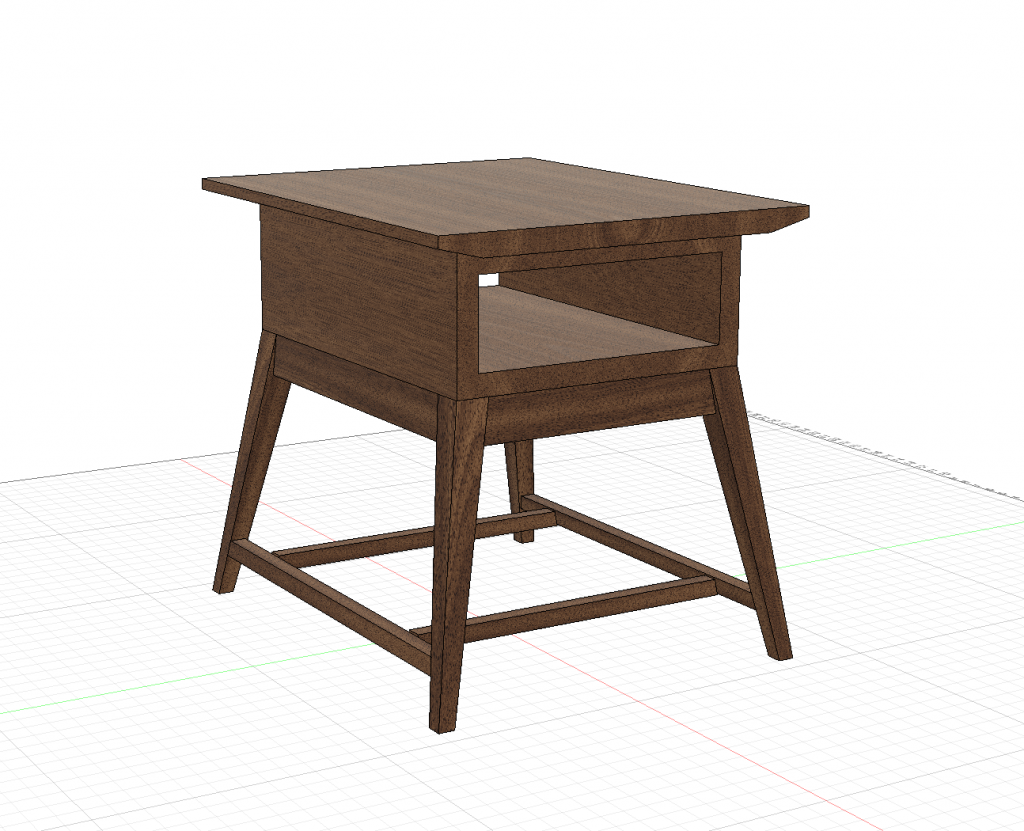
I would add a drawer, and a nice prewired AC box with USB and three-wire outlets. There would also be glass across the bottom stretchers, for shelf storage and to tie it together with the coffee table.
I started out by milling the stock, leaving some extra material on the legs and stretcher pieces so I could custom trim them. That made a nice, neat stack of parts.
Next, I focused on cutting my legs to shape. This, like the coffee table, required me to think before cutting and I’d be lying if I said they call came out perfectly. I actually started with 10 blanks so that I’d be able to screw up two, and I did.
Before tapering, I cut a large notch in the top of each leg. This notch would cradle the drawer box in position, and screws would hold the drawer box to the frame. Since the drawer box was made of plywood and the frame was solid stock, this seemed like a good idea.
Then, I tapered the inner two sides of each leg. And, having made it though with 8 legs all cut correctly, I had a little celebration.
Next up came the drawer box. I cut some pieces of sapele to 1/2″ for the front and 1/8″ for the back and attached them to the uncut box pieces. I figured doing that first would make it easier than doing 16 pieces afterwards, and I was right.
Then I followed the process to make a mitered box with flowing grain on all the visible sections. I didn’t really need flowing grain — the top and bottom wouldn’t be visible — but I figured it was a chance to practice. So I cut the miters and fit the boxes together with tape, for now. They looked good.
I also took the time now to miter the corners around the top and apply that. The panel in the middle is sapele veneered plywood, with broad pieces of solid stock to make a frame. I made the frame a little larger than the plywood — 1 inch, vs 3/4 inch — so I could do a large back-bevel, like with the coffee table. I would fill in the extra 1/4 inch later with more plywood.
Now came the really challenging part: fitting the leg assemblies in place and measuring and cutting the stretchers. I’d made liberal use of my Domino for the legs and aprons, but the stretchers were too small for that. I ended up doing blind dowel joints, at an angle.
Fortunately, the clamping cauls I’d made for the coffee table legs still worked on the end tables (same angles). They didn’t work perfectly because the stretchers got push toward the floor if I used too much clamping pressure, so I had to watch the pieces carefully. Then, as I held the stretchers in position against the legs one at a time, I could mark where the ends would be cut. Then, with the legs sitting in place, I would mark the stretchers between then for precise length and cut them.
The front and back stretchers would be doweled into the front and rear table legs. I made a jig with the right drilling angle and drilled out the dowel holes on the stretcher side, then did the legs freehand (because I’d have to make a different jig for each leg). The side stretchers came in an inch and a half to they could support the glass shelf, and attached to the front and rear stretchers.
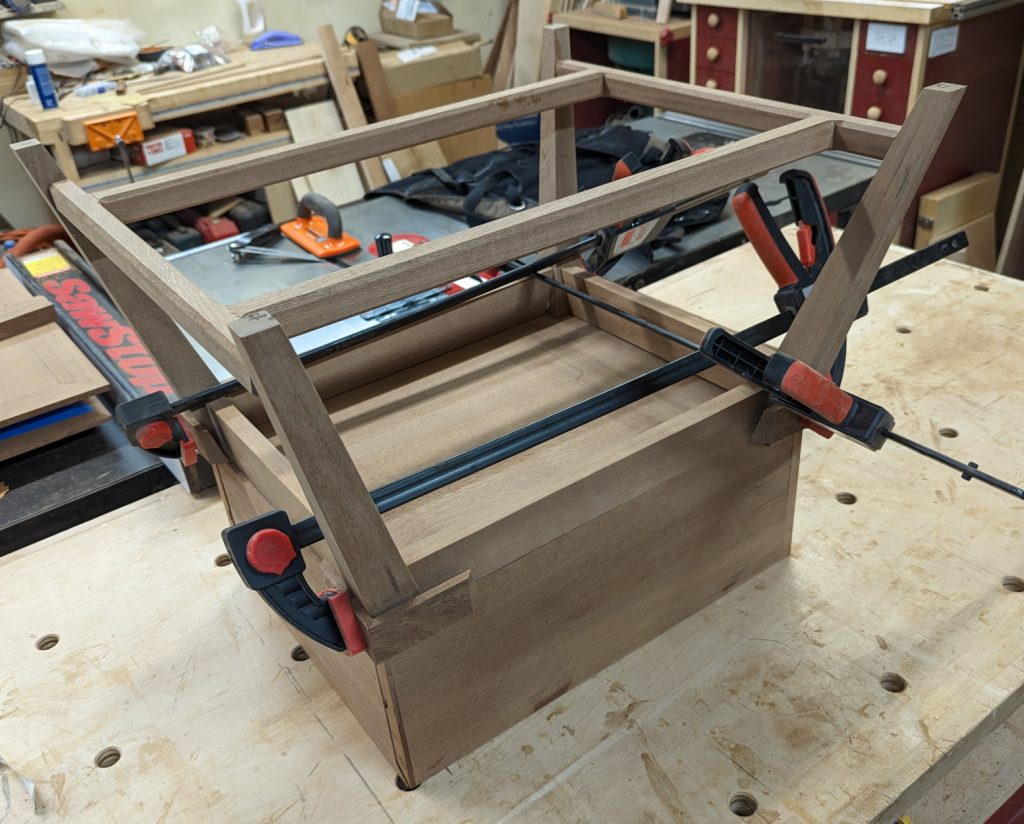
Now there was a lot of assembly to do. I took the sides of the drawer box and grooved them for a 1/2″ x 1/2″ drawer runner on each side, and drilled a 2″ hole in the back center for a grommet that would allow the power cord to escape. Then I assembled and glued each box, and used them to fit the bases around and glued up the bases and stretchers. That was a tense glue-up. I wish I could say it went perfectly; it went well enough.
At this point I took one of the bases to a local glass shop and had them cut two shelves that would fit inside. The idea was to slide them in from the front (or back) and they would extend a little bit past the front and rear stretchers, securing them from casual bumps. They were ready in about 3 days.
Meanwhile, I had 3″ holes to cut in the top and box, and they had to line up perfectly. Fortunately, I double-checked the electrics and if I’d made 3″ holes they wouldn’t have fit, despite specifying that size in the directions. My holes needed to be 3-1/16″ to allow for the threads to pass through the hole.
So I aligned each top with its box, clamped them down, and drilled a 1/4″ hole as straight as my eye and the squares I used to reference it could handle. Then I got out my small-circle jig and trim router and made the circle cuts, using masking tape on the bottom face to minimize tearout.
Then, I made drawers. I had some 1/2″ poplar stock that I got from Woodworker’s Source (I could get used to having my lumber delivered, already S2S and with one straight edge). I measured the drawer size to have it fall just short of the outlet, and for kicks I used the Domino to make the corner joints — basically I glues up the box as butt joints, then applied the Domino to make the deepest possible cut and inserted two dominos into each corner. It’s simple, it’s quick, and it’s as strong as dovetails or box joints.
For drawer faces, I cut out pieces just 3/4″ wider and taller than the drawer opening, chamfered them to about half their thickness, and called them done.
Lots and lots of hand sanding later, they were ready for finish.
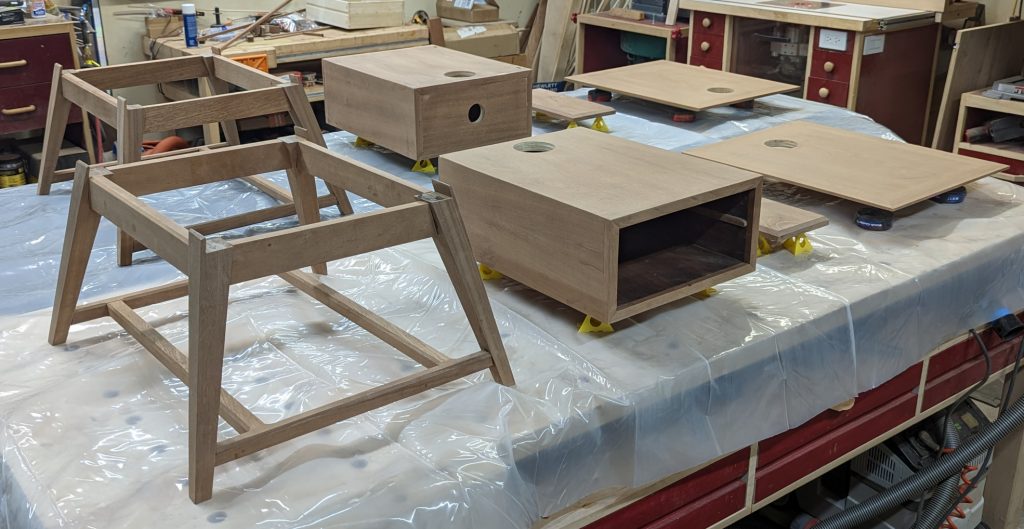
I used Oli Natura, which is basically the same as Rubio or Osmo but half the price. One coat probably would have been enough, but I did two just to make sure.
And then there was final assembly. I secured the box to the base with screws (in oversized holes, because the thing shouldn’t move much but I wanted to make sure). I secured the top to the box with glue, because it’s all plywood except for the outer 2 inches. I dropped the outlet in from the top, secured it with the screw flange, and dropped the cable out the 2″ hole in the back. I applied a grommet to that hole and snapped a cover onto it. Then I waxed the drawer slides and drawer sides, and slid the drawers home.
And here is the result:
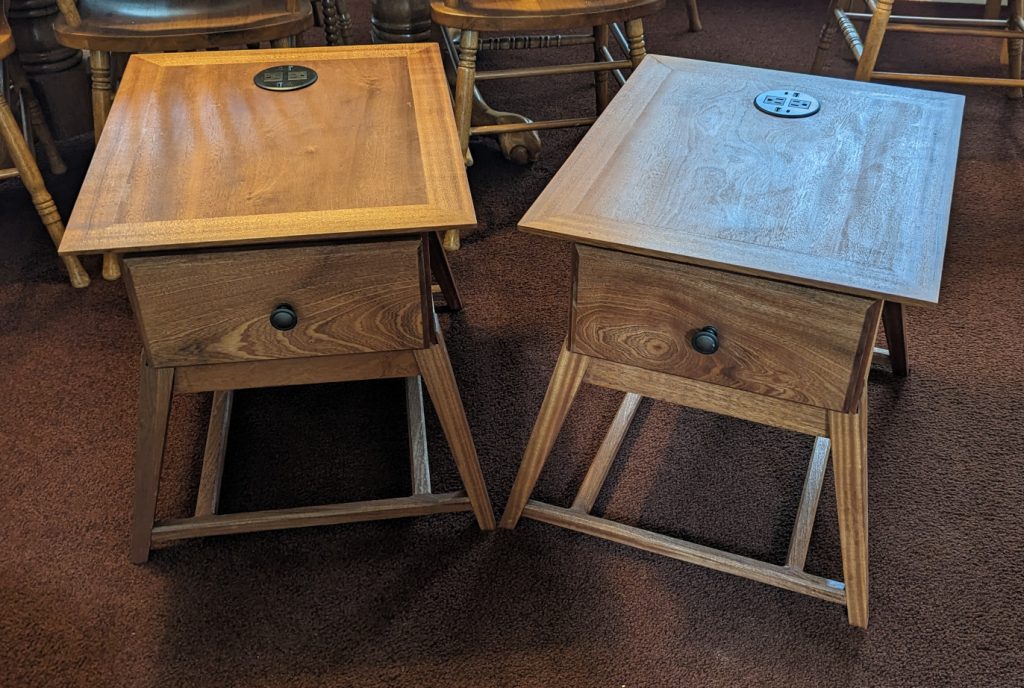
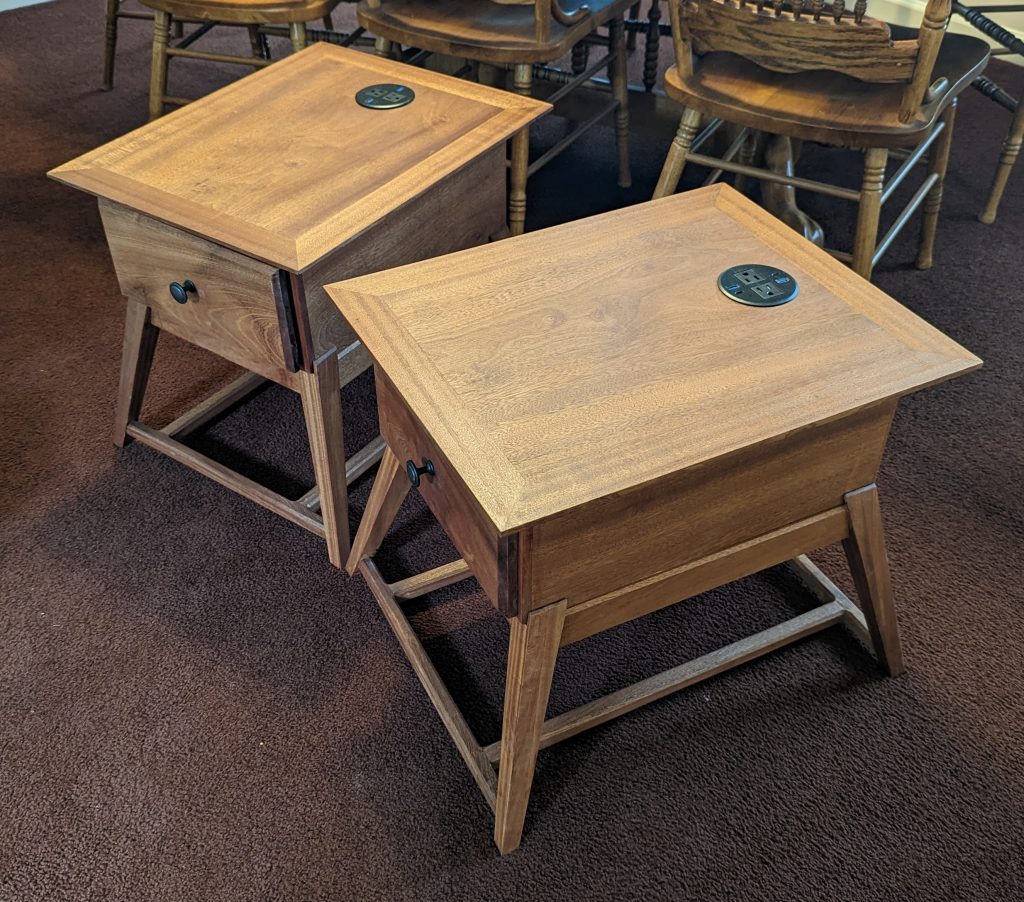
This one was a challenge, no denying. But I think they came out nicely, and the glass shelves (which I didn’t put in for the photo) just top it off nicely.


Recent Comments