
Bathroom vanity, epilog
I wasn’t going to do a post about the actual vanity installation, but I kind of have to. It was a lot more involved (read: difficult) than we thought, and some of that was my inadvertent doing and goes back to the design of the new vanity. So, on the off chance that anybody is actually reading this, let’s share some lessons learned.
First, let me show you the original bathroom, with the cheap original equipment vanity and sinks:
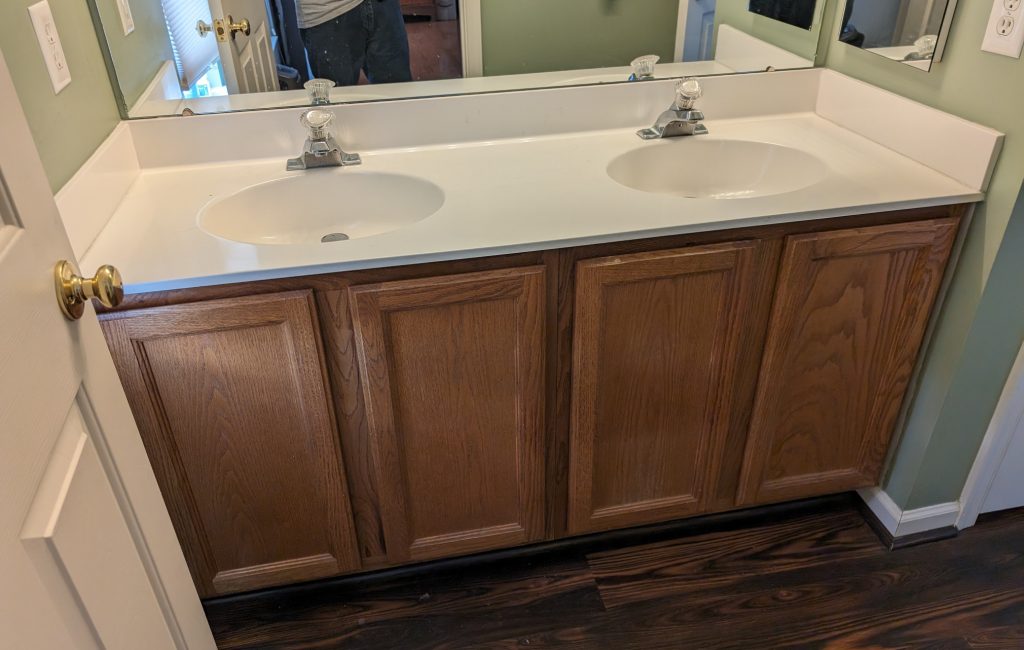
It’s pretty crappy. All particle board except for the doors and face frame, no organization of any type inside. I’ve been living with this for over 25 years; the upgrade was more than due.
So we started with just my son Ben and me, because you don’t have to get a real plumber in Maryland for sink removal. We turned off the water at the feed pipes under the sinks and disconnected the faucets easily enough. Disconnecting the drains was a bit more difficult, but with perseverance we managed that too.
Things started going south when we started removing the top, which as you can see had the sinks built in. It wasn’t held down except by its own weight (which is considerable) and the caulk that sealed the backsplashes. We quickly discovered, however, that the mirror (about 40″ high and 59″ wide), which we thought was securely held to the wall by clips, was actually resting on the backsplash — it dropped 4 inches when we pulled the top forward.
Fortunately, the mirror didn’t break. We were able to lift it out and carry it to another room for temporary storage. But while we were moving things around and trying to figure the next step, one of the water lines cracked below the shutoff, forcing us to (A) turn off water to the whole house and (B) call a plumber, on a Sunday, to come fix it.
We got a plumber, though it took a little while, and the break was actually below the old vanity floor, so we had to get the cabinet out of there. We had to cut the P-traps off, and then we could unscrew the cabinets (there were 2 individual ones screwed together) and get them out. While the plumber fixed the line, Ben and I took the old vanity outside and demolished it, fitting all the pieces into a single 32-gallon trash can.
Now it was time to temporarily set the new vanity in place, so I could mark where the holes would have to be drilled for the water lines. First I put the toe kick in place, because that was a separate unit, and leveled that. With that screwed in and secure, we then tried placing the new vanity on top.
Tried, and initially failed! Unlike the old vanity, I built the new one as one piece, 59-1/2″ wide. It would comfortably fit in the 60-inch opening, but there was an obstruction preventing us from putting it there — a windowsill blocked enough of the opening that only a 2-piece cabinet could get around it. I was not going to cut the cabinet; the windowsill had to go, temporarily. Fortunately I was able to pry it off in one piece and set it aside.
Now we were able to slide the cabinet most of the way in and mark for the pipes. But there was another problem: three out of the four water lines ran right smack into my metal drawer slides! This was no good, but hey, we still had the plumber there. It would cost us more, but he could route the pipes laterally and then up so they’d miss the drawer slides. We took the vanity back out and let him work.
About half an hour later, we could try again. We put the vanity back, and marked the new locations. Then of course we had to take it out again and actually cut the holes. That part was pretty simple; I used a 1-1/4″ forstner bit to cut two holes in line for each pipe. Then, to make setting the vanity easier, I made the bottom holes into notches, so we wouldn’t have to lift the cabinet as high and only had to clear one hole with each line. Finally, after wrestling with it all afternoon, we had a vanity installed!
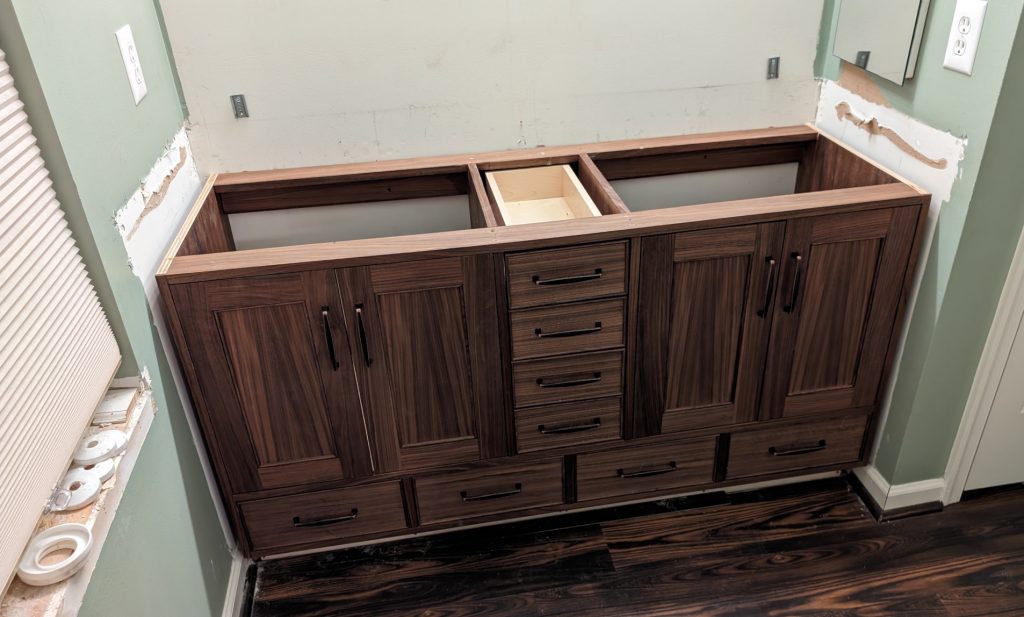
So, lessons learned from this adventure so far:
- Do not make your lower drawers the full depth of the cabinet! By leaving 3 inches open behind the lower drawers, I could have saved a thousand dollars (literally) in extra plumbing charges.
- Think long and hard about making the cabinet in one piece vs. two pieces, especially if it has to fit between walls. Two wouldn’t have worked with this particular design, but I can see ways I could have divided it more to make it work if I had realized how much of a pain the single unit would be.
- Something I forgot to do: leave the outside pieces of edging off the cabinet until it is installed, and cut them wide so you can scribe them to go right against the walls. I thought about the toekick, but not the sides.
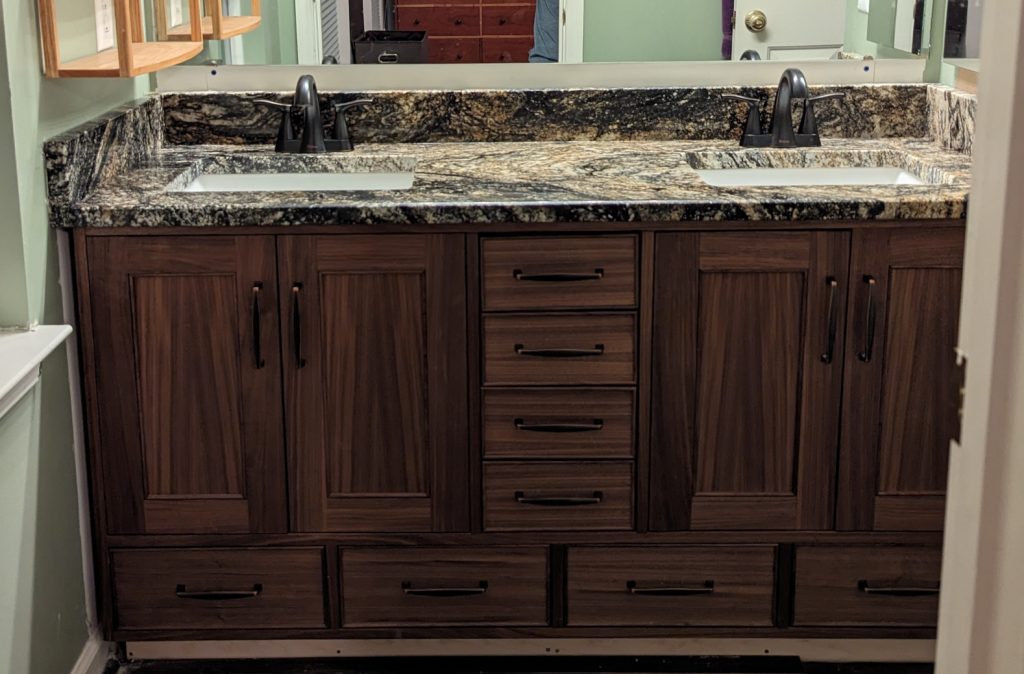
Next step was to get the countertop. I didn’t fabricate this, we got it from United Granite in Ellicott City, MD. We had a minor glitch here, the installers drilled in the wrong places for the faucets on our originally chosen slab, but there was a nearby section that worked for us. They came back the same day and had it installed within an hour:
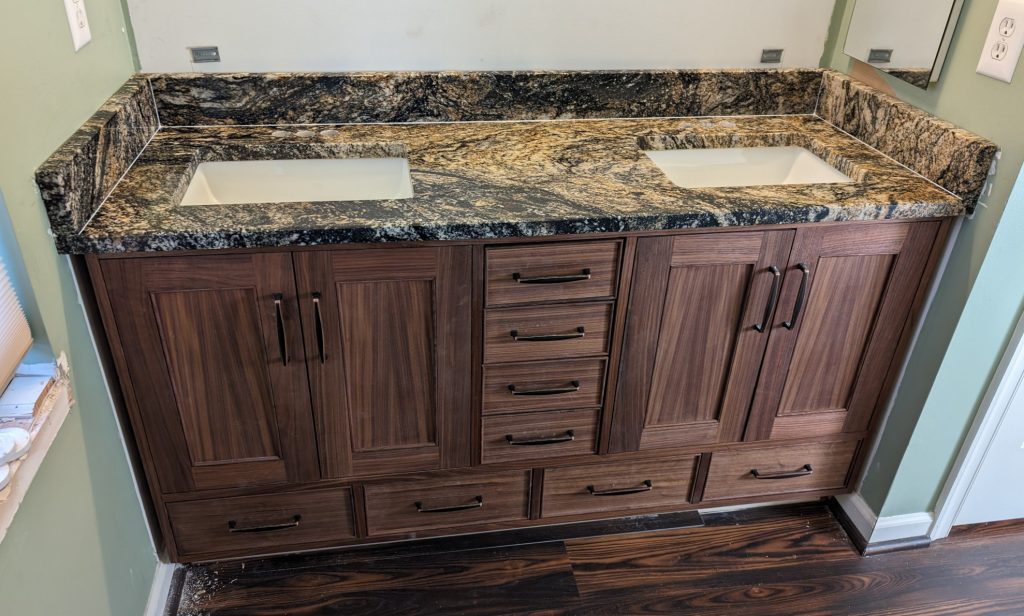
The white seamlines dried clear, so it all blends in nicely.
Finally, we had the plumber back (actually, a different one) to hook up the sinks and install the new faucets. This went without a hitch, and the bathroom was almost usable again.
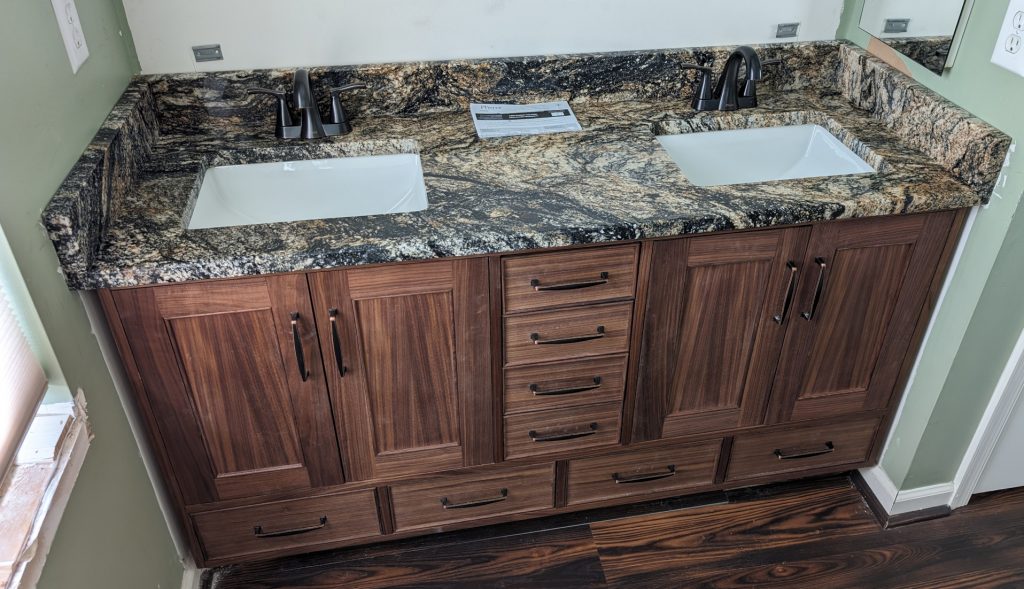
Ben came over that night and helped me re-hang the mirror, and I put back the windowsill. Now we just need a little touch-up on the walls and trim, add the front face of the backsplash, and it’s all done.
When it came time to move back into the bathroom, we immediately appreciated the drawers — a lot of things that had been sitting on the counter or tossed behind the cabinet doors are now neatly stored away in drawers. The oak bathroom shelf and organizer (August 2018) look weird in a room with all that walnut, dark granite, and oil-rubbed bronze hardware, so they will get replaced once I get a couple of other projects done.


Recent Comments