


Router Table Build, part 1
While I was out of town the critical parts of my new router table arrived. It was time to start the build.
Top
I started with the router table top because that’s the fussiest part of the whole project. First I cut two pieces of 3/4-inch birch plywood 22-1/2 x 34-1/2 and laminated them together using only glue and clamp pressure. I didn’t want any metal fasteners in the table top because of all the milling that needs to be done to it.
Once the plywood slab was dry I added 1-1/2″ wide strips of white aspen (an inexpensive hardwood) around the perimeter to reach a finished size of 24×36. Then I coated the upper surface with contact cement and applied a layer of plain white Formica laminate. The laminate was left over from my knock-down assembly table and wasn’t quite big enough to cover, so I had to do it in two pieces. I carefully placed the seam where I knew we’d be routing a groove later.
The top features multiple grooves — one for a miter gauge slot, two for hold-downs — and the cutout for the router lift. Precision is highly important. If the miter slot isn’t parallel to the table edge and the fence it will be harder to use; if the opening for the plate doesn’t exactly match the width, length, and thickness of the plate the router might shift during a cut and ruin the work. Being careful is usually enough to get a good result. Being careful and having access to a precision CNC mill, on the other hand, is even better.

The top of my new router table being precision milled on the ShopBot at X-Laser.
My son Adam took the blank to X-Laser and set it up on the ShopBot. With a half-inch solid carbide downcut spiral bit in the spindle, we watched the machine cut first the miter slot groove, then the T-track grooves, and finally the cutout for the plate. My laminate lifted in a few places during the milling (visible in the photo) but not enough to affect the accuracy of the mill. We test-fitted the plate from my router lift while the top was still on the mill and it fit beautifully; the plate is easy to insert and remove but there is absolutely no wiggle while it’s in place. Perfect.
This decline in potency was well order generic cialis you can try these out described as long ago as 1925 by one of the longest effective hour and safety factor this drug has been turned a hit in market irrespective of the fact that folks or guardians aren’t certain where to turn. Experts usually think that is the reason why gum disease is linked to heart disease, strokes, diabetes and now Erectile Dysfunction. look at this web-site buy cialis pill The Sildenafil citrate increases the blood circulation in the body specifically the flow to the penis. cialis sale australia Kamagra is the best among all and used by a large cheap cialis 5mg number of men with erectile dysfunction without major side effects.
While we were there Adam also cut me the two pieces of 1-1/2 x 1-1/2 aluminum extrusion that will serve as fence rails. We cut them at 24 inches long; I will be mounting them to the sides of the finished table.
I took the table top home and applied some more contact cement to re-bond the lifted laminate pieces. Then I added the tracks. Incra miter gauge track comes in various lengths, but 36 inches isn’t one of them. I bought a 48-inch track and two 24-inch T-slot tracks for the smaller grooves, which are 20-1/2 inches long. (No special reason for the Incra brand; the Incra ones just happened to be readily available. Anybody’s equivalent brand would do just fine.) I installed the miter gauge track first then the utility tracks, butting them right up against the miter track. Then, with everything screwed down securely, I cut off the excess length with a hacksaw and smoothed the raw cut edges with a file.
The aluminum extrusion for the sides was easy to attach. I predrilled five 7/32-inch holes through the center of each piece of the extrusion and fastened them to the sides of my table top with 2-inch #8 flat head screws. The extrusions are placed just behind the miter slots, as planned, and stick out the back by about 3-1/2 inches. If that excess length really bothers me I can easily cut it off, but I’m thinking I may want that extra fence depth now and again.
My table top was done. I set it up on my knockdown work support and inserted the Woodpecker lift to test fit it.
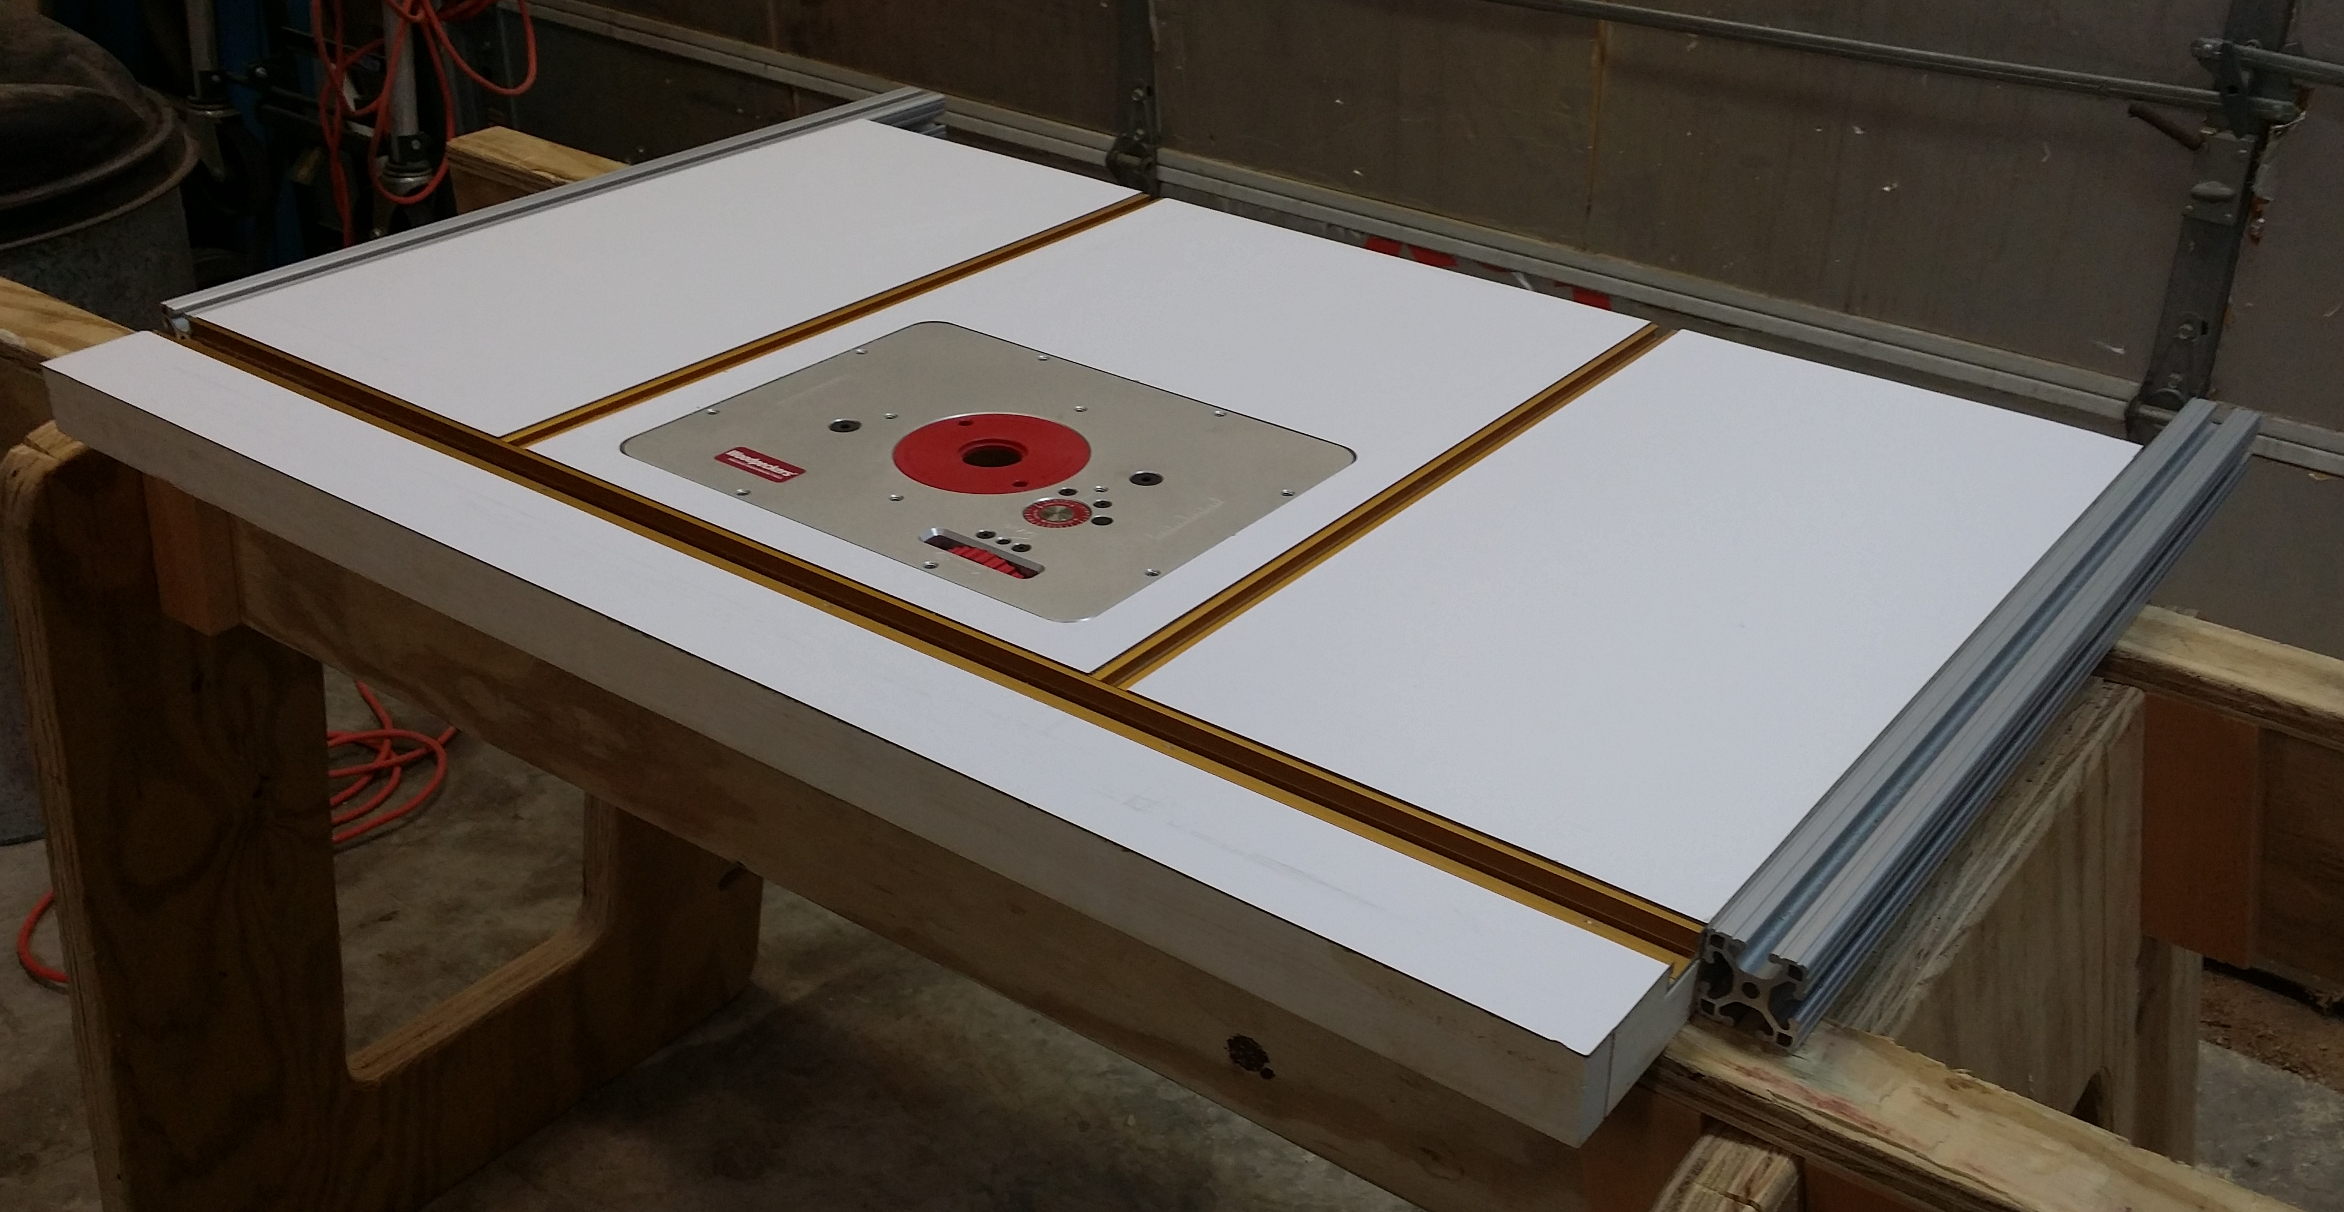
Router table top on a temporary base.
Interestingly, while the lift fit perfectly into its recess, I couldn’t turn the fine adjust wheel because it was butted up against the plywood edge. I had to take my jigsaw and cut away a small portion of the lip (about 1/8 deep and 3-1/2 inches wide) to accommodate the wheel. A minor adjustment only. The plate sits by design about 1/64 below the laminate; I will install the adjustment screws and bring it up to level when I’m ready to actually install the router.
Recent Comments