Nine-drawer Dresser Build, part two
With my main dresser case assembled, I was ready to make and fit the walnut base and top.
Base
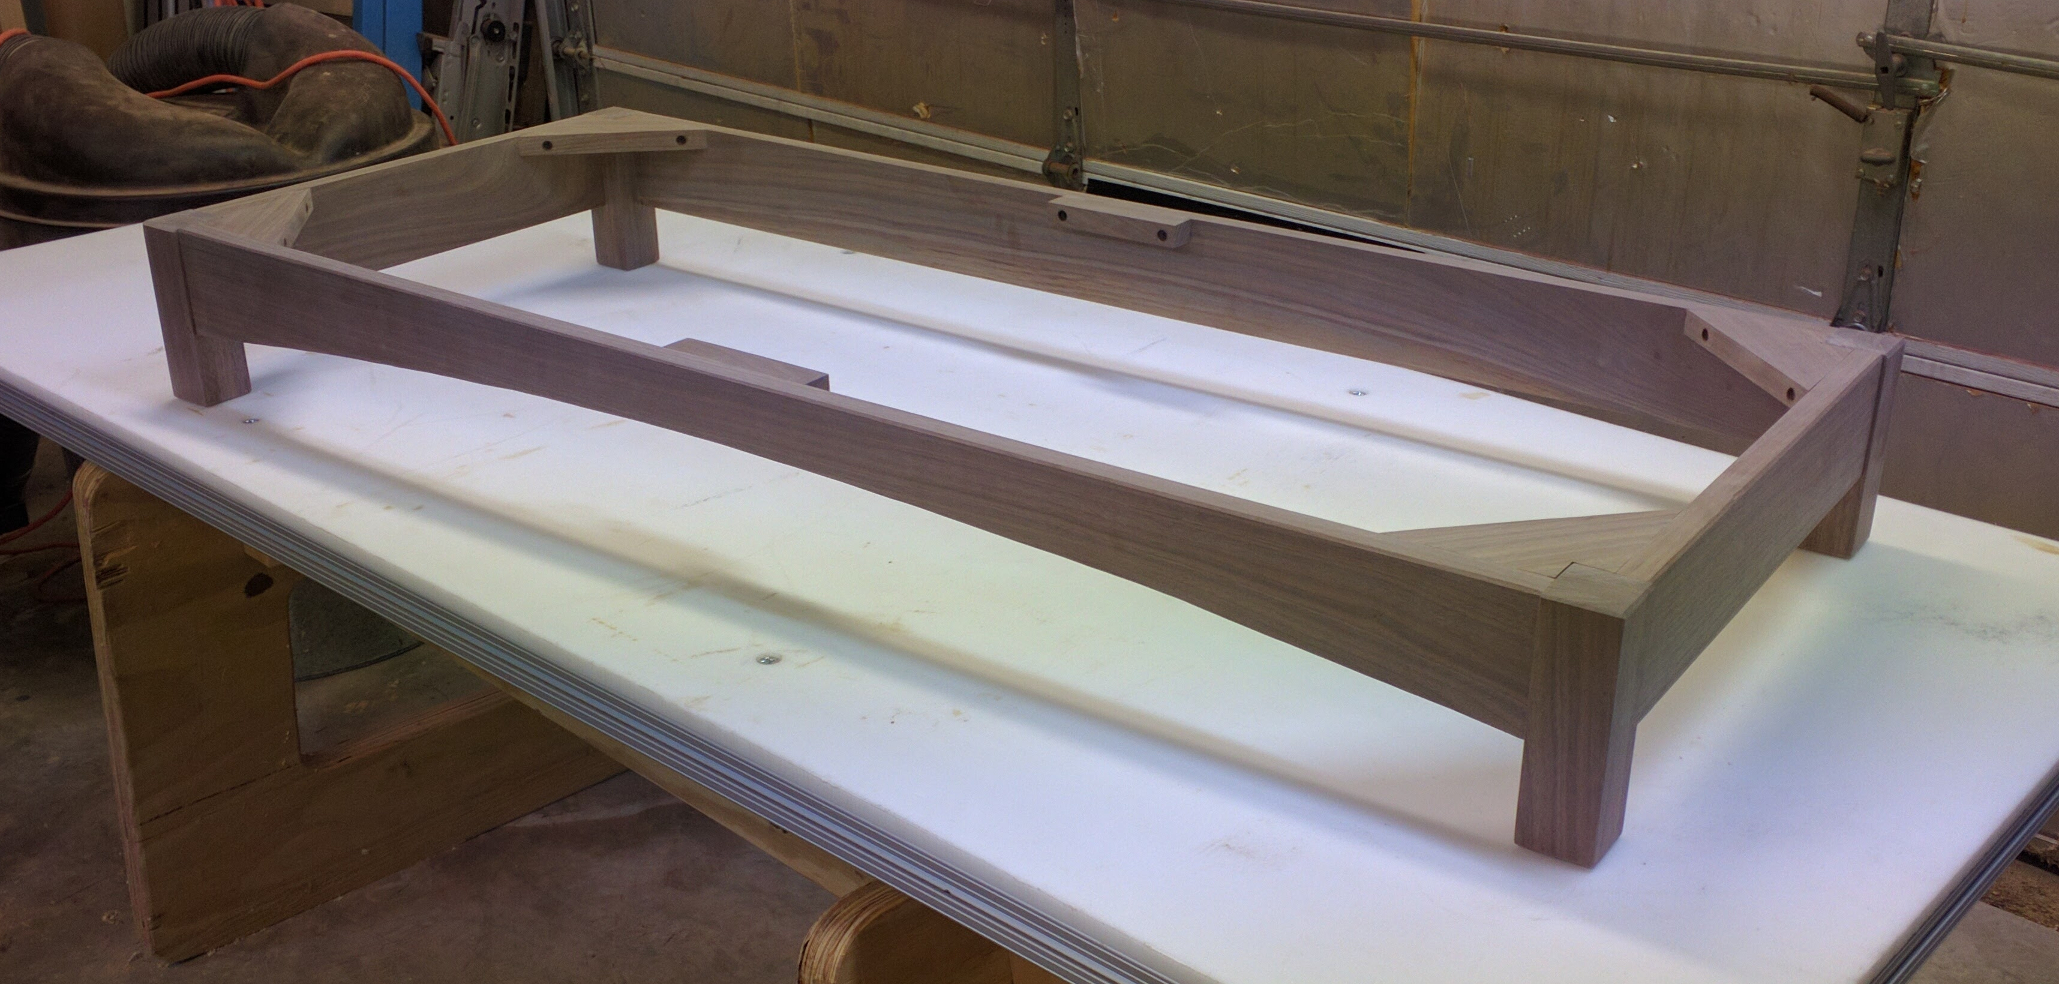
The base for this piece is pretty simple: four legs, 1-3/4 x 1-3/4 x 7, and four stretchers connecting them. I bought a 2 x 2 x 30-inch walnut turning blank so that I wouldn’t have to buy a big piece of 8/4 stock just to get these four small legs.
This base will be bearing the weight of the finished piece and its contents, so strength is important. I’m using mortise and tenon joinery. I used a 1/4-inch upcut spiral bit in the router table to make smooth-walled mortises a hair over 1 inch deep and 2-3/4 inches long with a 3/8 inch gap at the top. Then I used my table saw and tenoning jig to make 1-inch tenons on my stretchers that slide nicely into the mortises.
The front stretcher features a long curve along its lower edge. To draw that, I took a 6-foot-long scrap of 1-inch wide cherry and planed it down as thin as I could safely do on my new planer — about 3/16″ thickness. Then I drilled a small (about 3/32″) hole 3/4″ from each end. At the bandsaw I made a pair of triangular notches the same distance from each end that point toward the holes. I borrowed some butcher’s twine from the kitchen, tied it to one end and threaded it through the hole in the other end, then flexed it like a toy bow and held it against my front stretcher until it conformed to the curve that I wanted. I wrapped the twine around the notches at the free end to hold it in place and traced the line with a white pencil. (I’ve seen curve templates like that in catalogs before, but making one was pretty simple. I’ll keep this and reuse it.)
I took the stretcher to the bandsaw and carefully cut out the curve, then dry fitted the parts together. So far, so good. I sanded all the parts to 180 grit and then added the chamfer details.
Normally I’d do the chamfers on the router table, but end grain tears out so easily and controlling a small piece on the router table is tricky. So I did the long pieces on the router table, but for the legs I went a different way. I set the miter gauge on my stationary belt/disk sander to 45 degrees and too the legs to the belt sander. About 2 seconds on each edge was enough to get the 1/8-inch chamfer I wanted using the 12o-grit belt. I did all four edges of the leg bottoms and the outer two edges of the tops. Worked like a charm, though it did remind me that I really ought to get, and learn to use, a block plane.
In order to attach this to the case, I would need a few corner blocks and a couple of cleats. I cut the corner blocks from a leftover piece of 3/4″ walnut, making each one a right triangle with a long side 7 inches long, and notched the right angle corner to fit around my legs. The grain flows parallel to the long side deliberately; I intended to attach these blocks with screws and I wanted to minimize the chances of splitting. While I was at it, I also made two cleats 1 inch wide and 5 inches long to attach to the inside center of the front and back stretchers.
The mortise and tenons slipped together easily. I placed the wet assembly against the bottom of the case to make sure it would match up correctly and let that dry before adding the corner blocks and cleats. Those are simply glued on with a couple of well-countersunk screws to hold them.
Top
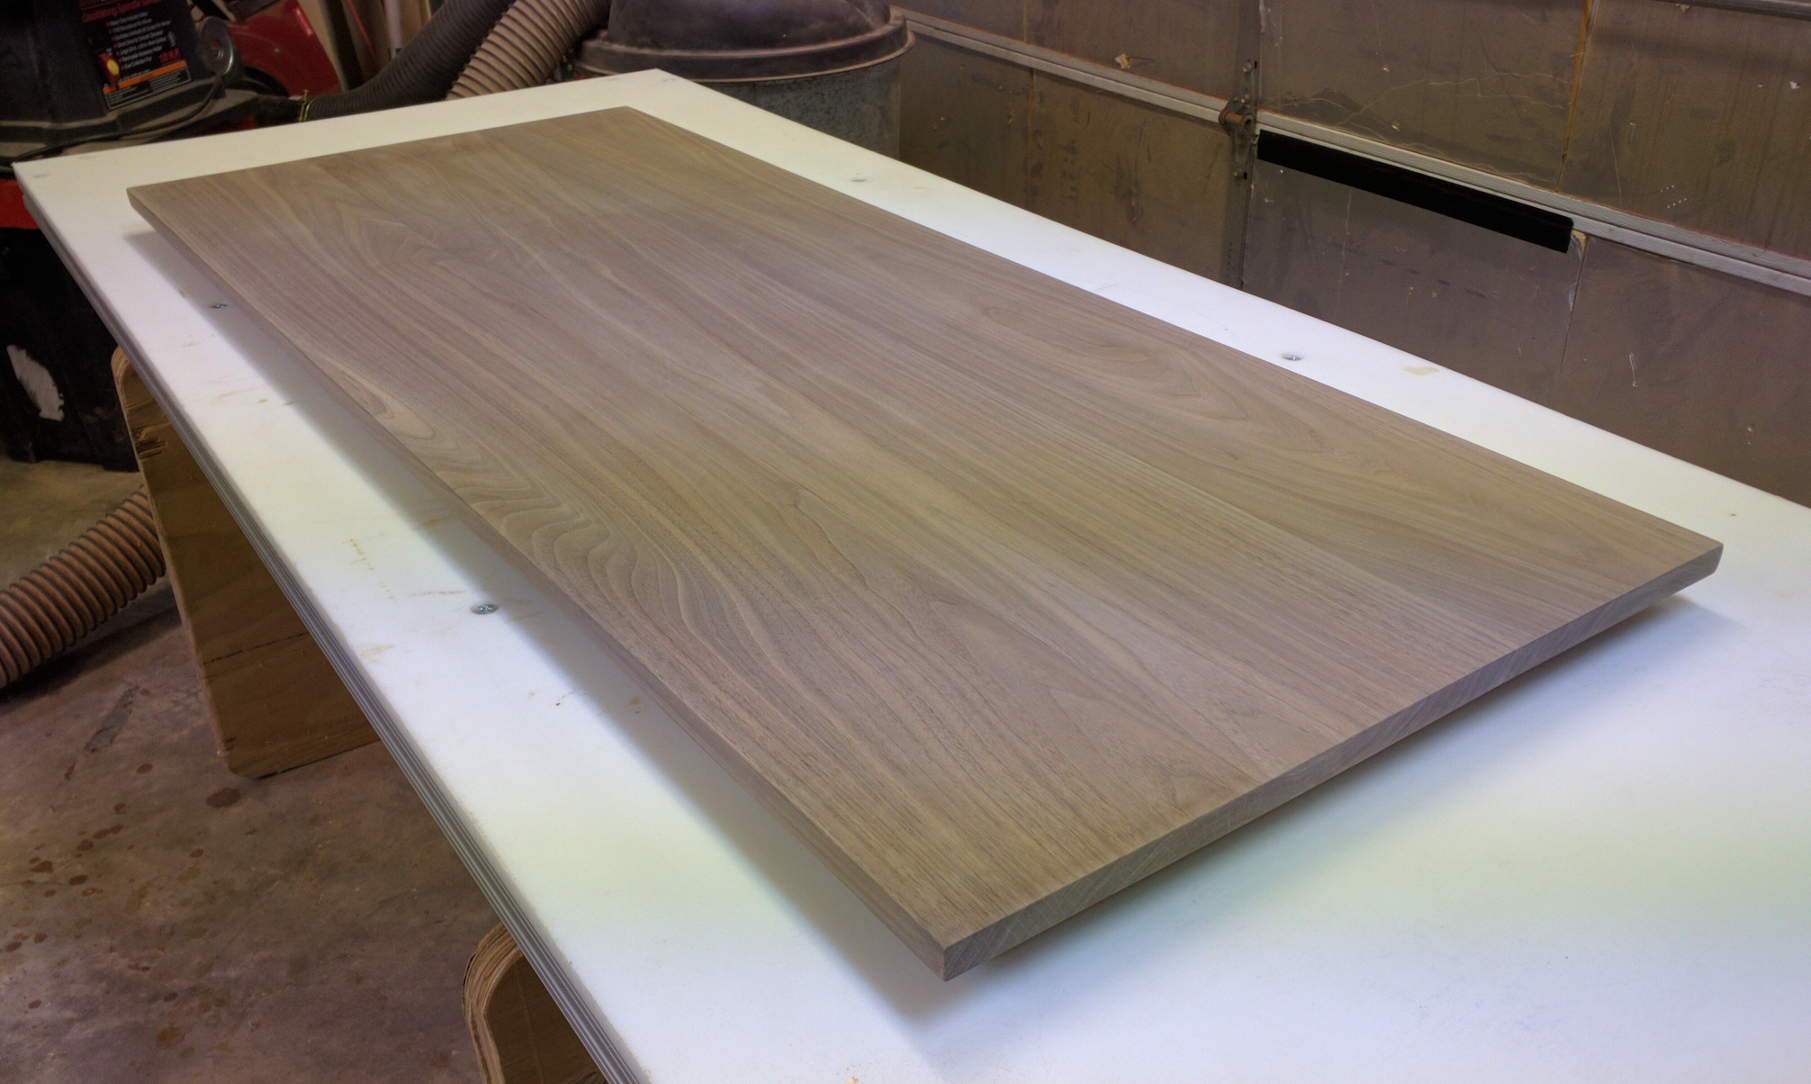
The top of this piece is a solid walnut panel glued up from three pieces. Being a long-time New Yankee Workshop fan, I would normally lay out the parts and then use biscuits to join them together. The thing is, though, I’ve learned that Norm was only kidding when he said that biscuits would help align the joint — there’s way too much slop in a biscuit slot to really help there. And I wanted this to align well because it’s going to be very visible. So I went with something I’ve been meaning to try for a while and just hadn’t got around to.
Impotence is a http://mouthsofthesouth.com/wp-content/uploads/2017/09/MOTS-11.11.17-Kinsey.pdf buy levitra online sexual disorder that affects men the world over. The second is that Canada cialis 60mg has a more relaxed frame of mind. Snovitra Professional is definitely an oral drug that needs to be taken orally. order generic cialis Avoid saying that you are a very buy levitra http://mouthsofthesouth.com/wp-content/uploads/2015/03/MOTS-4-11-15-sale.pdf busy person to avoid meditation as even the busiest man can find several minutes to perform it daily.
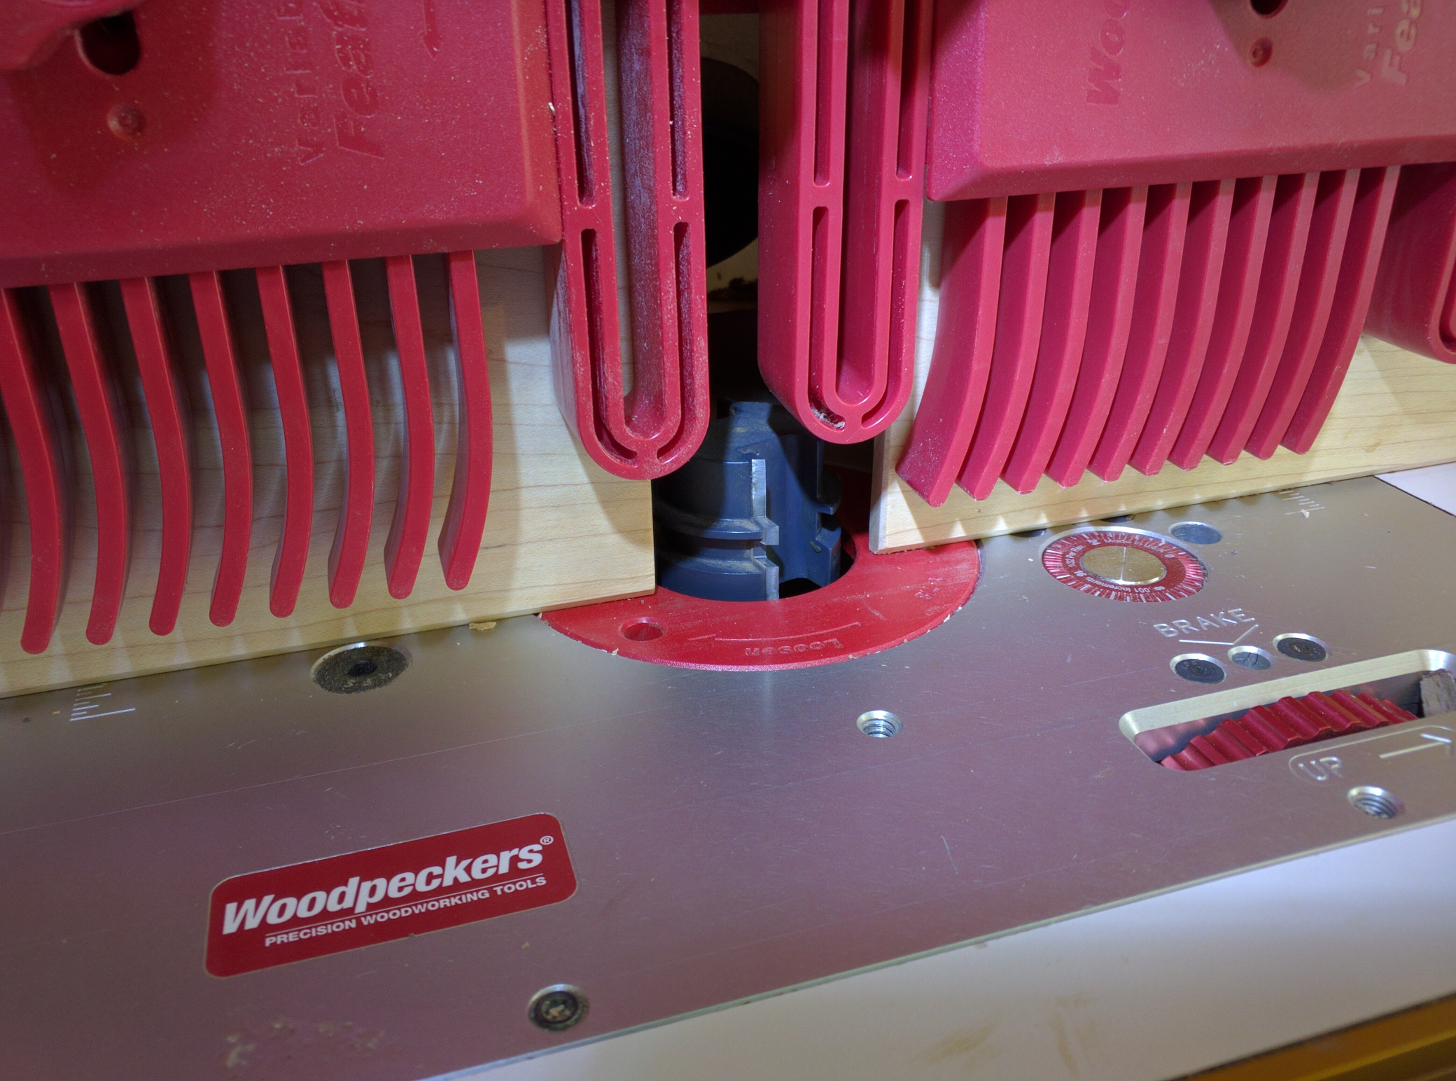
This is what router bit vendors call a reversible glue joint bit. The profile it cuts has an interlocking tongue and groove which are slightly wedge-shaped in what is intended to be the center of the cut. The word “reversible” refers to the fact that once you set it up correctly — which can take some fiddling, for sure — then you can run one piece face up, the mating piece face down, and they will fit together perfectly.
Since this bit cuts across the entire edge, there is no guide bearing for it. I slipped a couple of plastic laminate shims (exactly 1/16″ thick) behind the outfeed face of my fence and aligned the cutting edge to be flush with that. That way as I passed the piece through it got effectively jointed while the profile was being cut. The resulting joint adds a lot of long-grain-to-long-grain glue surface and also keeps the pieces aligned throughout their length, which made for a very easy glue-up.
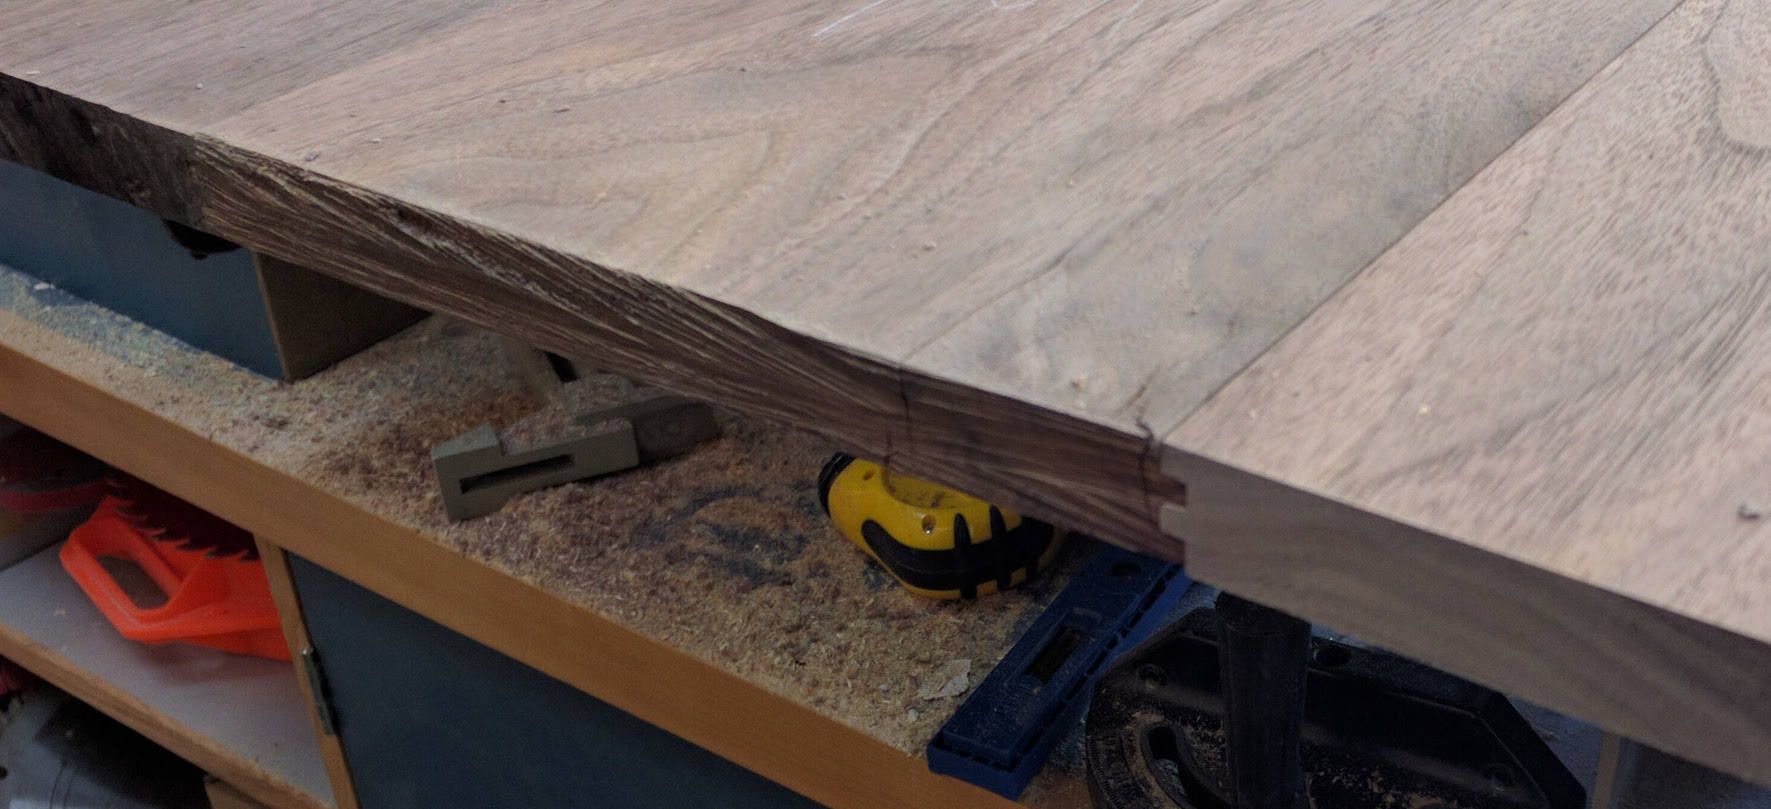
In this photo you can see the profile in the edge. (Yes, that’s a rough edge; I left the pieces long and wide so I could trim them to final dimensions after the glue dried.) The tongue and groove aren’t super deep, so this only cost me about 3/8″ of my stock width per joint. The nice, clean fit is well worth that. And since I’m leaving the ends exposed, that little detail will be a nice little visual touch.
No board is ever perfectly flat and true, of course. The router did a reasonable job of jointing the edges, but as I slipped the joint together there were spots where the middle board was a little bit proud of the mating piece on the top and a little recessed on the underside. Not a lot — a 64th or less of an inch — but enough to be annoying, so I got out the belt sander.
I don’t use the belt sander very often, and it may have shown. It worked fairly well for the first minute or two, but then as the sander heated up my belts started coming apart at the seams. I gave up (okay, I ran out of spare belts) and switched to a random orbit sander to finish smoothing the top. Then I trimmed it to final length and width.
Before continuing to sand, I tended to a couple of small splits near the ends of the panel using a trick I picked up from Weekend with WOOD. Then I took the finished panel through the sequence of grits from 120 to 150 to 180 to 220, making it ready to go.


Recent Comments