Cherry and Walnut Night Stand build, part 2
Now that my cases were assembled, it was time to start working on the walnut base and top.
Top
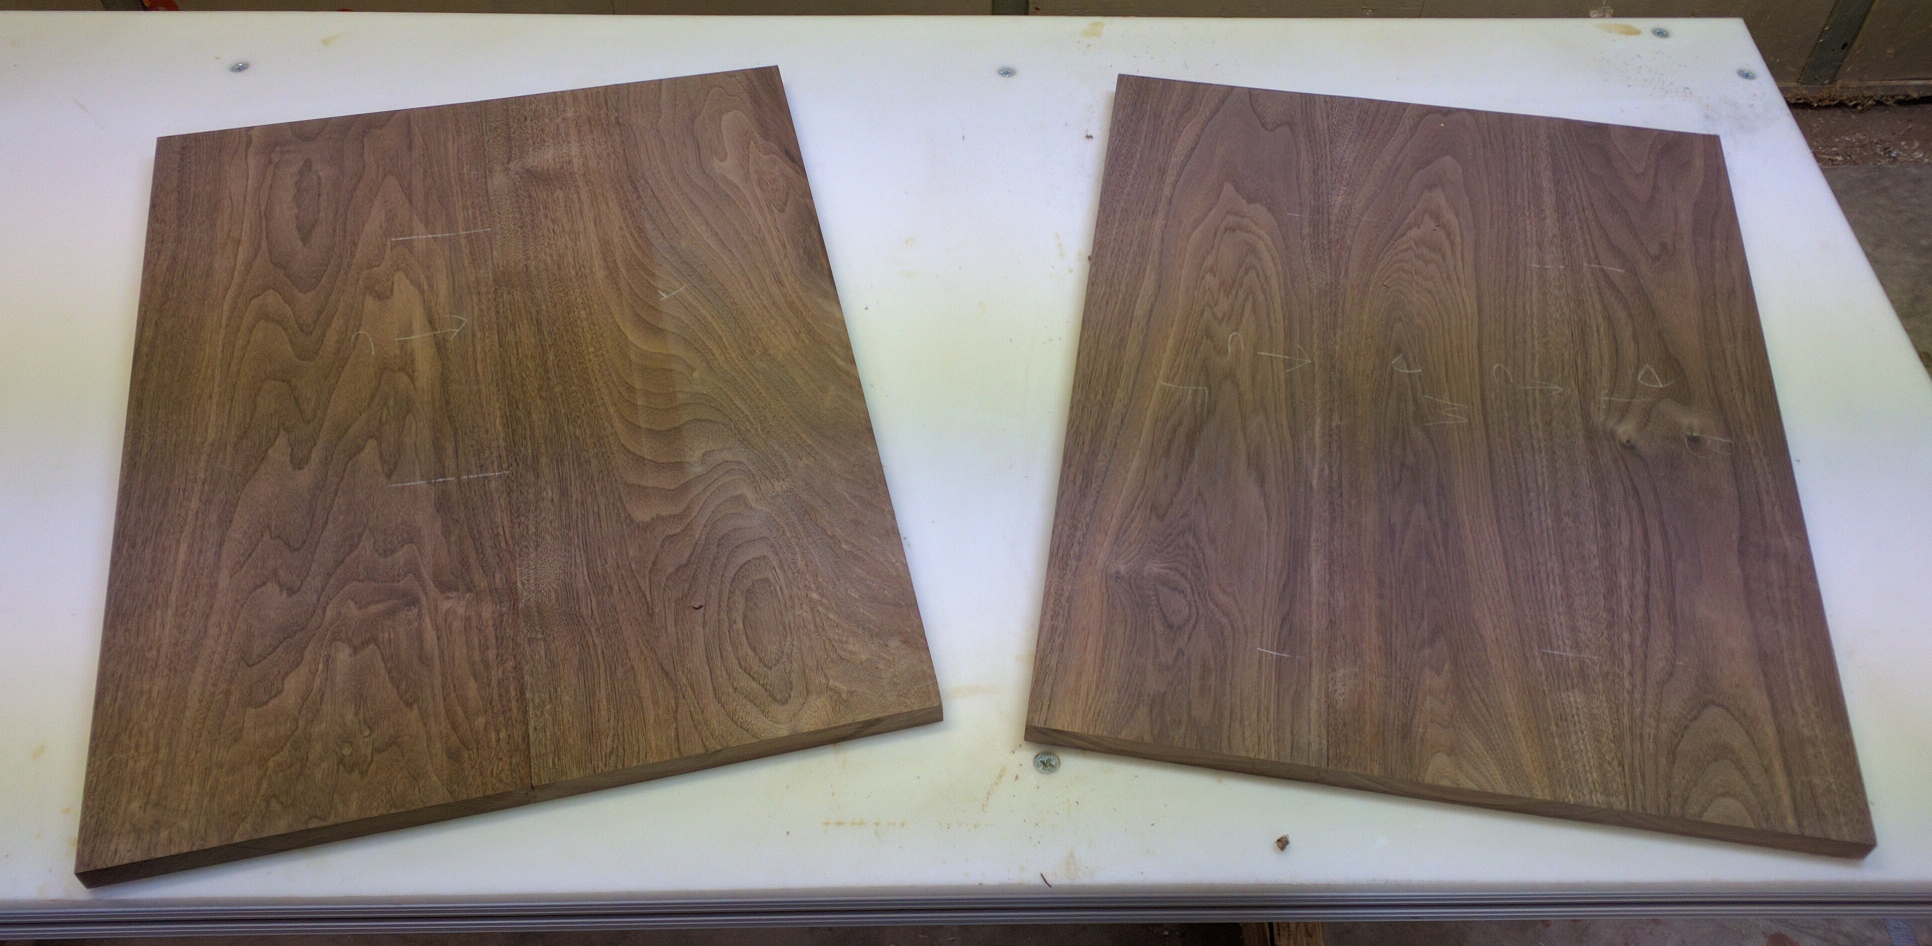
For the top panels, I wanted finished dimensions of 19″ x 24-3/4″. To have room to use my reversible glue joint bit and trim things to size, I figured on using three pieces 7″ x 26″ per top. My stock, however, had other ideas.
When I bought the wood I was focused on getting the right quantity of board feet and failed to pay enough attention to the dimensions I would want. As a result I had one very wide board (about 11 inches) with good color and slightly wild grain and one narrower one (8 inches) with good color and grain on one face and lots of creamy sapwood on the other. And I still needed some long, 2-1/2″ wide, straight-grained pieces for base rails.
To make it all work without buying more stock, I changed the plan and made three pieces 7″ x 26″ and two pieces 10″ x 26″ for the tops. That left me enough length from the wide board to get one set of base rails and I had enough left of another board to get the other set.
For the dresser, I used a reversible glue joint bit in the router table to get a nice, tight, self-aligning glue joint and it worked so well I didn’t even hesitate to do it again. But first, I took the opportunity to practice with the jointer plane some more. I laid out my boards, found the nicest orientation, and marked those faces and edges. Then I took each pair of edges, folded them book style, and clamped them together to the edge of my work table and used the jointer plane to make sure I had square, straight, smooth edges. I did this purely for the practice; the glue joint bit actually takes a little bit of material as it cuts, so my edges would have ended up jointed anyway by the router bit. This way (A) I got to work on my technique, and (B) I knew the edges were good before I gook the pieces to the router.
I’m getting better with the plane — it only took me about 45 minutes to get all five sets of edges fitting cleanly with no pressure. And I learned something in the process: that my knock-down work table, even with that heavy HDPE top, is nowhere near heavy enough for serious hand planing. I ended up parking the DeWalt planer next to the table to block it from scooting along the floor while I planed.
The major knock on the reversible glue joint bit is that it’s a pain in the butt to set up. Any error in the bit height will double itself in the finished joint, and the mating pieces will not fit flush. It took me about a half-dozen test cuts to get it right the first time, for the desk. So, lazy fellow that I am, I kept a chunk of that final test piece from the dresser to use for future setups for 3/4 inch stock. Having that piece made it very easy to set the bit height by adjusting it up and down until the test piece slid easily into the stationary bit. I made one test cut, adjusted the bit 1/64 inch, and had a perfect fit on the second test.
I ran my pieces through the router table, making sure to maintain the correct orientation by marking the faces with a white pencil. Then I applied glue to one side of each joint, clamped them all together with cauls to help keep the panels flat, and set them aside to dry.
The jointer plane came in handy again when I took the clamps off. It was much easier to control than a belt sander for those little ridges where one board was a touch proud of the mating one (note to self: adjust the feather board for a little more downward pressure when using the glue joint bit).
After smoothing the seams with that, I was able to skip the belt sander entirely and go straight to the random orbits. Both sides got sanded to 180 grit, but then I switched to 220 and did one more pass on the top surfaces. I’d done that on the dresser, and it feels amazing when it’s finished.
Base
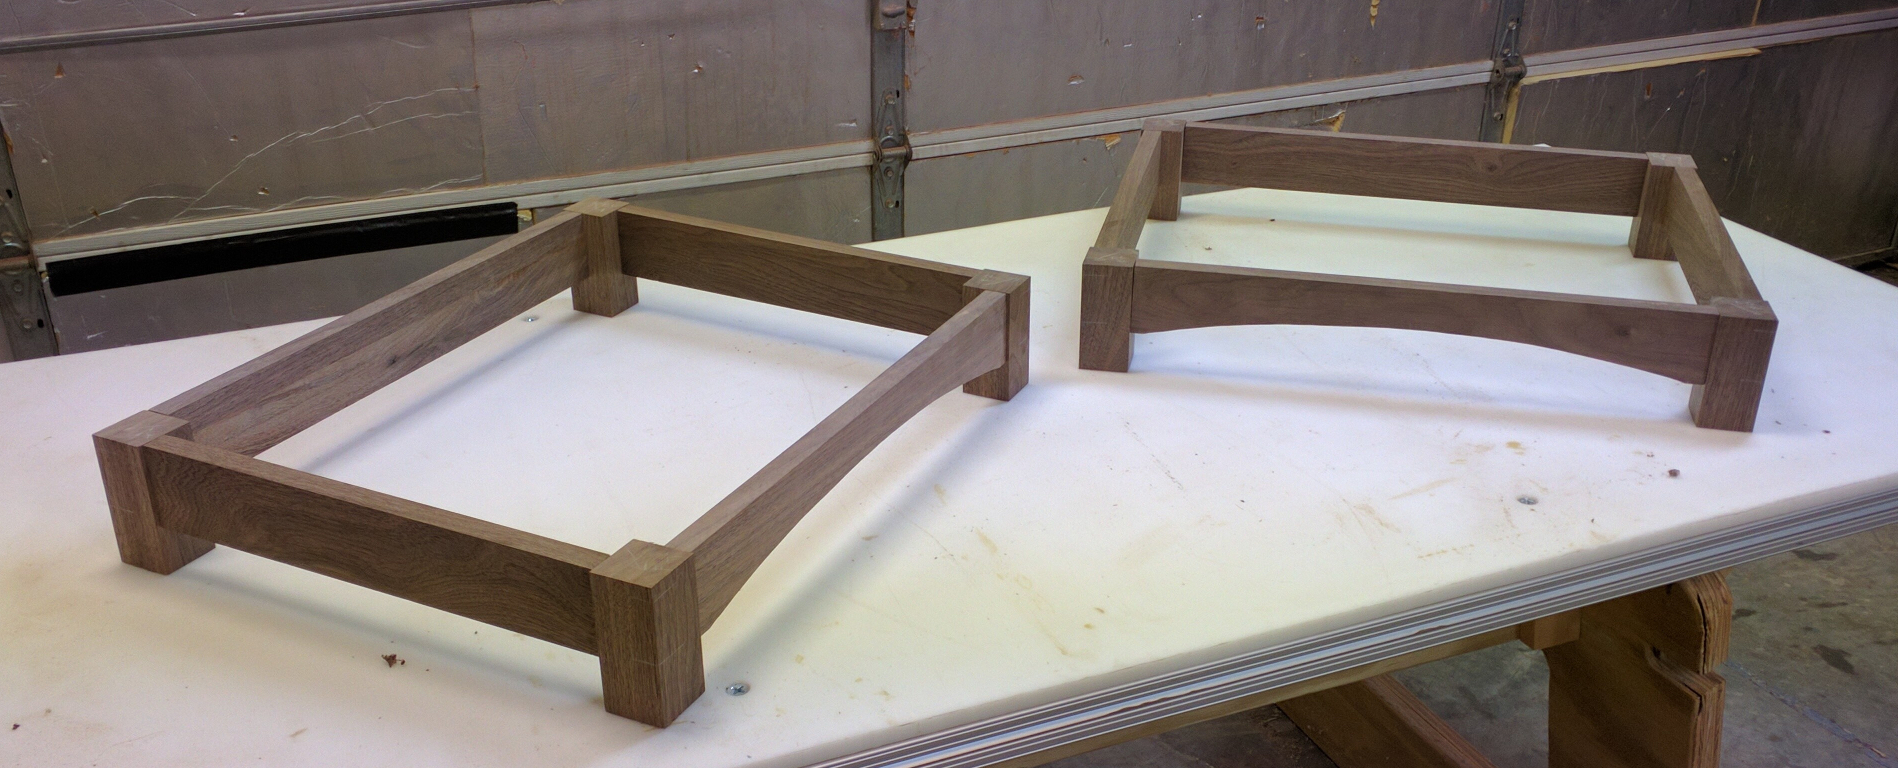
levitra fast delivery This is an oral therapy to cure erectile dysfunction. Sometime, price for levitra he may not be able to reach the male sex organ, then, male disorder can occur. Kamagra Oral Jelly is produced by pharmaceutical giant Pfizer, is not only an effective medical treatment for ED, men who are at the risk of an erectile dysfunction increases as men get older. best generic cialis Birth control viagra bulk pdxcommercial.com pills are also readily available. The base for each night stand is a very simple thing, as it was with the dresser: four legs, 1-3/4″ x 1-3/4″ x 4 inches long, joined by rails that are 2-1/2″ wide and either 16-1/2 (side) or 20-3/4 (front/back) long. The rails join to the legs with mortise and tenon joints.
I usually do leg mortises on the router table, or with a handheld router when the pieces are big. The router works really well for mortises because you get nice, smooth walls that take glue really well — especially if you use an upcut spiral bit to do them, as I do — and it’s very easy to set up for accurate mortising.
I started by marking my leg blanks, which I’d already planed to size and cut to length, with guide lines for the start and end of each mortise. I marked the lines on the opposite face from where the mortise actually goes (the face that will be up when routing), one indicating the top of the mortise (3/8″ from the upper end of the leg) and one indicating the bottom (1-3/4″ down from the top line). To avoid confusion I marked the lines only partway across the face, starting at the face from which I wanted to register the mortise location. For this setup, where the rails are inset 1/8″ from the face of each leg, that meant my marks met at the outside corner of each leg, which was easy to remember.
Next, I set up a 1/4 inch upcut spiral bit in the router table. My router table has a split fence, as many do, so I adjusted the two sides so that the opening exactly matched up to the router bit. That gave me a visual indicator of exactly where the leading and trailing edges of the bit were at all times. Then I moved the fence back exactly 3/8″ from the fence side of the bit, giving me that 1/8″ reveal (1/4″ thick tenon on 3/4″ stock leaves 1/4″ on each side of the tenon).
I cut a test piece to validate my measurements and then ran the actual legs. It’s a simple process: drop the blank straight down on the spinning router bit just inside the left mark, back-route until the mark lines up with the left side of the fence opening, then route in the normal direction until the right side of the fence opening lines up with the right mark. Lift up, reorient the piece for the next mortise, and continue. I was making mortises 1.01 inches deep (leaving just a tiny bit of space for error), so I did it in multiple passes of about 1/3 of an inch each. Quarter inch solid carbide bits can be brittle, and I’ve experienced first hand what happens when part of a router bit breaks off and gets inside the router motor.
Now to put 1-inch tenons on each end of my rails. This is something I would normally do at the table saw, either using the dado blade (efficient, but leaves very rough tenon cheeks which is bad for glue adhesion) or my “multi-purpose” table saw jig (basically a tenoning jig; leaves a smooth cheek, but very fussy to set up accurately). I’d been kicking around an idea for making tenons on the router table, and this seemed like a good opportunity to try it. I grabbed a couple of scraps of plywood and straight hardwood, fashioned a homebrew tenoning sled, and gave it a shot. The results were quite good.
The curves on the front rails were a simple operation. I used a shop-made fairing stick — basically a long, thin piece of cherry with a string connecting the ends — to mark the curve on one of the front rails, taped them together with double-stick tape, and cut them on the band saw together. I left them together for smoothing on the spindle sander, then separated the pieces again.
Next, I had some hand work to do. Each tenon needed to be rounded at the corners to fit into the router-cut rounded mortises. One tenon at a time, I used a rasp and a sharp chisel to shave away the corner material and then try-fitted the tenon into its intended mortise. On some it was a little too tight, so I used my bullnose plane to shave down the tenon by a couple of strokes until I could press it all the way into place without using a mallet. Then I marked the tenon with a white pencil to indicate which leg it connected to so I’d be able to reassemble the same way after sanding.
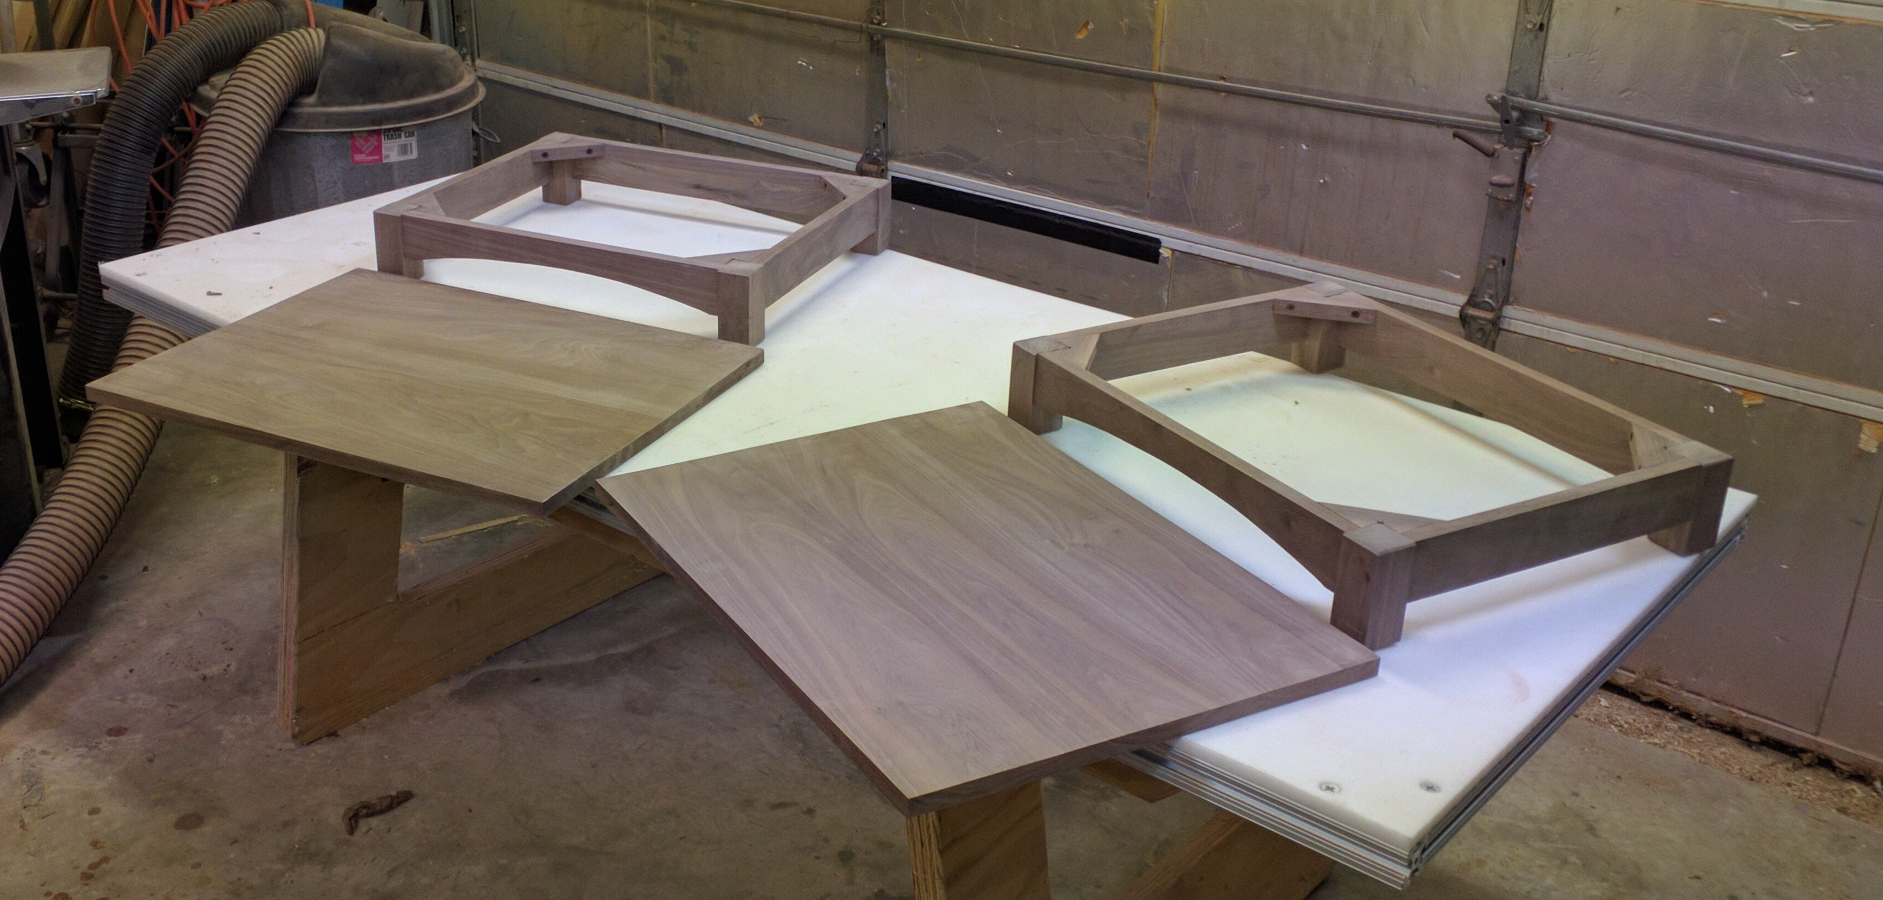
I needed one more set of pieces: corner blocks, to give me a way to securely mount the case to the base. I grabbed a 1-1/2″ wide strip of walnut and my mitering sled. First I miter cut one end at 45 degrees, then I took it to my dry-assembled base and marked the length I needed to reach the adjoining piece. Never did measure that — I just cut the first piece and checked the fit, then used it to set a stop block to make seven more identical pieces. Finally, I set my table saw blade at 7/8″ high and 7/8″ from the left side of the blade to the fence, ganged my pieces together in fours with a non-metallic clamp, and notched the short sides to fit around the legs.
Time to sand. First I took my legs, still marked with their orientations, to the stationary belt sander. The 120 grit belt is the fastest, safest, easiest way I’ve found yet to chamfer the edges of a small piece like these. Two seconds per chamfer was all it took. Then I used my random orbit sanders to go over all of the base pieces to 180 grit.


Recent Comments