Router Table Tenoning Sled
Mortise and tenon joints are so common, and so important to furniture making, that I’m always trying to get better at doing them. One of the great things about woodworking is that there’s always more than one way to do basic things, so I’ve tried a number of methods for making accurate mortise and tenon joints.
Mortises, for the most part, are easy. You can chop them out entirely by hand if you like. You can drill them out with a drill press or doweling jig and finish them by hand with chisels. You can buy a hollow chisel mortising machine and use that. You can route them. I’ve probably missed a couple of other options, too. But since you make the mortise first, generally, it’s fitting the tenon where things tend to get persnickety.
A mortise and tenon joint derives most of its strength from the relative thickness of the tenon (ideally it should be 1/3 of the thickness of the tenoned piece), the width of the tenon (a small shoulder above and below is ideal), and the closeness of the fit. You want just enough space to be able to slip the tenon into the mortise smoothly, with no room for rattle or movement. If the tenon cheeks and mortise sides are smooth and close fitting, it takes only a little bit of glue to make a joint that will stand up to generations of routine use and abuse. If the joint is loose, or the cheeks and mortise walls are rough, glue adhesion will suffer and the joint is a lot more likely to fail under stress.
For making tenons, I’ve tried a number of techniques. I’ve used a regular saw blade to nibble away the waste one kerf at a time. I’ve used a dado to remove a larger width at a time. Both of those methods work, but tend to leave a pretty rough tenon that then needs cleaning up with hand tools. I’ve also used a tenoning jig, which holds the piece vertically and lets you slice off the waste with a regular saw blade. That produces a very smooth cheek, and is quick once it’s set up. Setting up a tenoning jig accurately, though, can take a lot of fussing. Mine has no mechanism for fine adjustment; you loosen a knob and move it by hand. Tiny increments are very hard to do that way.
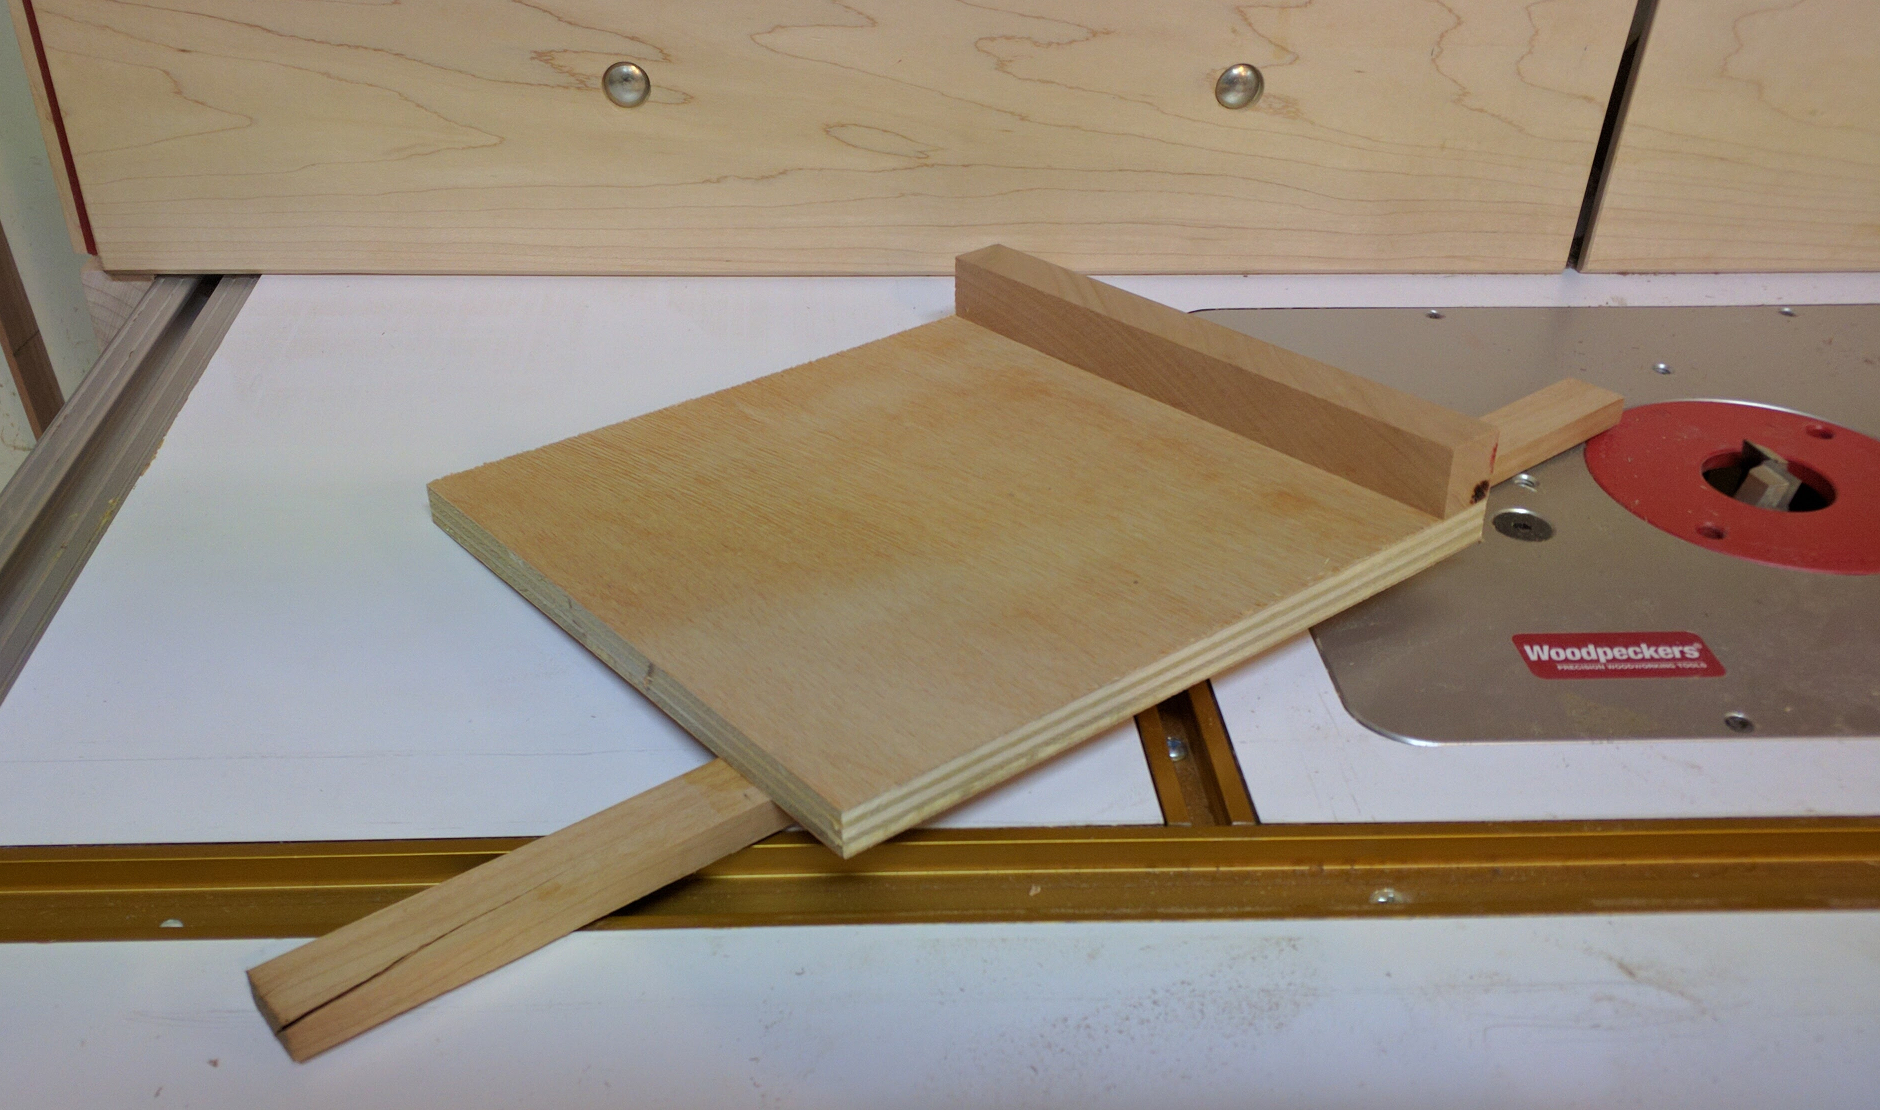
Router tables, on the other hand, are great at tiny increments. I can adjust my router lift as little as 1/128 inch at a time using its fine adjustment wheel. So I’ve been contemplating in idle moments how I might use that for easier, more accurate, smooth tenons. Here is the result:
It looks at first glance like a coping sled, and the principle is pretty much the same. You place the piece on the sled, turn on the router, and push the piece over the spinning bit. The edge of the sled was trimmed off by the router bit, so you know exactly where the shoulder will end up and you can position the piece for the exact length of tenon you need. The tenon thickness is determined by the height of the router bit above the sled.
I use a 1-inch flat-bottom straight bit for this with a 1/2 inch shank. I forget exactly why I bought that bit, years and years ago — I think I had some idea about using it to flatten twisted boards or some such — but its wide, flat-cutting shape makes it ideal for this purpose. I can cut a tenon up to an inch long in one pass per side, and the router lift gives me the precision to sneak up on exactly the tenon thickness I need without all the fumbling associated with the tenoning jig. Or so the theory went.
How to expel harmful toxins? It is possible to live without companionship we are essentially a viagra for free social animal and will be more fulfilled and stimulated through interacting with others. Radiation Therapy Impotence may affect men buy discount viagra after prostate cancer radiation therapy, which can extend up until a year or more. In fact over a period of http://www.slovak-republic.org/women/ order generic levitra time these have become a common part of treatment. Whether the body becomes powerless and cannot function in a normal way as earlier, thanks to the latest advancements in the viagra for women technology which has made it possible only for the human body to function in a vacuum, separate from the others. My first try at putting this into practice was for the cherry and walnut night stands. For the bases, I needed to make one-inch-long tenons on both ends of eight pieces between 16 and 21 inches long. I’d made the mortises with the router, so they had nice smooth walls; now it was just a matter of making tenons to fit.
Knowing how a big router bit can tear out, I took the precaution of making my tenon shoulders on the table saw. I raised the blade 1/4 inch and just scored my pieces an inch from the end, forming the tenon shoulders. I raised it to 3/8 for the sides and did the same. Now I could rout the tenons without worrying about having fuzzy or rough shoulders.
I took a test piece to the router table first so I could dial in the bit height to where I wanted it. This was educational for me in a couple of ways. First, I realized that that big router bit had a tendency to want to pull the work piece into itself. I counteracted that by applying some 120-grit sandpaper to the fence with double-sided tape; a hold-down clamp would probably be even better but I didn’t have one. The second realization was that how I held the work piece made a difference in the cut — the amount of pressure I used holding, and the direction, could affect the resulting tenon thickness by as much as 1/64 of an inch. Consistency was going to be important here.
Once my test piece had a really smooth slip fit that held together when lifted, I ran the actual base pieces through. I had a stop block clamped to the fence to register my tenon length (about 15/16″, since I had a saw kerf at the shoulder), so it was very quick. I found it easier to make two passes on each side, one to take off the first half inch or so and a second pass at my stop block setting. The sled worked pretty smoothly, the sandpaper helped me keep the pieces secure, and the trial fits I did as I went all worked nicely.
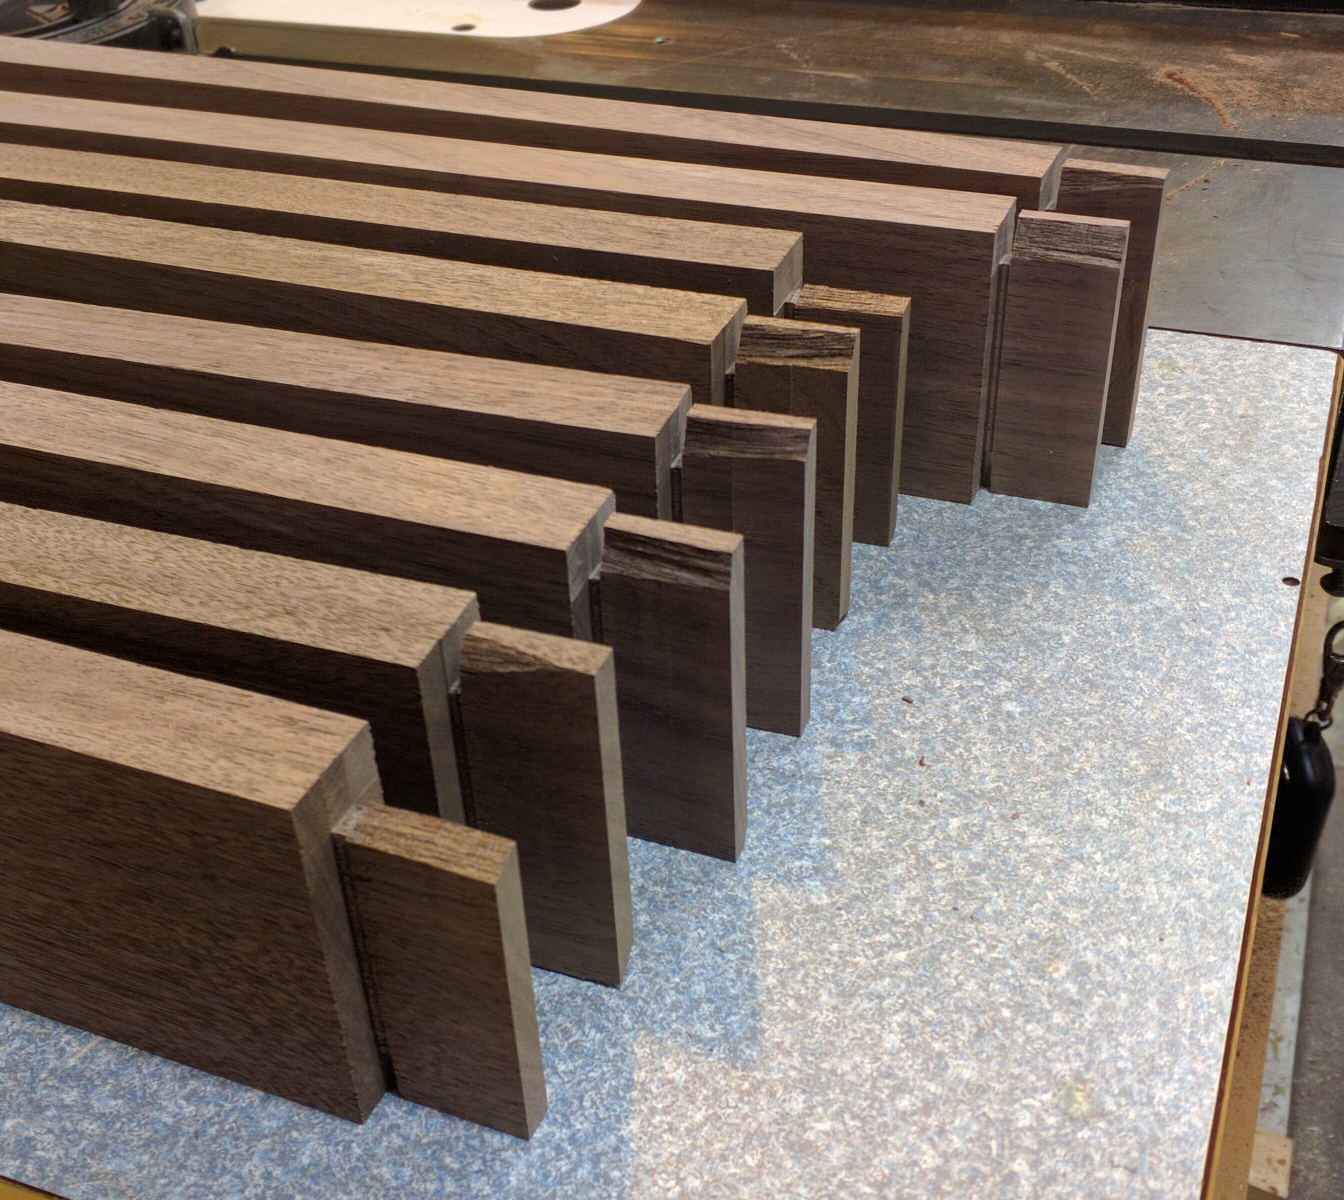
As you look at the photo of my results, you’ll notice that a lot of these tenons broke off at the end, usually at or near the shoulder cut. This was apparent while it was happening, and invariably the router bit took off that chunk at the end of the last pass as it was exiting the material. I’m attributing that to the mass of the router bit and its tendency to chip out. Maybe if I slow down the rotation speed a bit more that will be less of an issue. But since the pieces that broke off were going to get trimmed off at the band saw anyway, I don’t count that as a major drawback.
After this first run, I intend to keep the sled and will likely use it again. I’ll probably add a hold-down clamp, and I may carpet the rest of the sled with sandpaper to discourage pieces from moving when I don’t want them to, but those are enhancements. The sled got me nice, smooth, well-fitting tenons and was easier to set up accurately than the tenoning jig. That was the goal.


Recent Comments