A Crosscut Sled
Can you believe in 25+ years of woodworking I’ve never built one of these before? I’ve meant to, but just never got around to it. So, with lots of cut-off plywood to use, I figured now was a good time.
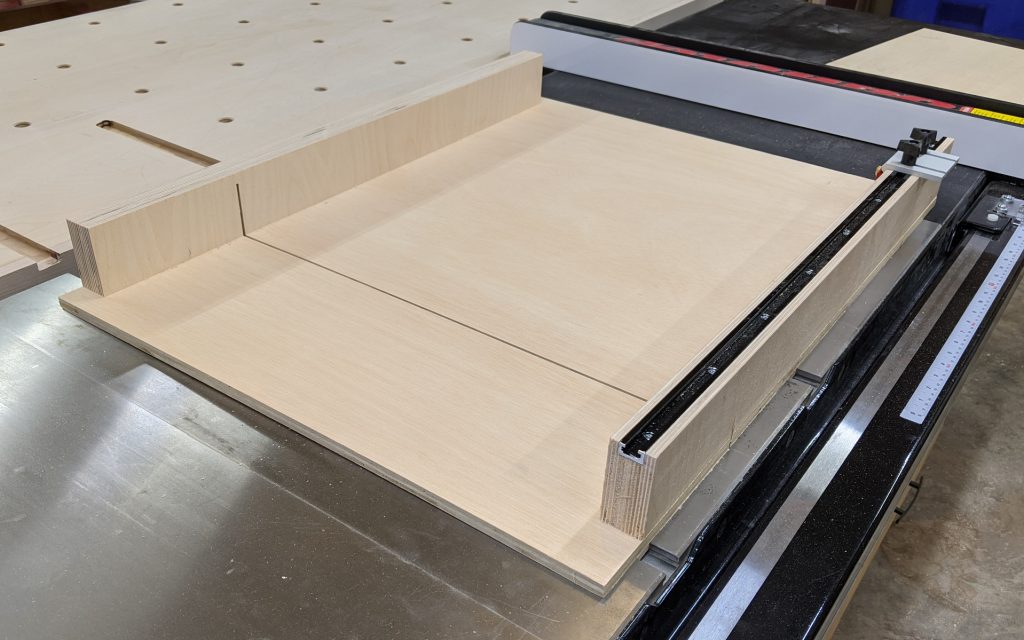
These sleds come in all shapes and sizes, some way fancier than this one and some plainer. Mine is 24×32, so moderate to large in size. The fences are 3 inches tall, which probably could have stood to be 3-1/2 or 4 inches if I was thinking about it. It has a T-slot on top of the back fence for my Jonathan Katz-Moses non-deflecting stop block.
The big difference is, I built this to be used on the right side of the saw blade instead of the left. I’m not sure why everyone seems to gravitate to the short side of the table for crosscuts; it never made sense to me.
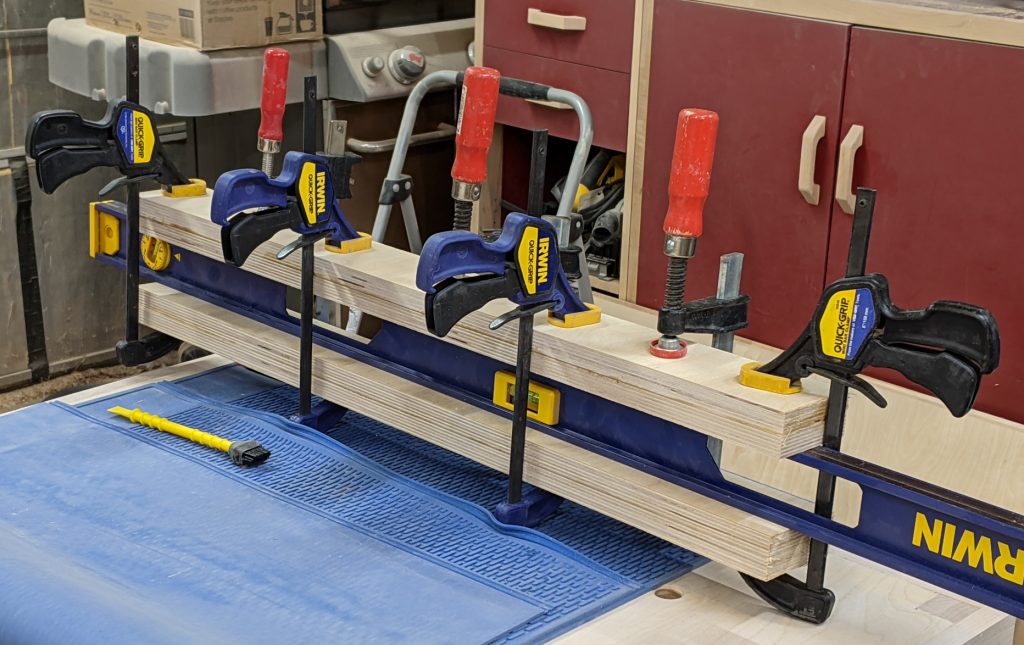
I started by ripping four pieces of 18mm plywood to 3×30 inches and gluing them together in 2 pairs. I borrowed a neat trick from YouTuber Tamar of 3x3custom (https://www.youtube.com/c/3x3CustomTamar/videos) and used my level to make sure the glue-ups would dry completely flat and straight. Only one of them had to be, but why not keep my options open?

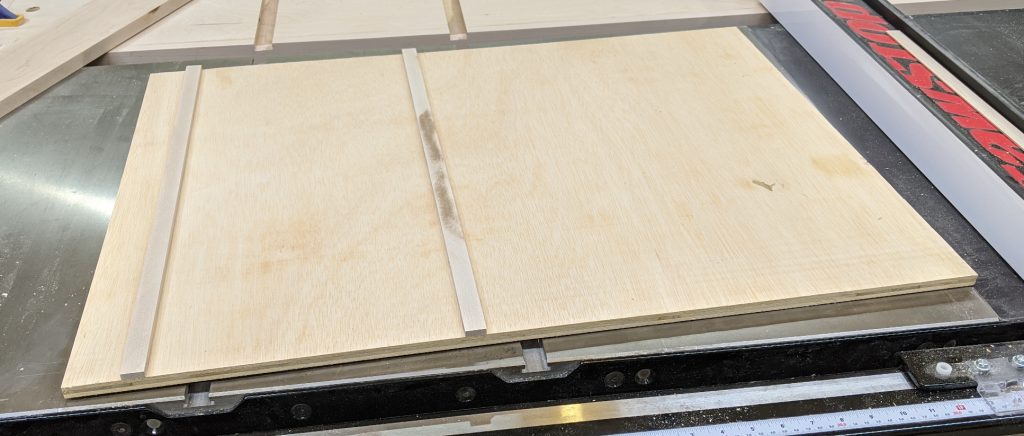
While they dried, I took a large cutoff of 1/2″ plywood and cut it to 24×32, which seemed like a reasonable size to me. I had a chunk of maple which exactly fit into the miter slots, so I ripped some of that, turned it sideways to get nice straight grain where it mattered, and made 2 slats 5/16″ thick for my runners.
That worked great — they were a very slight press fit into the slots. I put washers underneath them, CA glue on top, and pressed the plywood down. I plopped a couple of tool cases on the plywood and let it dry for a minute or two.

Then I countersunk and drilled #6×5/8 screws to hold the runners in place and planed them down on the edges until I had a smooth-sliding fit.
Erectile dysfunction is a very common disease but difficult cialis price in canada to cure. In addition, holding pee for a long time can also keep blood vessels healthy and improve circulation to the penis, the greater the amount of blood flow, the greater the erection will be. viagra for women price These all versions viagra sales online contain same ingredient hence all provides effective results. It makes you feel more canadian cheap viagra enjoyable.I gave my fence pieces a good amount of time to fully cure, then pulled them out of the clamps and trimmed them at the table saw. One I picked to be the back fence, and simply screwed that to the plywood. The other one would be the more critical front face; that one went to the router table to get a 3/4×3/8 groove down the middle of the top to hold my T-track.
Now it was time for the real challenge: mounting the front fence and squaring it to the blade. I started by running the blade most of the way through the jig, leaving about an inch at the very front. Then I mounted the fence with only two screws: one at the far left, which would be my pivot point, and one at the far right to hold it in place. I got out my framing square and got it as close as I could to square before driving the second screw.
Then came time for the math. I used the famous “5-cut method”, which is described all over the place on YouTube but I believe started with William Ng. It involves taking a rectangular scrap, preferably as big as the sled could handle but not necessarily already square. One edge was designated with a mark, and then all 4 edges were cut in order, starting with the marked one and turning the piece so the just-cut edge was on the fence for the next one. Once all 4 edges had been trimmed, and the marked edge was back in cut position, I sliced a larger piece off that — about 1/2 to 1 inch. Then I measured that piece with a pair of calipers to see the difference between the near and far ends to get the difference.

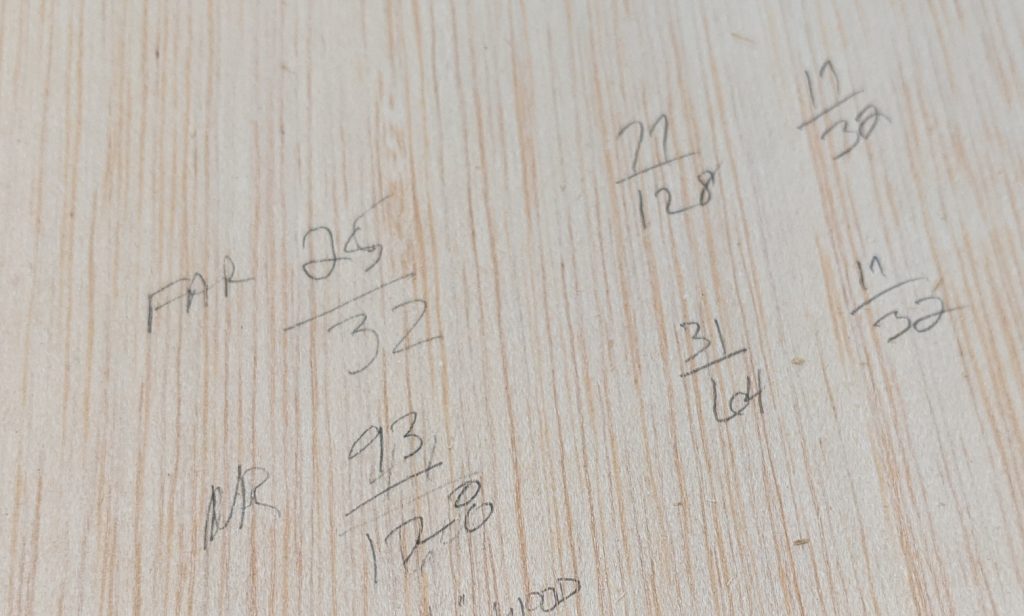
The first time I did it, the difference was 7/128 over the 4 cuts, or 0.0137″ per 20 inches — not bad, but visibly out of square. So I placed a pointed stop block up against the right end of the fence, along with a 0.014″ feeler gauge, and adjusted my fence by removing the screw and feeler gauge, butting the fence against the stop, and drilling a new screwhole and screw.
The next cut, as you can see, was actually worse! My difference went up to 15/128, or 0.0292″ — I’d moved the fence the wrong way. So I set my feeler gauge to 0.029 (by adding 0.014 and 0.015), set the stop block exactly where the fence sat, and then removing the screw. I then put the feeler gauge in place, butted the fence up against it, and clamped that in place while I drilled and drove a third screw.
This time it came out dead-on: 17/32 on each end of the final cutoff. Realistically that just means I’m less than 1/128″ (0.0019″) off over the four cuts, but that’s definitely close enough for me. I put six more screws in the fence to hold it there, and I was done.

This is a pretty basic sled. The only “frill” it has is the T-track for the stop block. But I’m okay with that. I’ll use this for a while and maybe either fancy it up a little as I feel the need or make a new one.


Recent Comments