
A Quick Repair Job
A couple of years ago my wife Julie got me a new desk chair for a birthday gift. I loved it! It was adjustable every which way, had nice breathable mesh in the seat and back, just the right lumbar support — everything I could ask for in an office chair.
Fast forward about 2 years, to March 2021. I still loved the chair, but it had developed a problem.
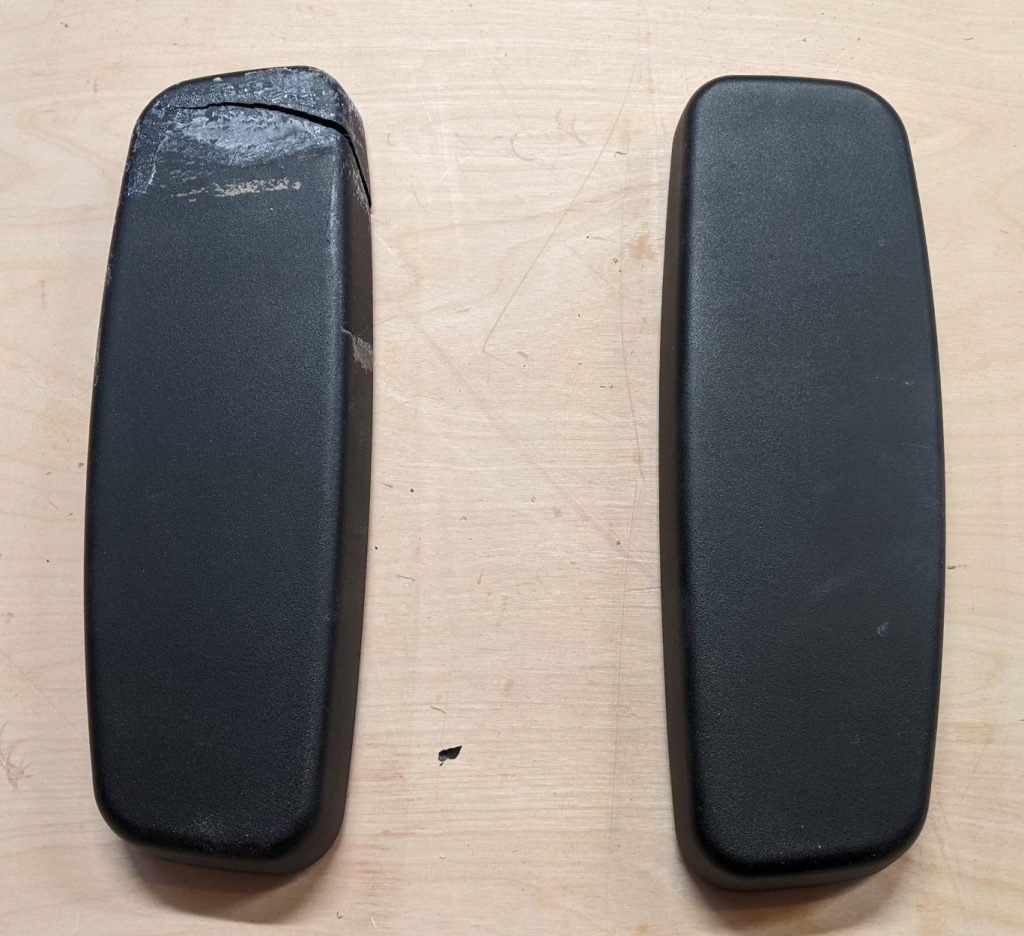
The arms are of made of semi-stiff foam glued onto a harder plastic shell, and the front left cracked along that seam. I put duct tape on it to hold it for a while, but it just didn’t work and the broken arm became a distraction.
Unfortunately, the maker of this chair was one of those Amazon affiliates who sells things and makes it as hard as hell to contact them later for service — or in my case, replacement parts. All roads led to the Amazon sales page, which had no contact information. Out of frustration, I ordered a new chair (from a different vendor!) and was going to toss the old one.
Then it occurred to me that the old chair would look pretty spiffy with new, wooden arms. All I would have to do is match the shape at the attachment point, right? It seemed like it was worth a try — instead of throwing it away, I put it in the shop and removed the arms for study.
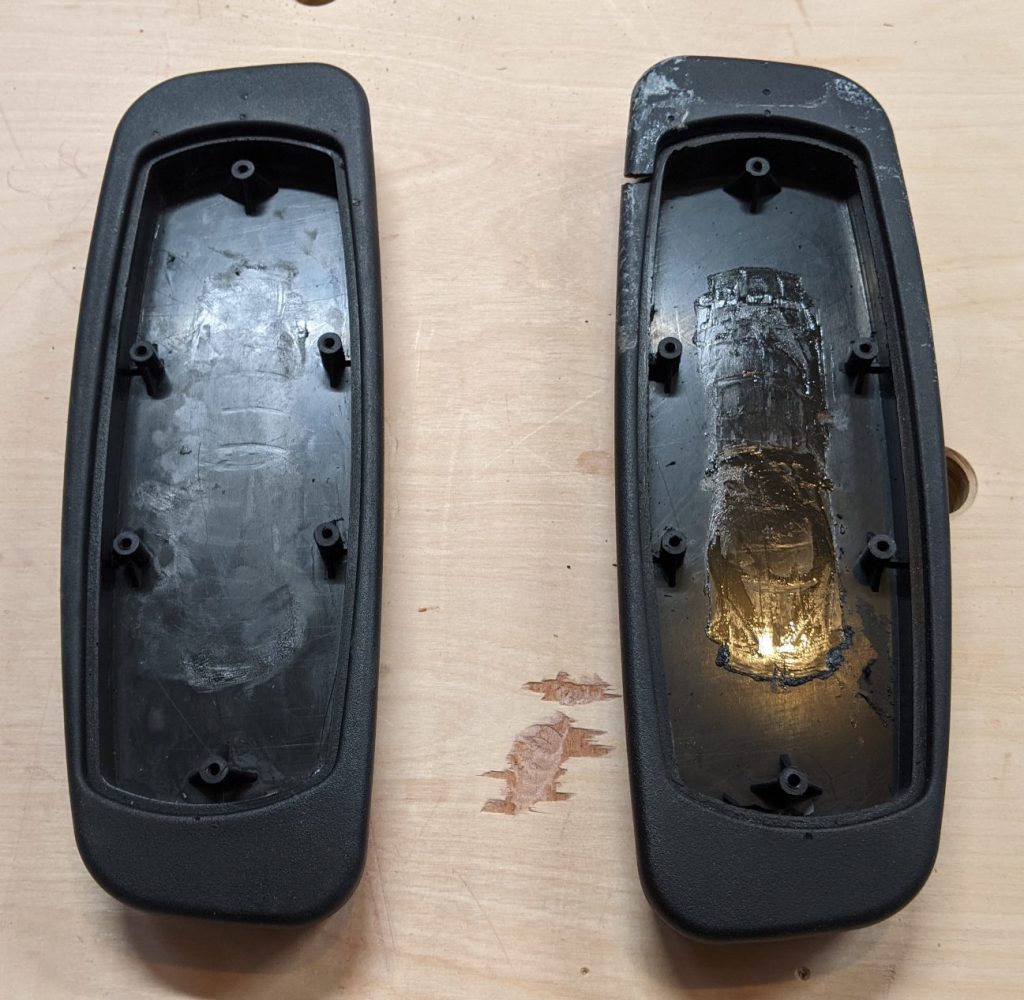
It seemed like a simple enough design. I figured I’d draw it up in Fusion 360 and cut it out on the CNC, no problem.
Except it was, at first. I quickly realized that there were no straight lines anywhere, which left me searching for a place to start. The six screw holes were the most critical measurement, I figured, so I’d start there. It must be metric, because none of the measurements I came up with were clean fractions of an inch, but after a couple of false starts I came up with the right spacing and a 1:1 printout of the drawing fit precisely over the holes in the right arm. So I expanded outward from there, drawing the arc-shaped sides of the inner cavity and then an approximation of the outer shape, deliberately drawing it a little wide so I’d have some room for hand shaping. And I came up with this:
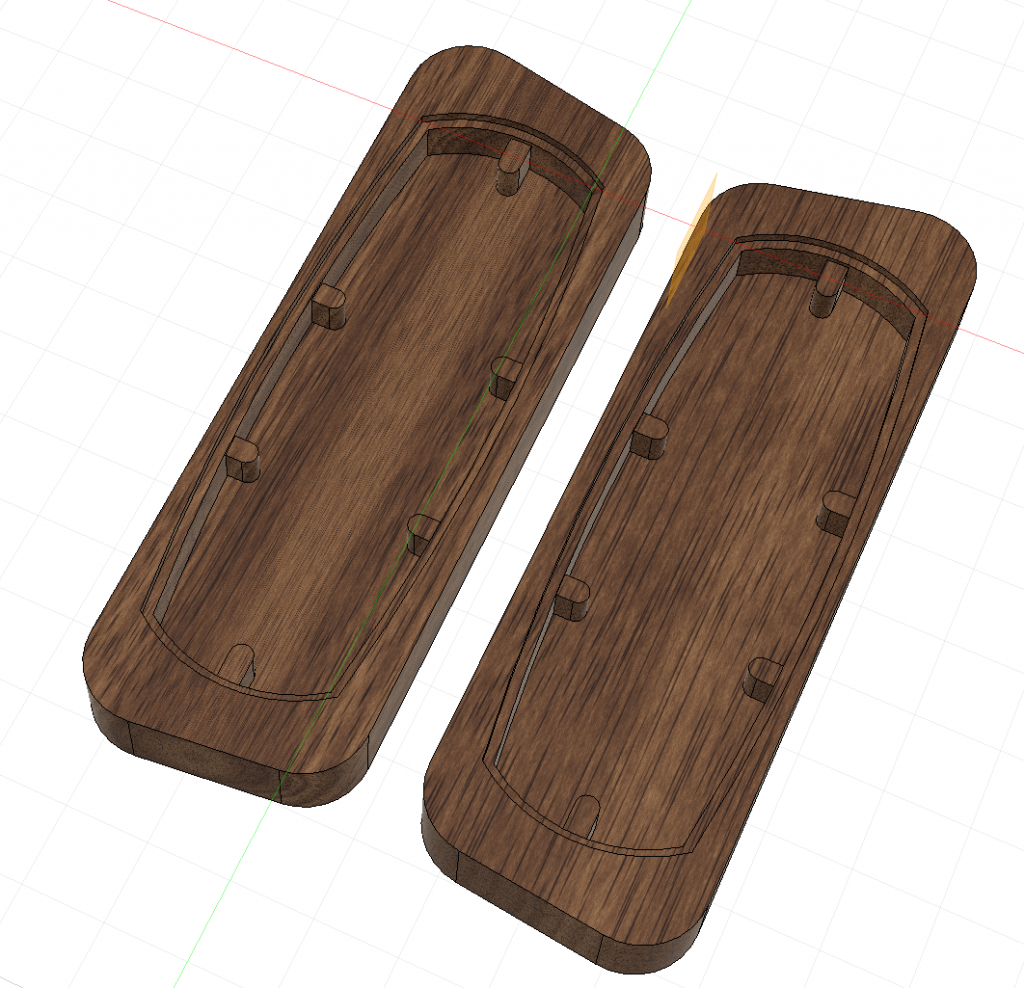
I cut that out on the CNC, and it did a reasonable job. It left the inside walls and floor rough, and there were some artifacts in the middle that it chose not to cut out for some reason. Fusion 360 doesn’t actually have a preprocessor for the CNC Shark, so I can’t entirely blame the machine — maybe if I’d used vCarve it would have been smoother. I just don’t like vCarve at all. So I used a hand-held router to remove those parts and tried it for fit.
It was close. I’d failed to note that there is an inside rail that runs the whole way around that my screw mounts interfered with. I tried carefully sawing through the bridge, to make the screw mounts stand alone, but several broke off in that process so I just routed them out instead. I’ll have to glue in blocks for the screws, or just use longer ones. But at first pass, not bad.
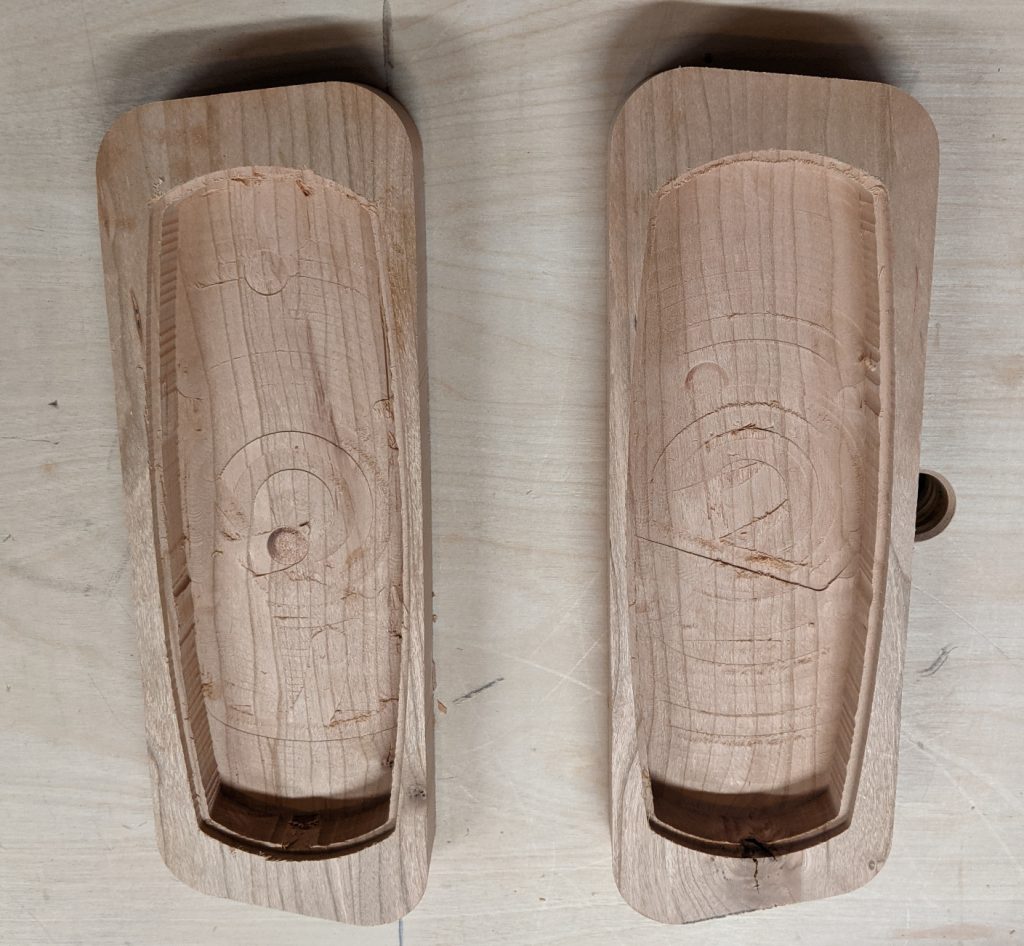
They fit perfectly over the mechanical parts, so now it’s just a question of shaping the top and sides and deciding how to mount them. For shaping, I kept it fairly close to the original arms, which were flat on the top and just had rounded edges. I was still experimenting, after all, and had no idea whether this would actually work or not.
Once the shape felt good to my hand and elbow (because, let’s face it, the elbows are going to be on contact with them most of the time), I final sanded to 180 grit. Three coats of Arm-R-Seal went on the top, sides, and very bottoms, leaving the inner cavity untouched because I’d still need to glue things there. Besides, that will be inside.
I decided that since these arms were stiff instead of flexible, they probably only needed two screws instead of six. (That may turn out to be a completely invalid decision; time will tell.) That meant only creating 4 new mounting blocks instead of 12. Also, if I’m honest, the two were larger and easier to place than the other four, which would probably split anyway.
Since I’d removed the original parts with the router, I had to make new ones. I traced the shape roughly onto scrap stock 4 times, then resawed that piece on the bandsaw and hand-planed it to get it smooth and 3/8″ thick, which was the height I needed. Then I went back to the bandsaw and cut out the 4 pieces, and smoothed them and refined the shapes on the spindle sander. I glued them in and let that dry.
Finally, I fitted the arms back onto the chair, drilled pilot holes, and mounted the arms using some of the original 1/2″ screws. The result was, as I thought, pretty spiffy-looking:
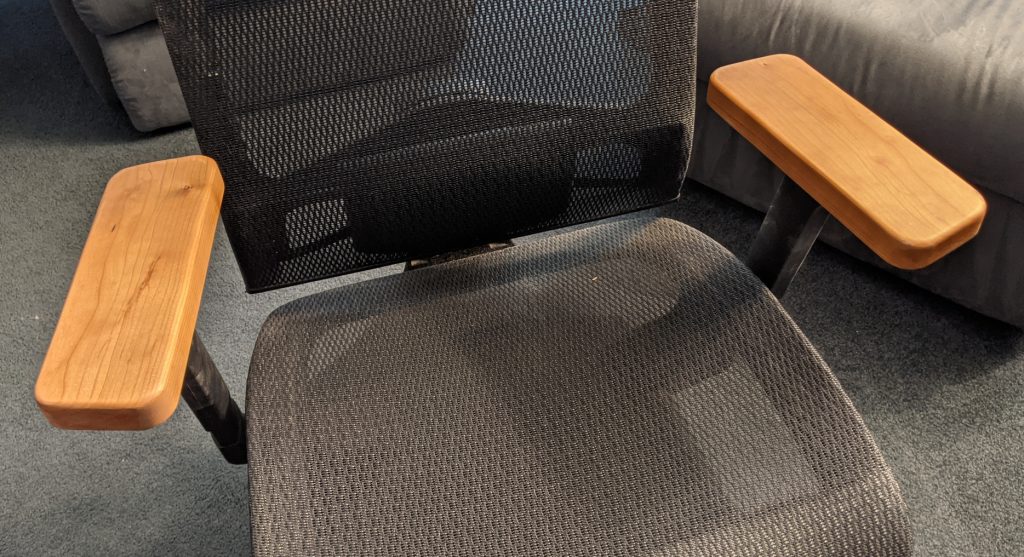
I suppose I could have done more with contours on top, but this is actually pretty close to the original arms in shape and flatness. Time will tell if the two screws will be a strong enough mount. But hey, I have my favorite chair back!


Recent Comments