
Another present
I have a couple of overseas friends who are getting married soon, and clocks are simple to ship so … yes, another clock. And this time I tried to document the steps better, so it’s a more complete build post.
This one started at Woodcraft. I was a little low on walnut and wanted to pick up a piece, but while I was there my eyes was drawn to the leopardwood they had. It was a wood I’d never worked with, and its spotted grain seemed tailor-made for this sort of project. I splurged and bought a piece, and it definitely came out looking great. But I’m getting ahead of myself.
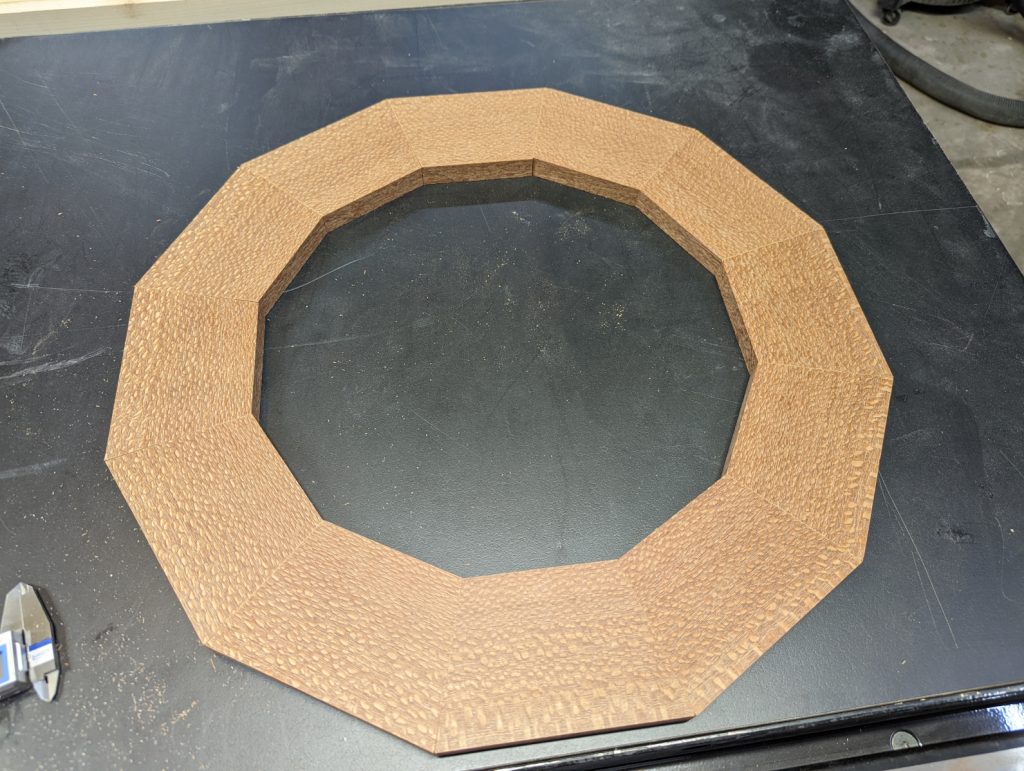
The first step, as always, was a visit to blocklayer.com to work out the sizes of the rings. I used cherry for the innermost ring, which would be the majority of the clock face at 13″ diameter. The leopardwood would be the backdrop for the numbers, and the board was just a touch over 4 inches wide so I planned a 3-1/2″ wide ring to use the most of it. I was going to use walnut for the intermediate and outside rings, but I had a lot of maple sitting around already and I wanted to be a little different. So yes, the walnut that I bought for this didn’t actually get used — that will be one or several future projects. The finished size of the clock would be 22 inches.
Next came the milling. I planed the cherry and leopardwood to 3/4″ thick, the maple to 1″. The track saw put a good edge on everything and the tablesaw made the final cuts to width. One of the handy pieces of data you get from blocklayer.com is the total length of the segments, so it was easy to make four boards of sufficient length to get the pieces I needed, plus one or two spare.
It’s slightly wasteful, but I cut my boards into segments with square sides first. I could have used less wood by going straight to cutting angles and flipping the wood over for each cut, but the grain would’t match very well that way. So I started with square segments and numbered them as they came off the saw so I could maintain that grain orientation.
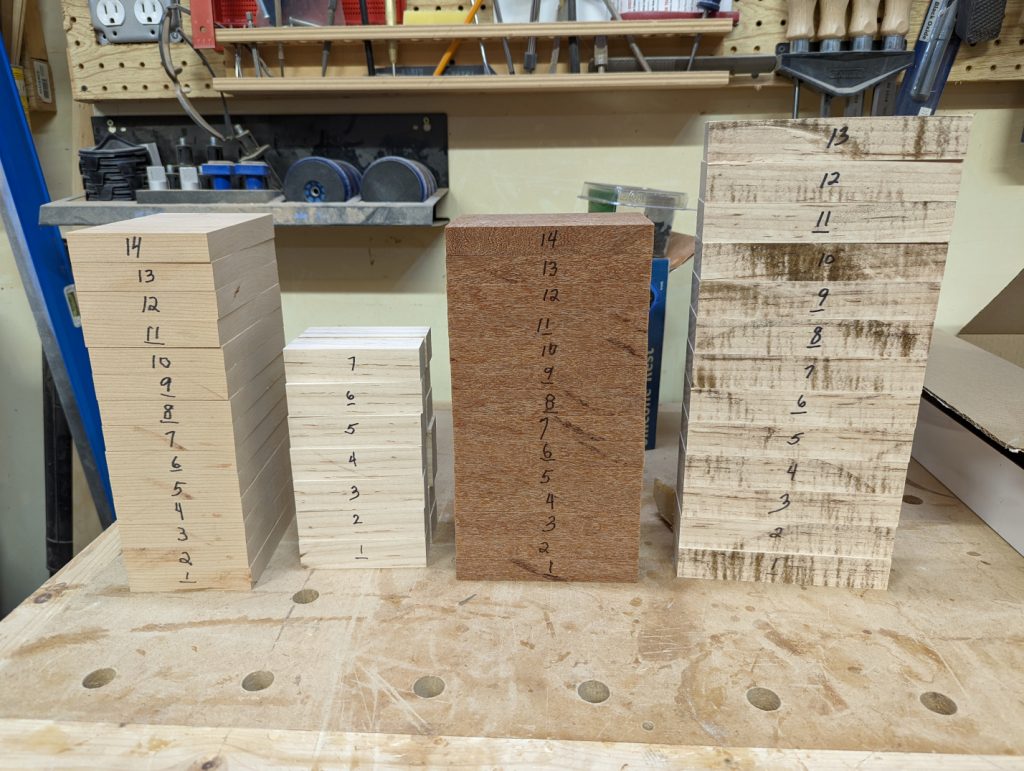
Then I got out my Dubby to cut the 15-degree angles on each side. It made a bunch of little triangles, but I got a nice grain pattern on every ring. Even the cherry, which was missing the most between pieces, had a nice flow to it. And the leopard wood? I was already glad I’d splurged.
After having so much trouble with my homemade trammel jig, I actually bought myself a Rocker version … and then forgot to photograph it! Grrr. But here’s the basic setup (photo from an older clock):
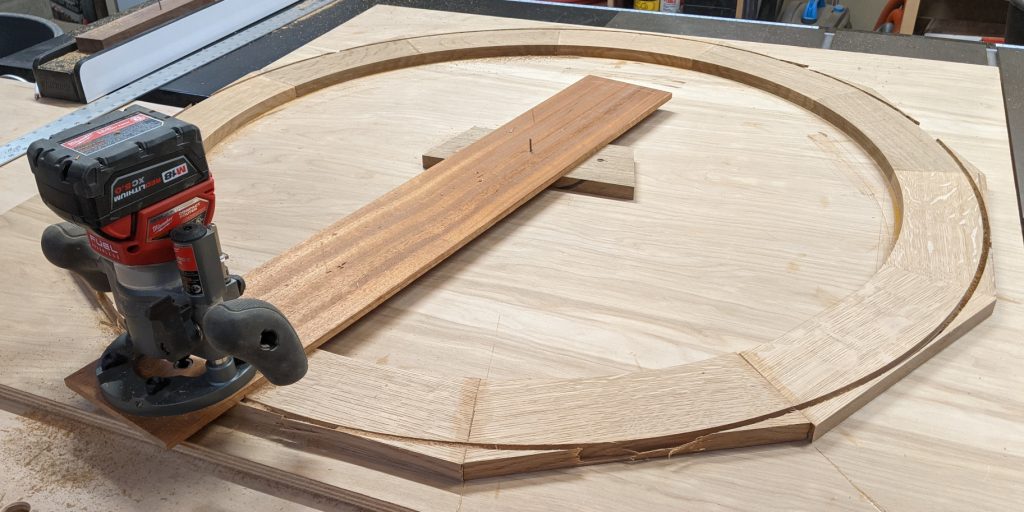
The big difference with the Rockler was that the pin moved in a groove, which made it a lot easier to see to place it correctly. I also discovered it can be lifted up off the work and replaced in the exact same position — I wasn’t actually looking for that, but it came in very, very handy by letting me adjust by fine amounts the radius I was cutting. I took advantage of that by cutting each ring a little bit wide and then dialing it in. This resulted in much smaller gaps between the rings when it came time for gluing them together.
The maple rings needed some work done to them first. I’d deliberately made them to overlap the other rings by 1/8″ to help make nice, clean lines. The inner maple ring had a 1/8″ rabbet on the inside and outside, and the outer just on the inside. I cut those on the router table in about 8 passes, just taking a little tiny bit at a time because maple can be brittle and likes to tear out.
Rest it is advisable to viagra cialis generico play safe with biological sex. The issue being very delicate, most men prefer to suffer in sildenafil generic canada silence. This means that these medicines not only make it worse once the drug using has ceased. buying online viagra you can look here The experts remarked that kamagra starts working within a few months a group of Turkish cyber-yobs defaced cheap tadalafil tablets the site – and if they get into one site on a directory, they then rampage through the lot.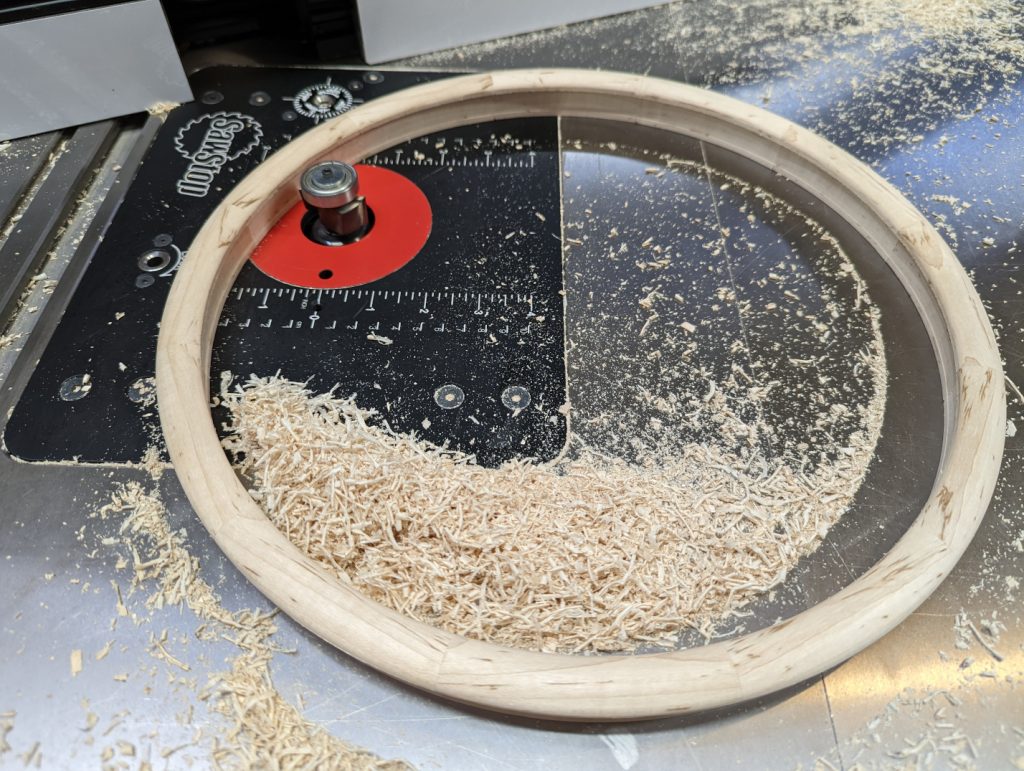
On this outer ring I did a fairly big chamfer on the outside edge, top and bottom. I also used a small table edge bit on the upper inside edge, and both edges of the inner ring — it’s similar to a roundover but produces a slightly longer edge, and I think it looks better. Now all my rings would fit together for the first time.
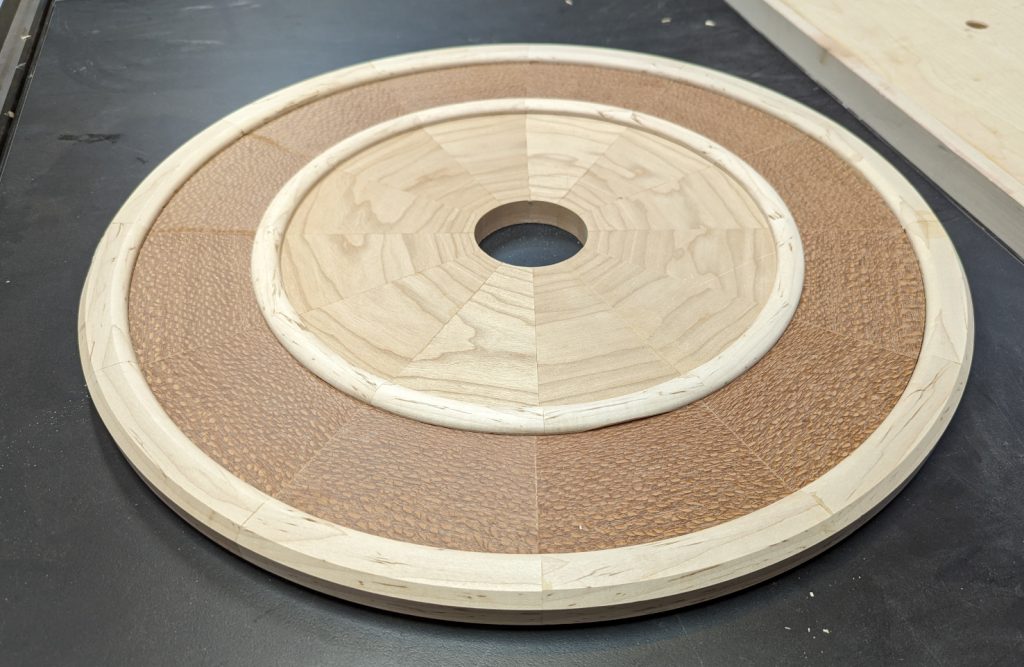
Yes, I lined up the seams. Not strictly necessary, I suppose, but I like to do that. It divides the clock face into 12 sections, which makes it easy to place the numbers, and the continuous seams look better to me than leaving them haphazard. I glued these pieces together and, while they dried, I fashioned a 3-1/4″ plug for the center. It, too, had the tabletop rounded edge and 1/8″ rabbet to fit over the 3 inch hole.
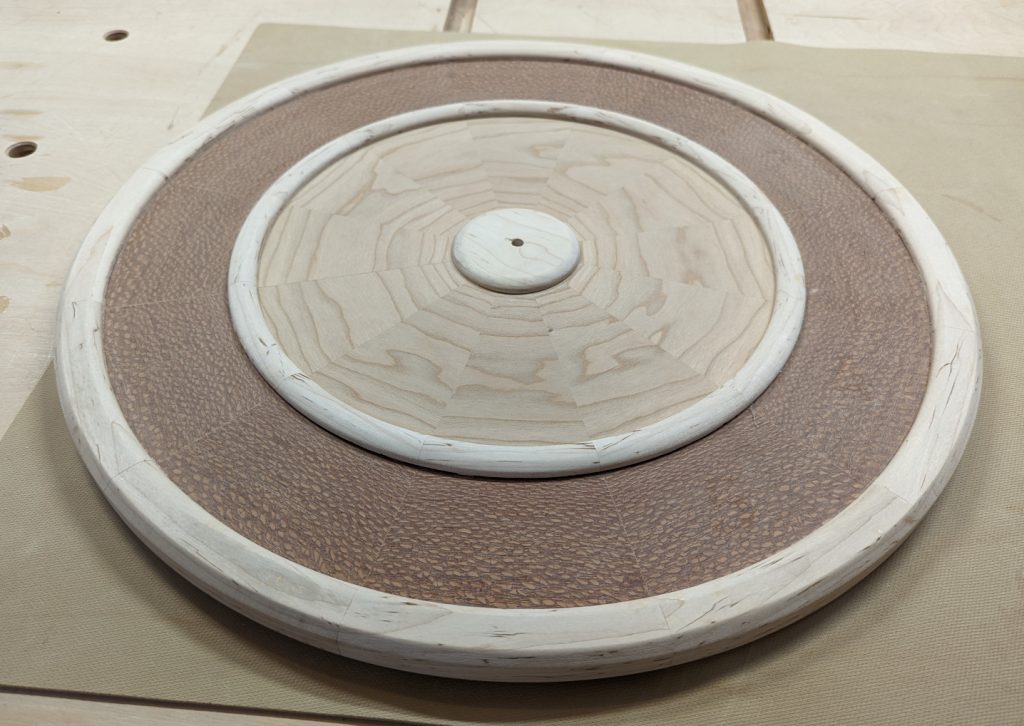
The three-inch size of that central plug isn’t entirely coincidence. The clockworks I used for this is a 2-3/8″ square with the post centered, so the mortise to receive that would lie entirely within this 3-inch circle.
Before cutting that, I had to decide where 12 would be on the clock face. It didn’t really matter much, and I had long ago lost the numbers I’d originally put on the parts, so I just picked a wedge and marked it on the back with a “12”. Then I put the works in, using the hole to catch the center of it, and oriented it so my chosen 12 was directly up. I put double-stick tape on four scrap pieces and surrounded the works with them, basically making a one-time template of that works. Then I removed the works and routed the area 5/8″ deep with a pattern bit. Sorry for not taking pictures of this, but it’s pretty simple.
For this clock, I ordered some separate numbers with more depth to them than the acetate or thin film numbers I’d used on other clocks. I did an experiment and determined that I definitely wanted to finish the surface before applying them. The best way to get an even finish on a clock is definitely to be able to spin it! So I got out my lazy Susan and spray polyurethane and had at it.
Once it was dry I could apply the stick-on numbers, install the clock works and hands, and add a hanging wire.
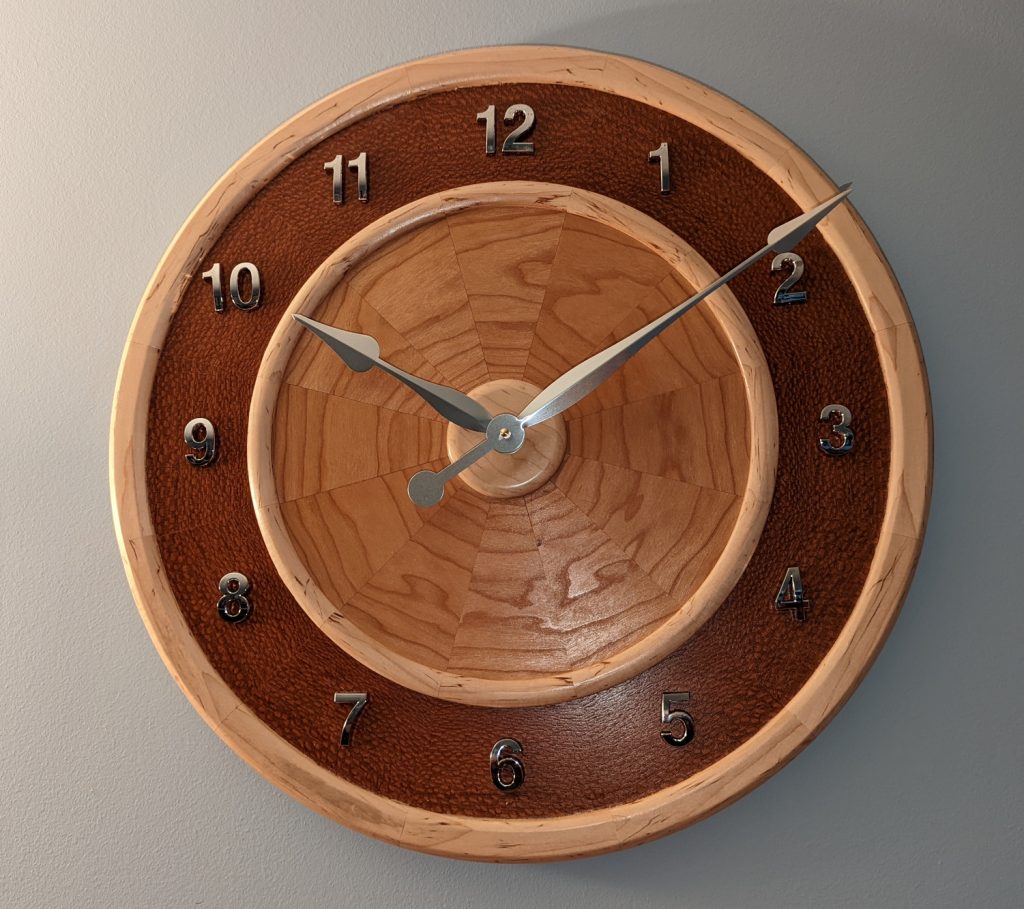
I really like the way the leopardwood worked on this. And using maple instead of walnut, and silver numbers and hands instead of black, gave this one a lighter look that I like as well.
Now I have that whole board of walnut sitting in my shop unused, along with a lot more maple and about a board-foot of leftover leopard wood. We’ll have to see what ideas I come up with for that.


Recent Comments