Bathroom vanity, part 2
As a said before, I’m farming out the drawer boxes, so once I had my carcass done I only had drawer fronts and cabinet doors to do.
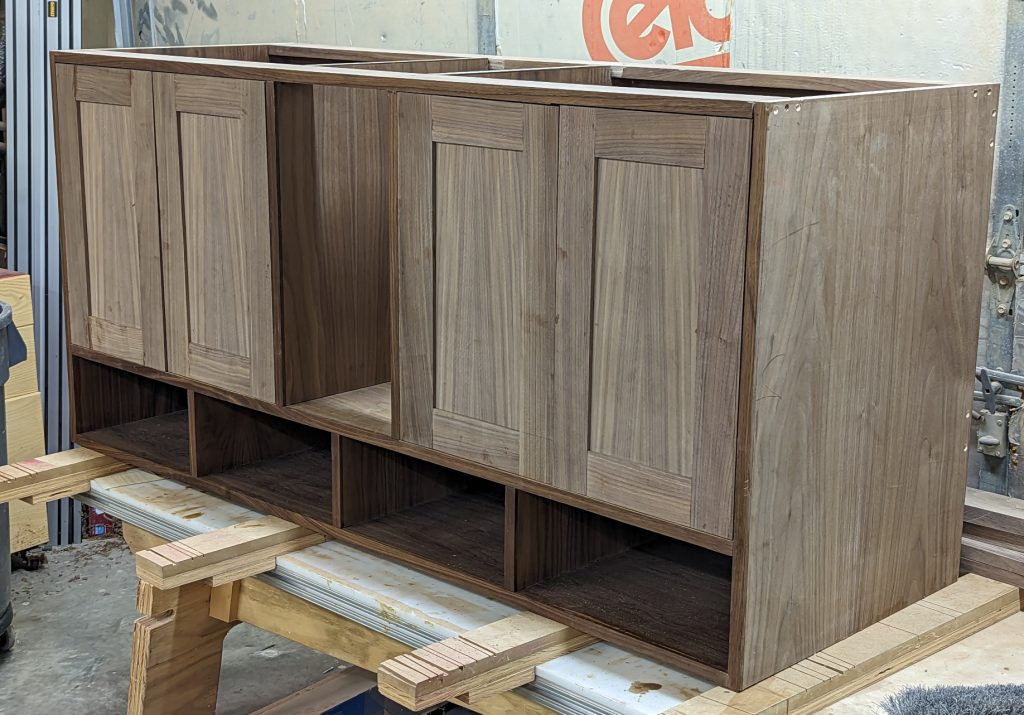
I started with the doors. The plan is for a European-style frameless cabinet with full inset doors and drawers, hence my putting thick edging on all the plywood. I wanted a fairly tight reveal on things, typically 1/16″.
First up, I milled the stock for the frames. Rather than mitering corners I went with a modified Shaker style, with stiles the whole height of the door and rails within. Simple stub tenon and groove joinery, with a flat panel made of 1/2″ walnut plywood. I deliberately made my rails and stiles a little wide so I would have to trim the doors to fit, thinking that would make sure I would have a nice, even reveal.
Surprise (or not, really), it didn’t turn out that way. The left side did fine, but somehow the right side was still a good 3/8″ wider than the sum of the doors. I ended up adding another quarter inch of material to the hinge sides of those two doors, and still ended up with a reveal that was larger than I wanted. (And there was a delay while I re-squared the carcass, which involved violent disassembly of the stretchers at the top.)
Once I was satisfied with the door fit, I got out a new tool — the Kreg door hinge jig — and drilled out for my concealed cup-style hinges. Kreg gets a lot of props for their jigs, but I have to say this one didn’t really work great. The main hole was about 1/64″ shallow at the front and 1/32″ at the rear, and the little holes for screws were not on center. I ended up drilling the holes deeper with a hand drill and filling and redrilling the pilot holes for the screws. That jig is going in the trash.
I started to measure carefully for the hinge mounting plates, but then I realized there was a much easier way — using shims to seat it tightly, I simply put the door in position in the opening with the mounting plates already attached to the rest of the hinges Then all I had to do was close the hinge with a finger and screw it to the cabinet wall. That worked quite well.

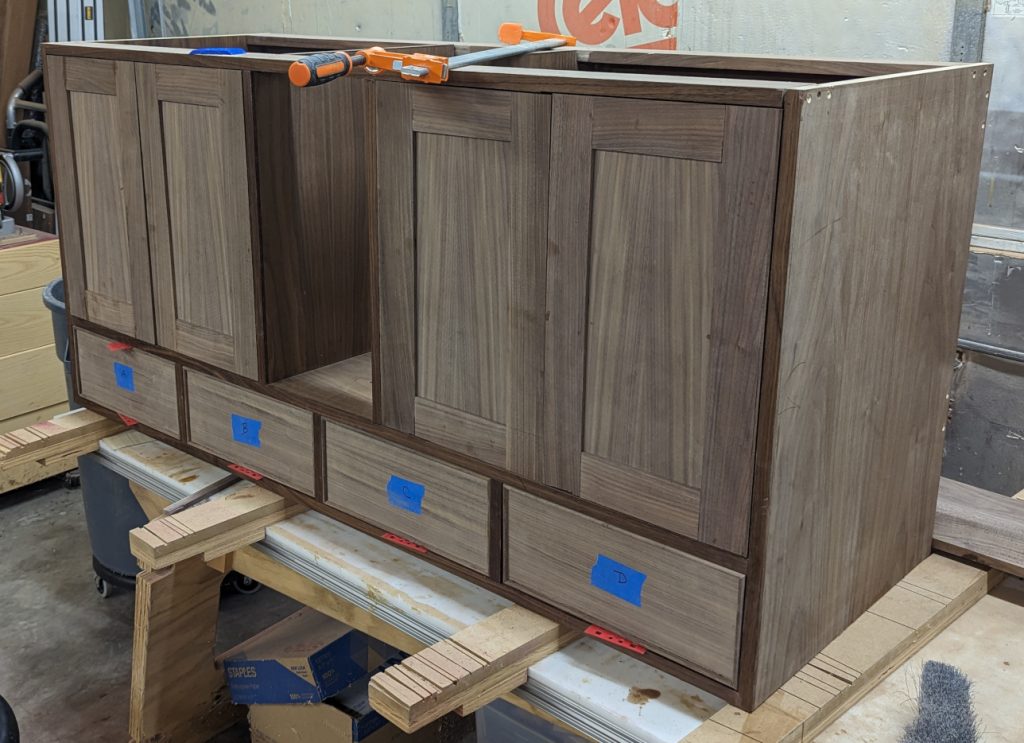
Next up were drawer fronts. There are eight total: four 13-inch by 6 inch along the bottom, and four 8-inch by 5-1/2-inch in the middle. I built them by cutting the main panels from plywood (keeping them in orientation so the plywood grain would flow between them), and then cockbeading with solid walnut just under 1/4″ thick, mitered at the corners. This process went to quicky I didn’t take any photos, but I went into detail on how this is done in the Maple Night Stand.
Now one thing about this choice was that I had to cut things to the exact size I wanted — it’s really hard to trim cockbeaded drawer fronts without making it very visible in the form of a narrowed bead. So I test-fit all my fronts where they actually needed to go.

The lower row was easy. The middle column was more difficult simply because the drawer fronts and shims were not a stable stack; the third drawer front tended to make the whole tower fall. But I at least managed to verify the fit side to side, and there is enough space that the reveals should even out about where I want them.
I had some cockbead molding left over, and the look of the cabinet doors was bothering me. They didn’t look like they belonged on the same cabinet as the drawer fronts. On an impulse, I cut the bead off a piece of molding and fitted it to the inner edge of a panel door. It looked good, and made for harmony with the drawer fronts, so I made some more beading and glued it into place, mitering the corners.
So now everything got final sanded and finished. While I had the Arm-R-Seal out I also put another two coats of it on the carcass after I finished filling and patching the scars from resquaring it.
Now there’s nothing further to do here until the drawers arrive.


Recent Comments