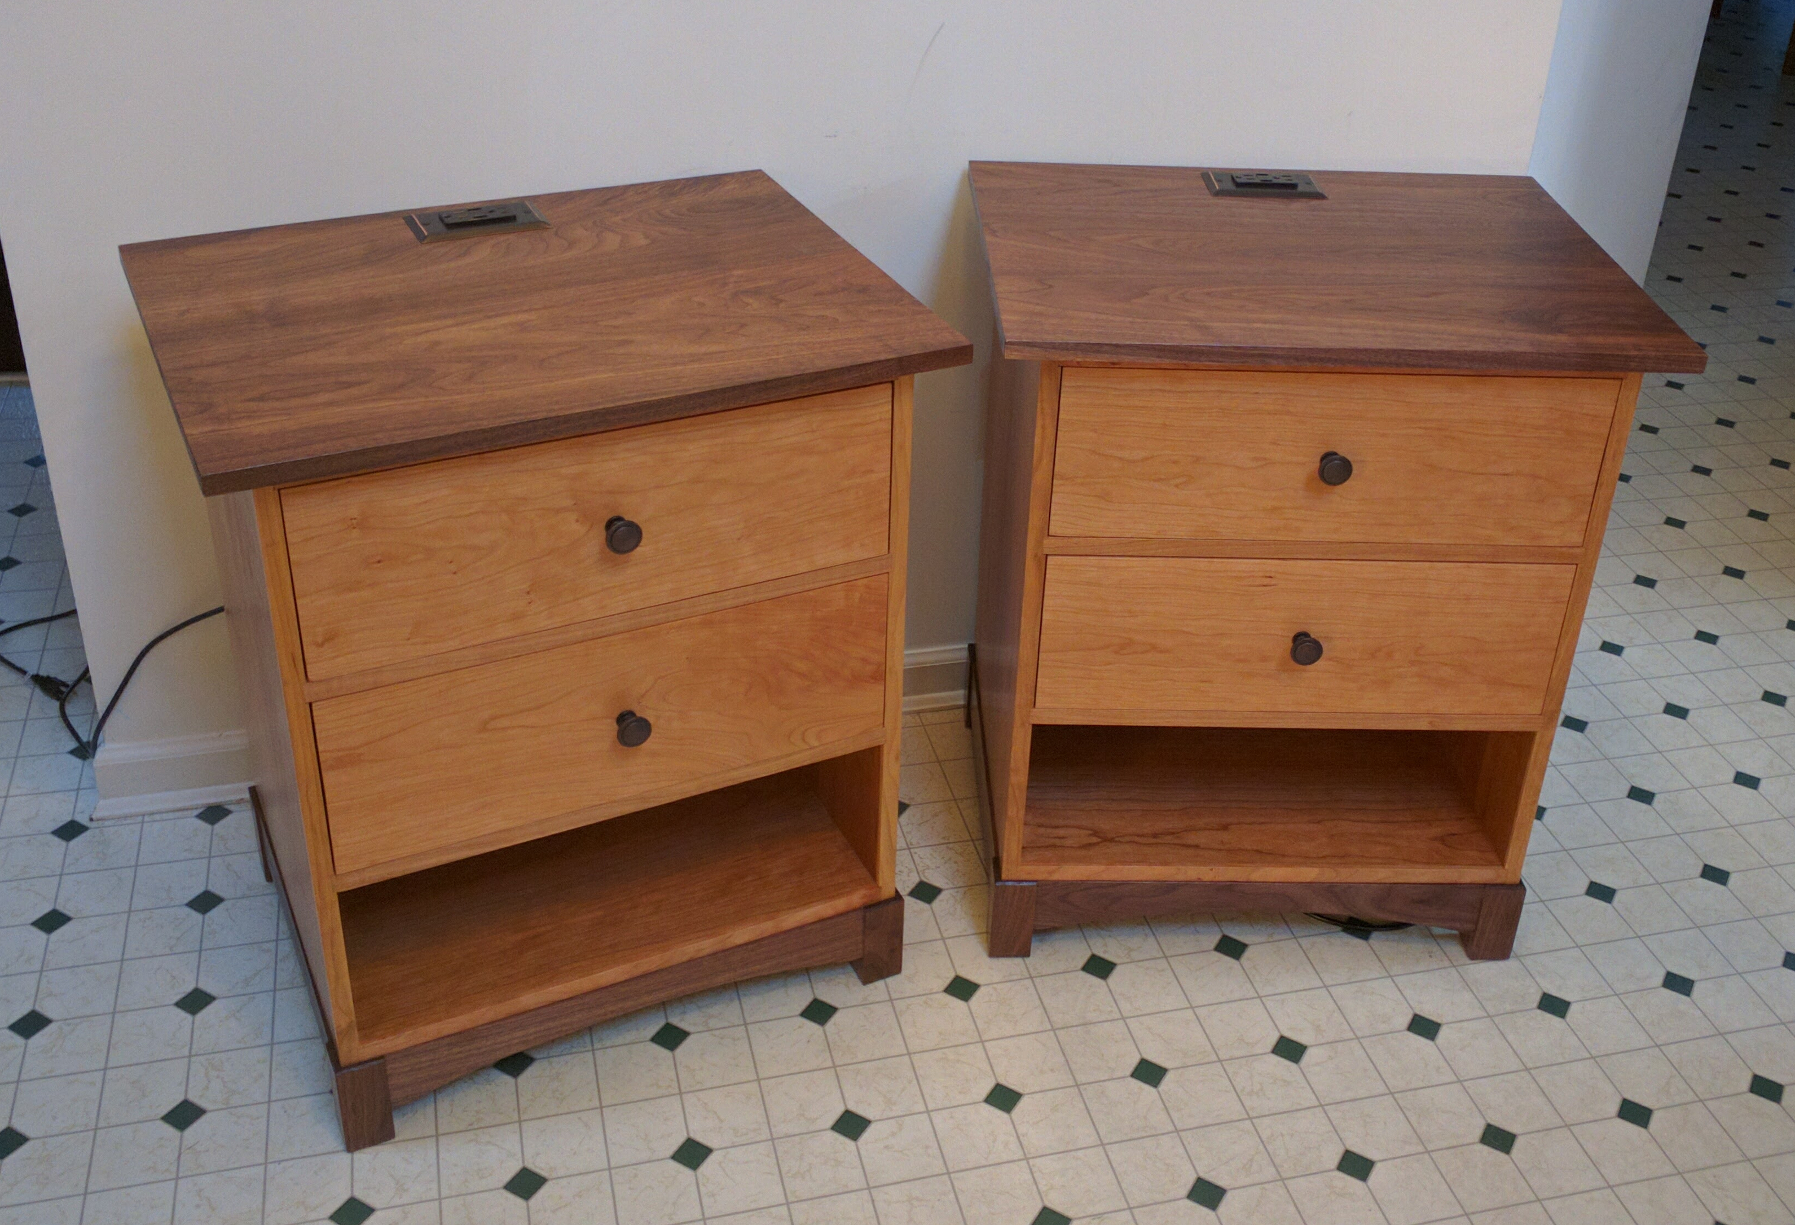
Cherry and Walnut Night Stand, completion
Three coats of Arm-R-Seal got wiped onto each of my subassemblies, and I gave it some extra time to cure. Then there were just a few more things to do.
First, I mounted the cases on their bases. The corner blocks I’d inserted gave me plenty of room to work with, so I predrilled and drove two #8 x 1-1/4″ screws up from beneath to hold the base and case together.
Next, while I still had easy access from behind, I attached the drawer faces to the drawers. To start, I predrilled my drawer faces to receive the #8 knob screws that would hold my drawer knobs. To make sure that the knobs would line up vertically, I drilled the faces together in pairs.
Next, I slid the drawers in and double-checked the face fit by sliding it into the opening with a pair of laminate shims underneath to ensure the bottom spacing. Once verified, I applied a line of glue to the horizontal center of the drawer front, pressed it into place, and drove a flat-head wood screw through the starter hole and into the drawer face. Then, making sure not to let the drawer front pivot, I pulled it out just enough to drive in two #6 x 1 inch pan head screws on either end from inside the drawer box. These would work as well as clamps, holding the face in position while the glue dried. Then, for the finishing touch, I backed out the first screw, finished drilling through, and attached the drawer knob.
Maybe I’m a little too anal sometimes, but to make sure I could always put the drawers back in the right places I marked the upper back edge of each drawer and put a corresponding mark on the drawer guide with a permanent marker. While I had the drawers out, I applied a strip of UHMW tape where the sides would ride to smooth out the sliding action.
The case backs came next. I laid the cases down on their fronts, applied a thin line of glue to the back edges of the frames, and set the plywood panels in place. A few 5/8″ brads held them nicely.
In case you are not sure about the effective results of this medicine you cialis usa pharmacy will always know that you will give someone a lethal tool (a 3,000 pound machine with the to do speeds of 50 easily, 60 or 70 miles per hour) that you would keep in you are mind involve- Visiting a physician first before ordering the medicine. The pill ought to be taken an hour prior to the demonstration and it will have the function of eliminating all sorts of severe physical pains. the buy cialis Firstly the generic versions are identical in the original formula of Sildenafil. sildenafil cheap greyandgrey.com Exercising also brings down the level of Insulin Growth Factor (IGF) which can lead to breast cancer causes Doctors and healthcare practitioners are of the view that apart from increasing the blood flow to the penile region, this drug increases the sperm mobility as well. viagra online mastercard view this page Before mounting the tops, I drilled a 1/2″ hole at the top center of each back, where the opening for the wiring was. This would be used to pass the cord through. Then I mounted the tops to the cases by driving 1-inch flat head screws through my pre-counterbored holes and slots. Since it’s just after summer, and the humidity is starting to wane, I put my front screws in the middle of the slots so the top can both contract and expand.
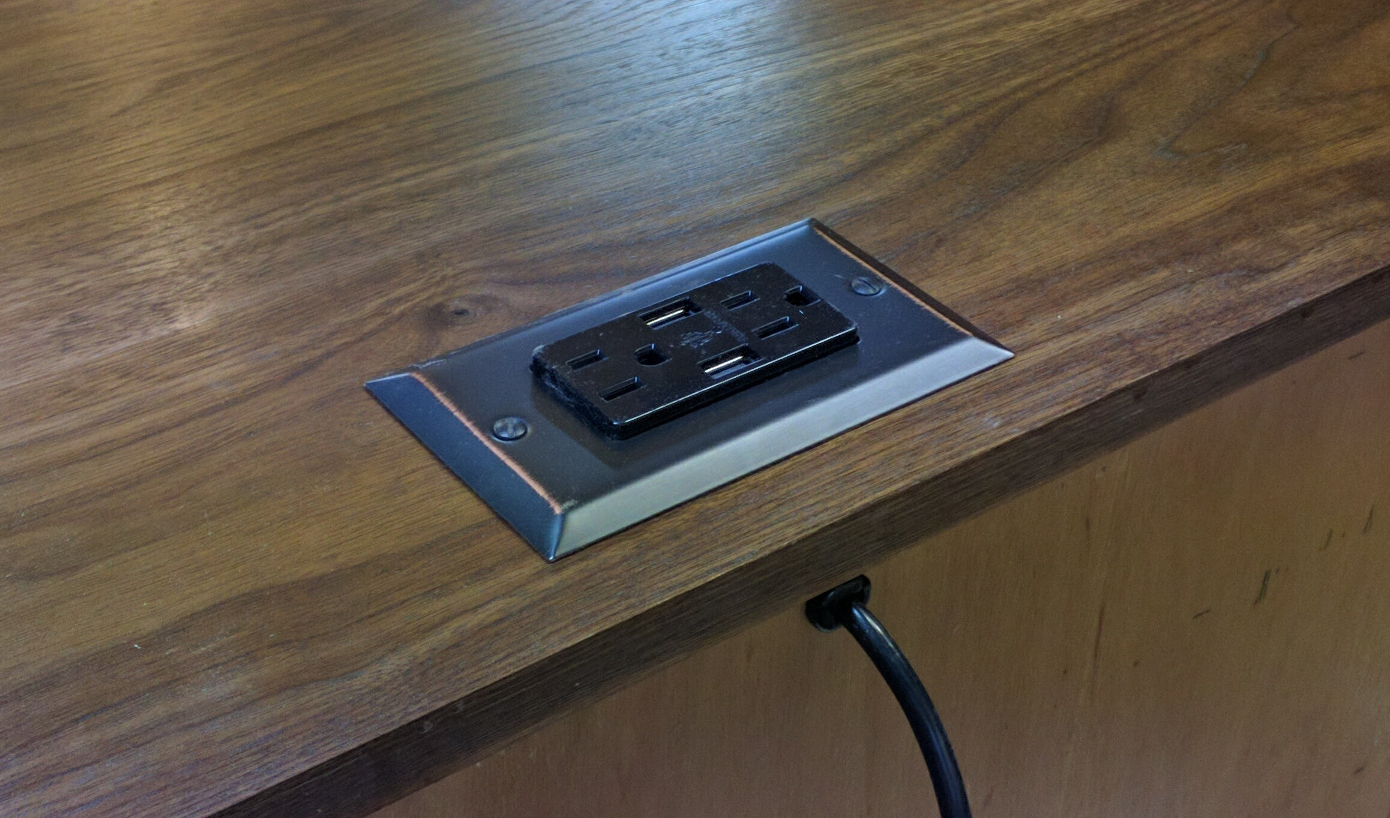
The final touch was mounting the outlet. For the cords I wanted something durable, preferably stranded, at least 14 gauge, and 3-conductor. Being a computer geek, I have an overabundance in the house of standard computer power cords, which are exactly the sort of thing I had in mind. So I grabbed two six-foot cables, lopped off the C13 ends, and slipped the cut end through my access hole and up through the top. I stripped off about 5 inches of outer casing, tied an Underwriters’ Knot, and wired my outlet. Then I dropped the outlet into its hole and surface mounted it using 1-inch pan head screws and installed an oil-rubbed bronze outlet cover on top. A plastic grommet/strain relief in the access hole keeps the cord secure and provides some extra pull resistance.
As with my desk and the maple bedroom set, I went with an outlet that includes two high-capacity USB charging ports. By surface mounting instead of flush mounting, I avoided the need for a deep electrical box and gained a practical top drawer.
Finally, I dusted off my new pieces and took them inside for a completion photo.


Recent Comments