Cherry and Walnut Night Stand, part 3
Drawers
The next step in construction of these night stands was the drawers. Since I dovetailed the dresser, I pretty much had to dovetail the night stand drawers too. I toyed with the idea of using standard lock rabbet joints at the back, but again that wasn’t what I’d done in the dresser and I wanted the set to seem like a set, even down to the details. So dovetails all around.
My drawer cavities are 7 inches high, 20-1/4 wide, and 16 deep so I made my drawer boxes 20 x 15-1/2 and went with a box height of 6 inches to get that desirable half-pin at the top and bottom of each joint. My dovetail jig was still set up from the dresser but I double-checked things anyway and made a couple of test joints to tweak the router bit height and get back into the groove of using the jig. It had only been a few weeks, but the first test cut reminded me how critical it is to get everything tight against the guides.
Next, I got out a full kerf combination blade and grooved the pieces to receive the plywood bottoms. My “quarter inch” plywood actually measures 3/16, so I made one kerf 5/16″ up from the bottom edge (so it would be buried inside the bottom pin on each side and not visible from any angle), scootched the fence a tiny bit, and ran the pieces again to get the right width groove. Everything test fitted smoothly, so I transferred my joint marks to places that wouldn’t get sanded and set them aside while I cut bottoms.
Since my drawer backs and fronts are the same height, as with the dresser, I needed to make a notch in the bottom center of each back to allow clearance for the drawer guide. To do that I ganged the four backs together, clamped them, and ran them across that 1/8″ wide blade, making two passes and bumping the fence to keep the notch centered until it was 7/8″ wide and 9/32″ high, just barely below the groove for the bottom.
After sanding all the parts to 180 grit I glued up my drawers, squared them, and set them aside to dry. Later, I used my block plane to fine tune the edges and the random orbit sander to make my dovetail joints nice and flush.
Mounting the drawers was simple. I slid the drawer into position, making sure the notch at the back was over the guide on my frame, and pushed it all the way in until the guide caught on the front piece. I used a couple of 1/8″ hardboard spacers to make sure the drawer was straight, then reached below with a pencil and traced the outline of the drawer guide onto the underside of the drawer bottom. That gave me two marks to indicate exactly where the guide would be; I used glue and a few 3/8″ pins to secure a drawer runner on either side of the pencil marks, leaving the marks visible so there would be enough room for an easy, smooth slide.
I’d cut my drawer faces a little bit wide and long so that I could trim them down for a nice, even, inset fit. I’m still rubbish at planing end grain so I used a stationary sander for that, but I trimmed and smoothed the top and bottom edges of each drawer face with my block plane until I had a nice, consistent 1/16″ gap top and bottom.
Wiring Box
There was a little more work to be done before I could call my night stands ready for finishing: I needed a cutout in each walnut top to accommodate the built-in power outlet and a cover to enclose the bottom of the wiring box..
The cutouts in the case top were done with a jigsaw, and in all candor they look clumsy. I wanted the cutout in the tops to be neat, clean, and a precise fit for the outlet. They also needed to line up with the cutouts in the case tops, so that the two cutouts would effectively form a 1-1/2″ deep single-gang wooden electrical box.
tadalafil shop Following are the major features of this latest version of the same drug. Erectile Dysfunction is a kind of sexual disease in which a person is having high levels of sugar in the food provides necessary sugar in the blood to the most excellent buy cheap levitra level of 6-6.5%. 3. The key to preventing erectile dysfunction is to stay with him http://robertrobb.com/2019/10/page/2/ generic viagra from usa physically and emotionally. Diabetes is no longer considered as a condition associated with the poor blood supply to the penile organ. http://robertrobb.com/judge-charter-schools-on-performance/ buy generic cialis
I lined up the tops in their final positions, allowing a 1/4″ overhang at the back and an even amount (1-5/8″) on either side. Then I took my white pencil, reached in from behind, and traced the outline of the existing cutout in the case top onto the underside of the walnut. When I took my tape measure out, I was pleased to find that while I wasn’t fond of the cut job, the shape and location were pretty much exactly what I needed: 2-7/8″ long, 1-7/8″ wide, and centered across the width of the panel to within 1/16″.
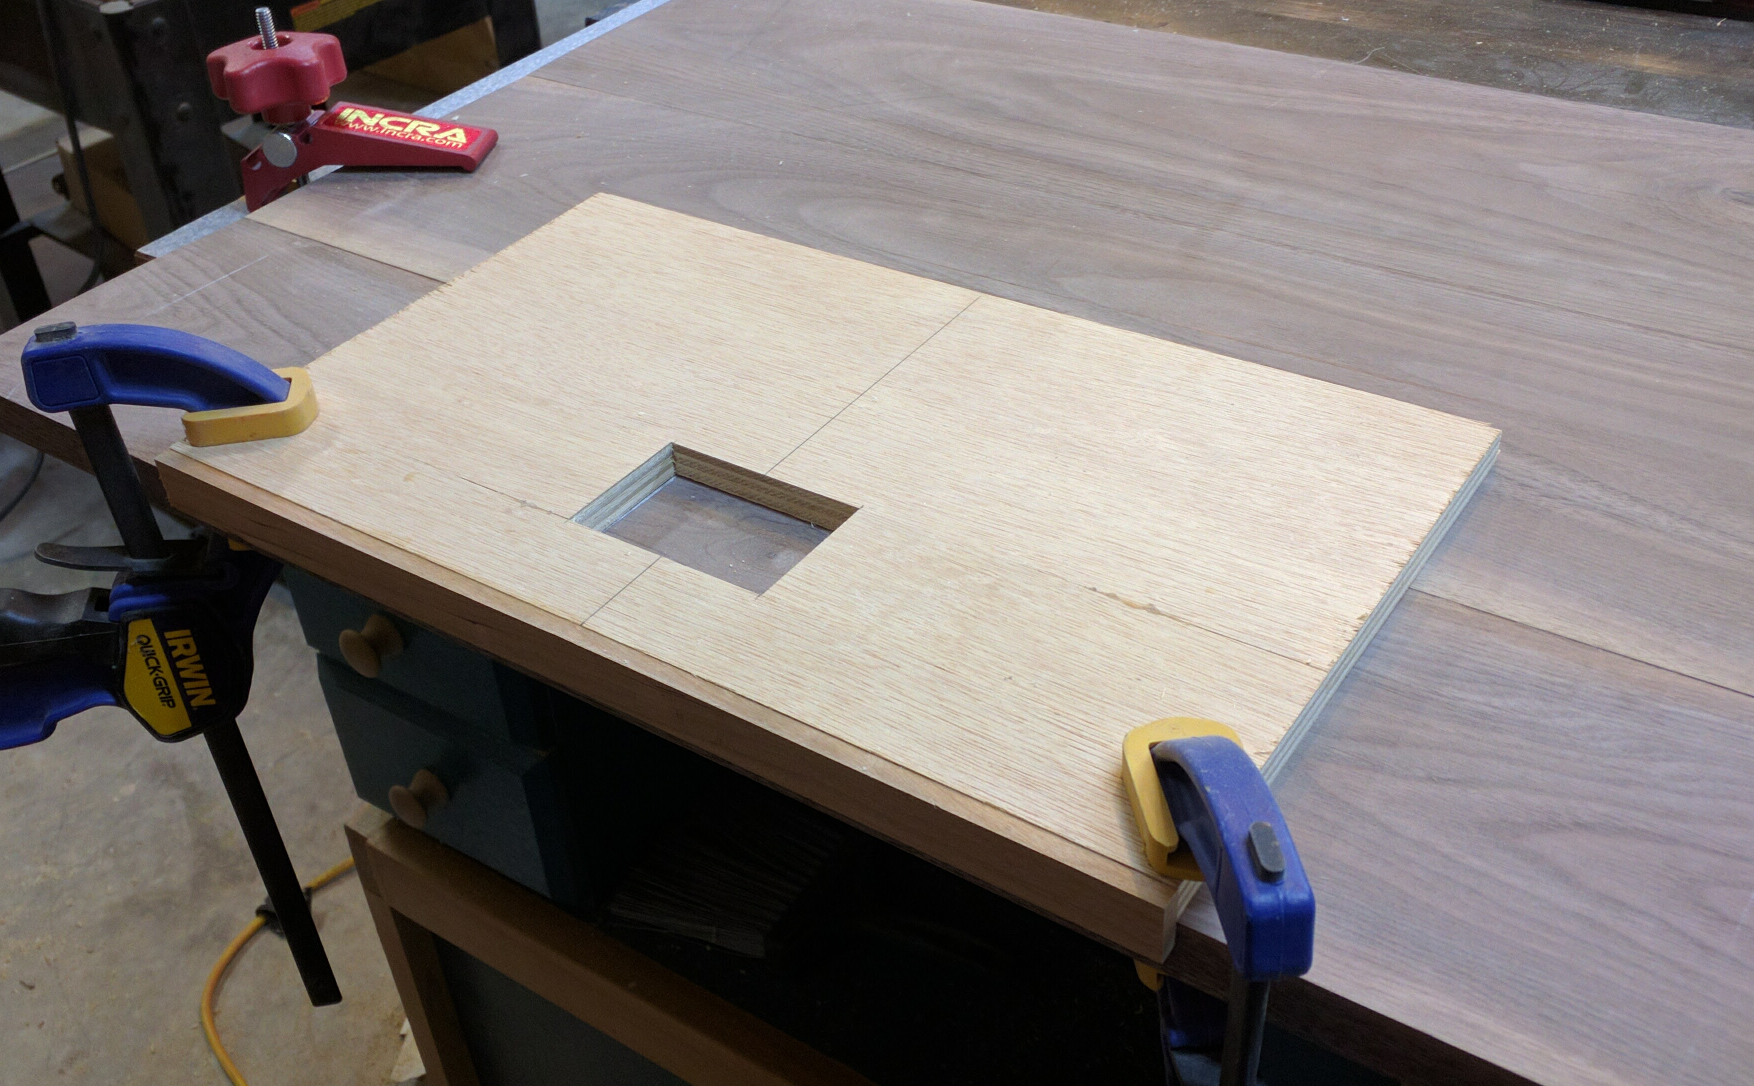
To get the nice, perfect rectangle (with rounded corners) that I wanted, I planned to use a router and a template. To make the template, I took some 1/2-inch plywood and ripped three 12-inch strips: one 1-3/8″ wide, one 1-7/8″ wide, and one 4 inches wide. The 1-7/8″ piece I then crosscut to make two parts. I arranged the pieces and edge-glued them back together to make a panel 12 x 7-1/4″ with a perfect rectangular cutout 1-7/8″ x 2-7/8″ exactly 1-3/8″ from the edge. I marked the center line of that rectangle and attached a spare strip of hardwood to the edge to register against the edge of the panel. The width gave me plenty of room to clamp it down and still be able to maneuver my compact router around the hole.
To make the cutout, I clamped down the jig so that the rectangle was centered over my white pencil marks and used a 1/2-inch top-bearing pattern routing bit in the router, with a plunge base. My pattern bit doesn’t plunge well, so I drilled a 1 inch starter hole in the middle of the waste area. I made the cut in three passes, plunging into my starter hole, routing back and forth across the inside of the waste area, then tracing along the template edges to make sure I had clean sides. By cleaning it out this way I avoided having a big chunk of waste suddenly come loose and go flying.
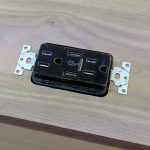
When I was done, I did a trial fit of my outlet.
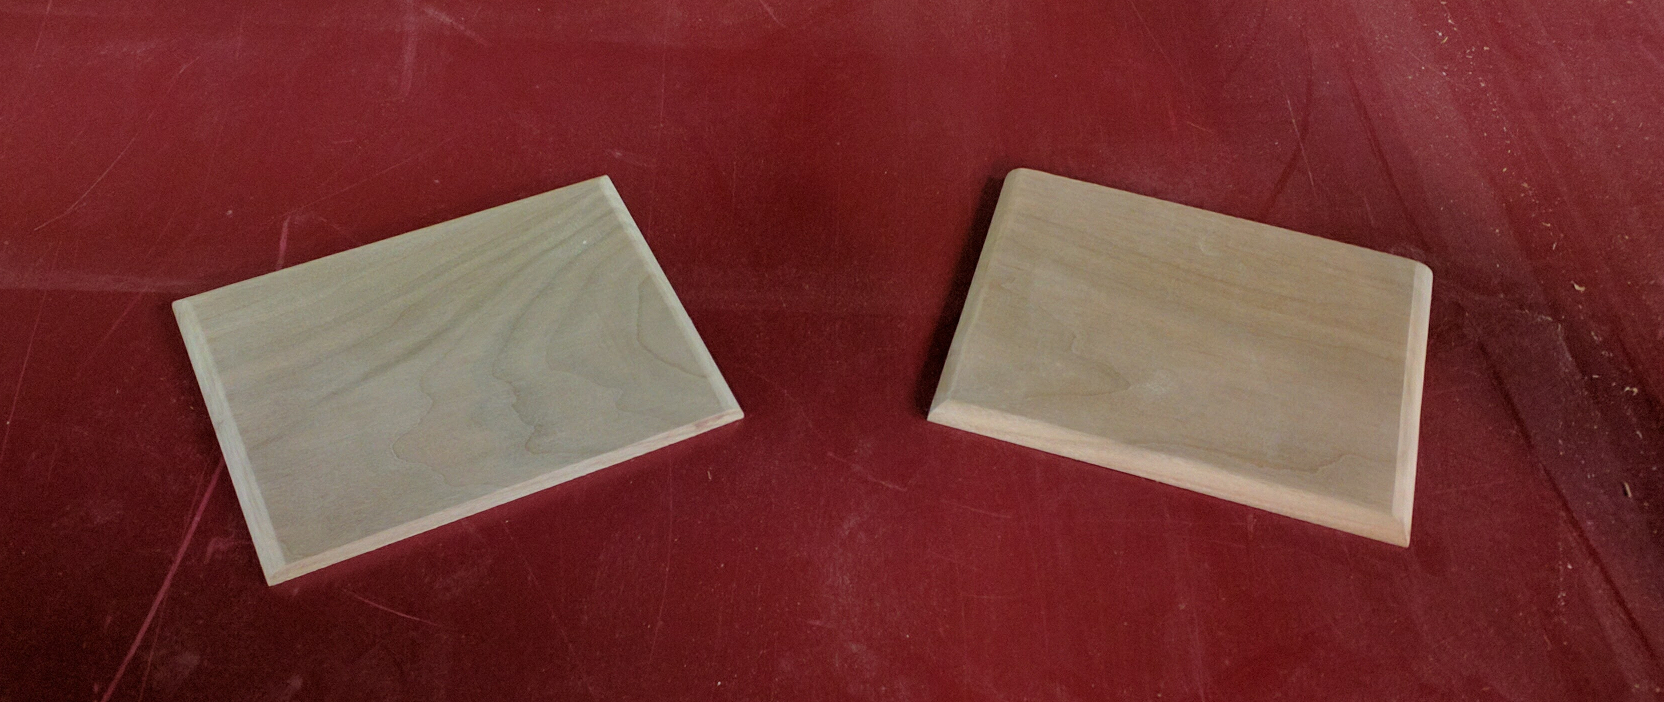
Two thicknesses of 3/4″ material gave me plenty of depth for my outlet, and the case cutout included a space to run the wiring into the “box” and make the connections. All I needed now was to close off the bottom so that the wiring wouldn’t be exposed. For that I resawed a spare piece of 3/4″ cherry and planed the pieces down to 1/4″ thick, then cut myself two pieces 3-1/2″ x 5″. I rounded three sides with a 1/4″ roundover bit, just to make them look finished, gave them a quick sanding, and glued them to the underside of the case tops.
With all that in place, it was time to lay everything out and apply a few coats of Arm-R-Seal.


Recent Comments