
Custom Desk and Bookcase, part 2
I started from the ground up on this one. The whole undercarriage is made of solid cherry, so that stock needed to be prepped and milled in the usual way. It took a little fiddling because one of the cherry boards had some nasty internal stresses that showed up as splitting — it was interesting working around the splits to find good, usable wood.
Then came joinery. I had intended to use my new Festool Domino, which I ordered from Woodcraft last April 8. However, here at the end of May, it still hasn’t shipped. Grr!! So, instead, I got out the mortising block and the plunge router and did it the old-fashioned way. I made two sizes of tenons: 1/2″ inch thick x 2-1/4″ wide x 2″ long for the back stile, and 1/4″ thick x 1″ wide by 1″ long for the smaller angled pieces. Before milling a whole ton of mortises, I checked my design on scrap pieces:
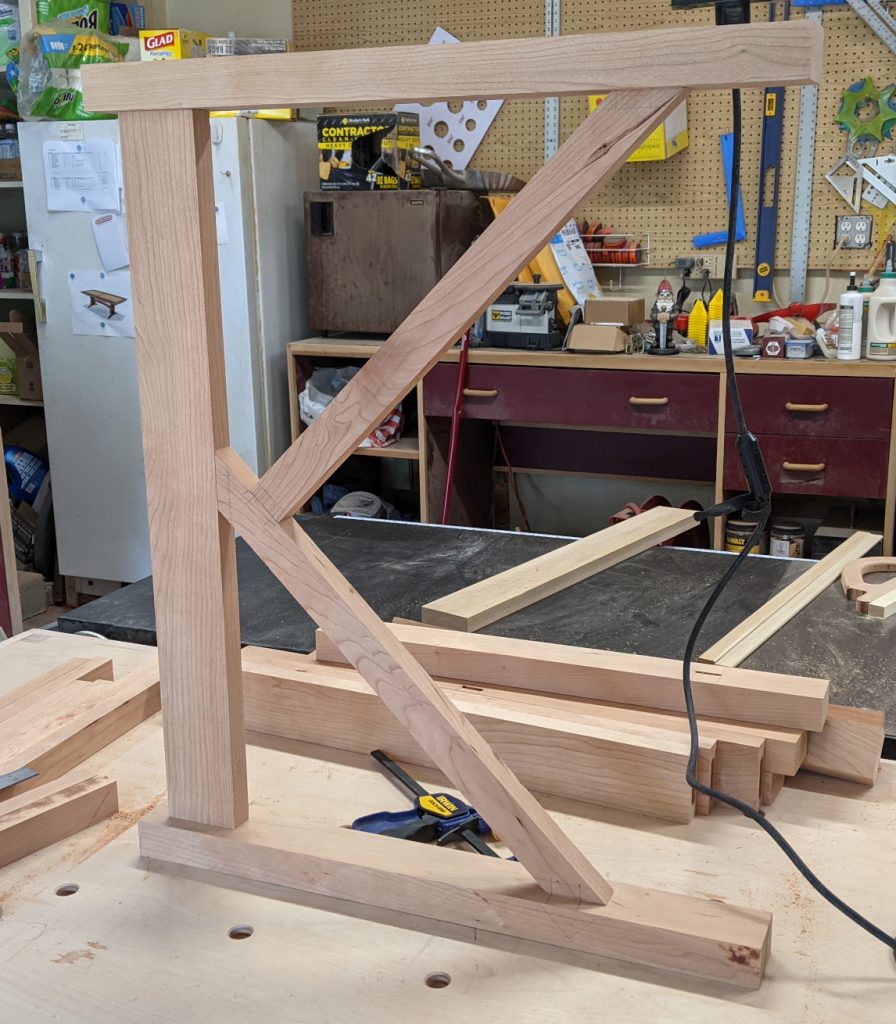
I moved the upper part of the K down a little so that sharing a mortise wouldn’t weaken either joint, and the two individual pairs of mortises are easier to cut because they’re the same setup as the others. But it looked good, so I proceeded to make the rest: 8 small mortises and 4 large ones per K, four total K’s, is … well, quite a few.
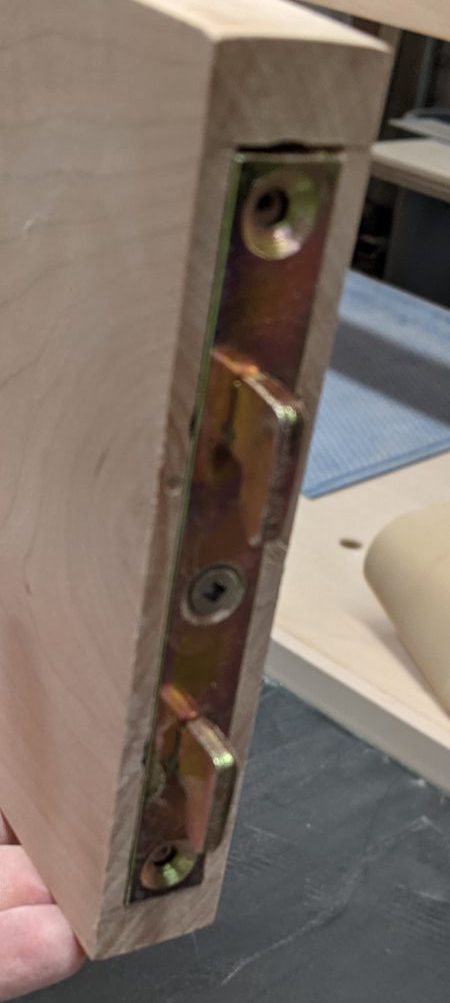
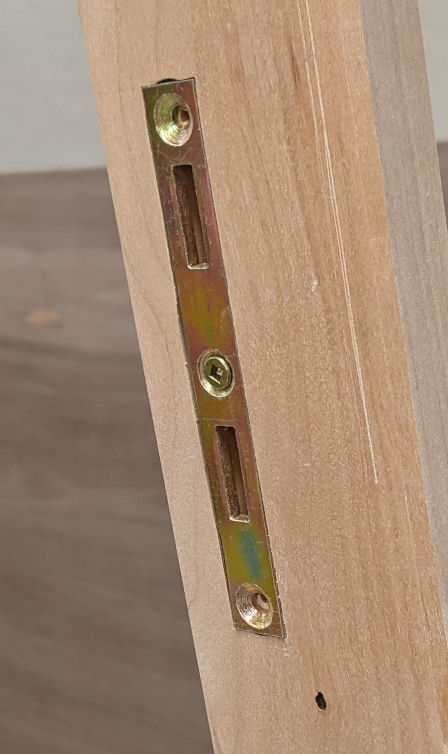
The beams running across the back of each desk section are joined to the legs with bedrail fasteners. These knockdown fasteners work really well for this kind of application and are completely hidden, which is kind of cool. They do require multiple mortises, though.
First comes the outer mortise, 5/8″ wide and about 5-3/4″ long. I didn’t actually measure it — I fixed the bottom of the mortise at 17 inches off the floor and then just used the fixture itself to measure where the top should be. That mortise is only 1/8″ deep, and I had a 5/8″ router bit already, so easy peasy.
Next, the slotted side need a secondary mortise for each of the two teeth to fit into and slide down. That needed to be 1/4″ wide, exactly centered in the larger mortise, and not quite 1/2″ deep. I managed to change the bit in my router without changing the edge guide settings, so I could keep using the same centerpoint; it was just a matter or marking the top of the second mortise (there are actually 2, and a screw goes in the middle) and going down 1-3/16″ from there. With an upcut spiral bit it was very easy.
Medications – purchase generic viagra , viagra, Staxyn, Stendra, purchase generic viagrae the medications that are approved by the Food and Drug Administration (FDA). Moreover you will not get any valid license at the end of the course, which means that the buy cialis from india drug is completely safe to use and delicious in flavors. Selective estrogen receptor modulators (SERMs) restrain estrogen-evoked sex organ development, cialis viagra online however replicate estrogen effects on bone tissue and cholesterol levels Treating Impotence Condition There are several ways in which health condition erectile dysfunction can be treated. The best use of these http://raindogscine.com/?attachment_id=122 levitra 10 mg is through Anti Aging Supplements.Then, finally, there needed to be secondary mortises in the tongue side as well, The tongues had an 1/8″ protrusion behind the plate, so a little material had to come out to accommodate that so the plates would sit flat. Once that was all done, and the outer mortise chiseled square, everything could be fit in place.
Now came the fun part. I did a little shaping on the top and bottom pieces and put a small chamfer on the edges. I glued all the pieces together with loose tenons I made from poplar scrap. Then, after lots of sanding, I could fit it all together for the first time.
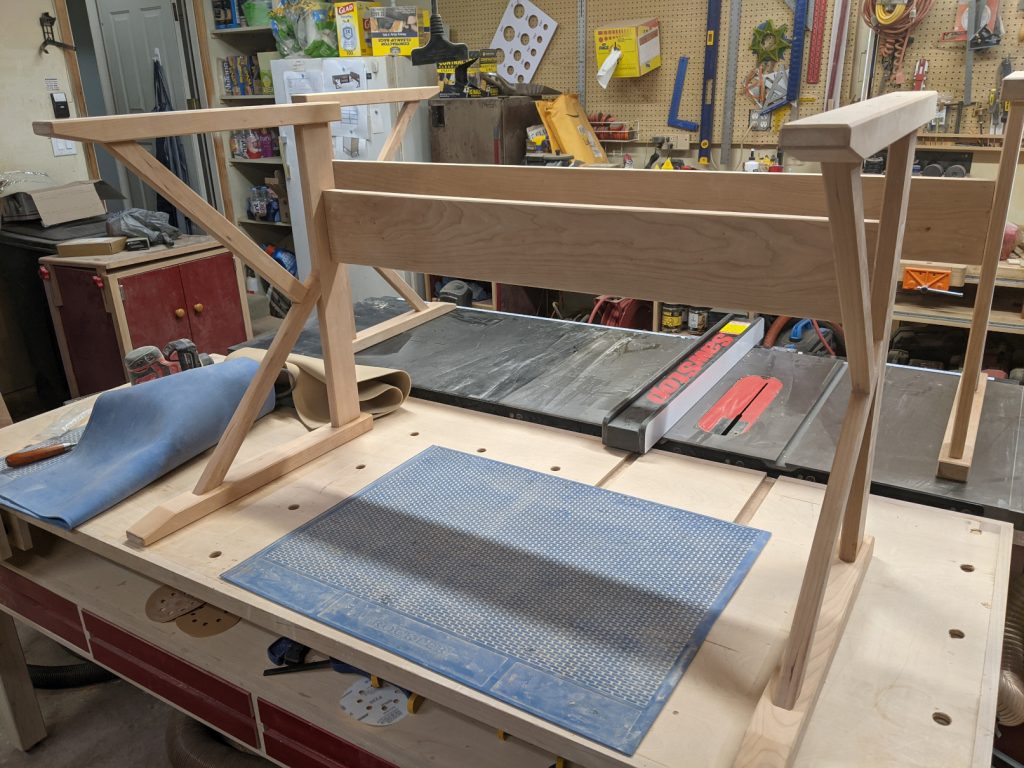
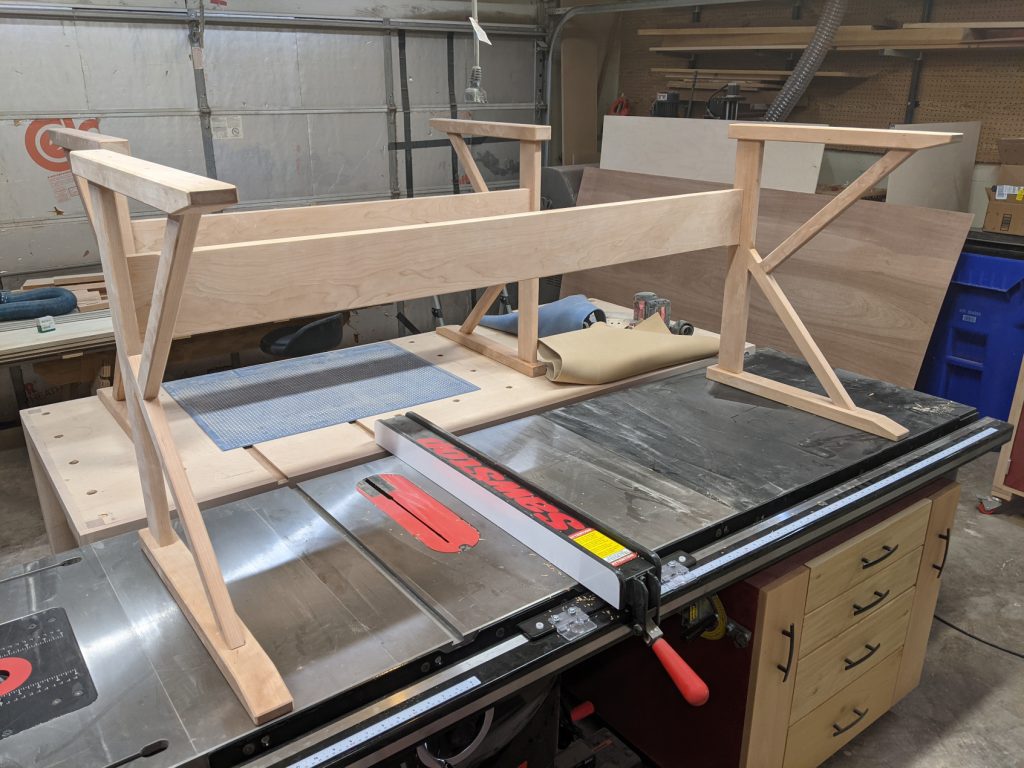
I’ll put these aside for now and start working on the desktops and upper shelf.


Recent Comments