
Custom Desk and Bookcase, part 4
Okay, the first two parts of the project are now in their final spaces!
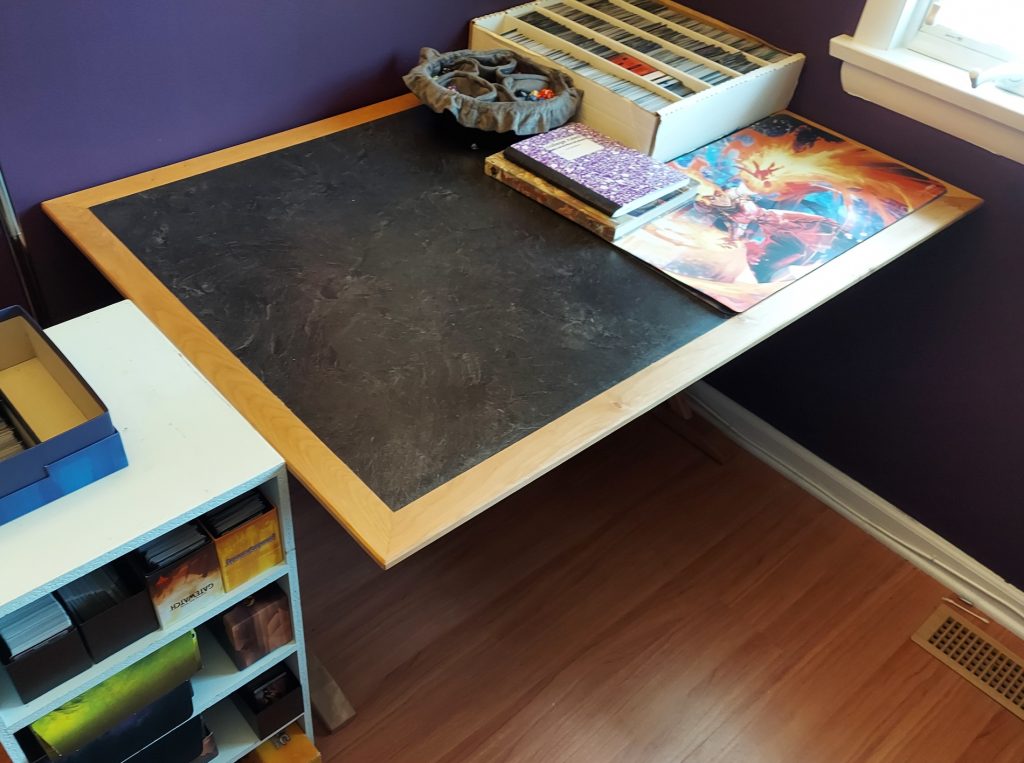
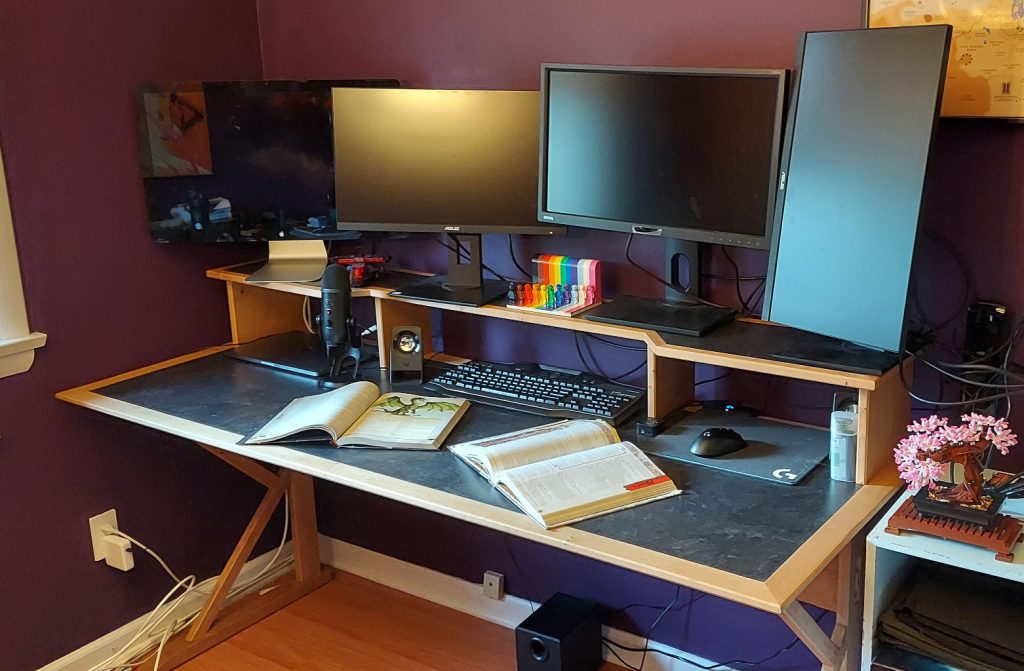
So now we work on the bookcase in the middle. And just in time, I have a brand new tool that will help: a Festool Domino. (More on that in another post.)
The bookcase is 30″ high, like the desks it will join; 39-1/2″ wide (we measured with the desks in place to make sure and ended up coming in from the 40″ originally planned) and 20″ deep. That way the top can be a continuous workspace between the two desks. The extra space? Well, we’ll get there.
I start out cutting the pieces of trim to rough length and final width, because I needed to make sure I had enough hardwood to do the job. It was close, but I did. I had plenty of 3/4″ ply for the top and shelves; what I didn’t have was any 1/2″ plywood. Rather than go buy some, I had a ton of 1/4″ (6mm really) baltic birch so I laminated that together to make the side panels. Once I applied laminate to all the plywood parts and trimmed off the excess, we were ready to roll
I grabbed my Domino and started to go. Right away, of course, I made a mistake! I didn’t consider my placement of mortises for the 1/2 inch sides; they would have come within 1mm of the front face. Not good. So for the sides I ended up getting out my 5/32″ slot cutter and routing a groove most of the length of my trim pieces, and cutting long 5/32″ splines to hold it all together. That worked just as well, really.
For the shelf trim and the top trim the Domino worked fine. I registered off the top and made sure it was not angled as I plunged, and everything came out perfect. The dominoes fit tighter than biscuits do, which really helped with the glue-up. All the trim was nice and flush.
Next, I used the Domino to connect the sides and the horizontal pieces. Again, I realized it would go straight through the 1/2″ plywood on the plunge down so I placed 1/8″ shims under the joiner and set it for 12mm (the minimum plunge), ending up with just under 9mm instead, and plunged 20mm into the shelf sides. Then I shortened the dominos by 1.5mm at the bandsaw to make up the difference.
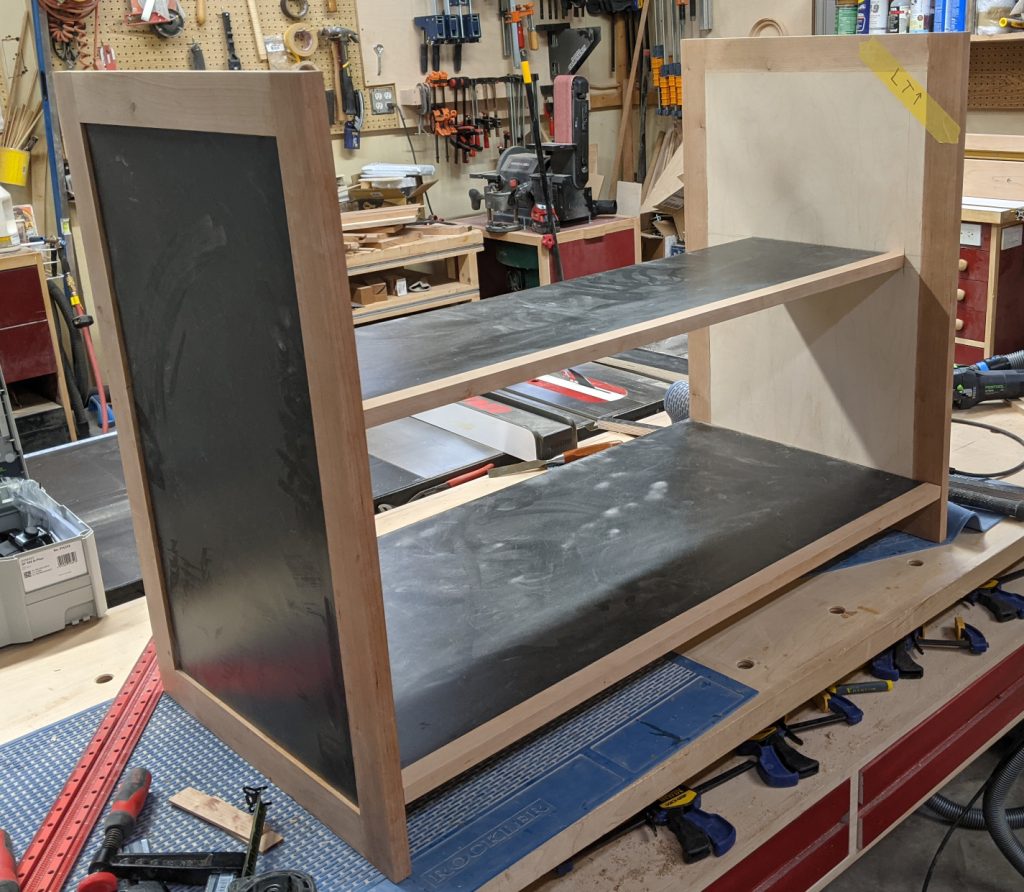
Looking good, but I was worried about the top. For reasons that will become clear, and actual top is not going to be fixed in place, so it wouldn’t be able to stabilize the top of the frame and keep it from racking. My scraps of cherry long enough to span that width were dwindling, but I found a piece of 1″ x 1-1/2″ stock and resawed it to make two pieces 7/16″ x 1-1/2″ x 38″. I placed one at the front parallel to the shelves, and one at the rear perpendicular to the shelves, joined with dominoes. That made a huge difference, and also solved the problem of how to attach the back panel securely.
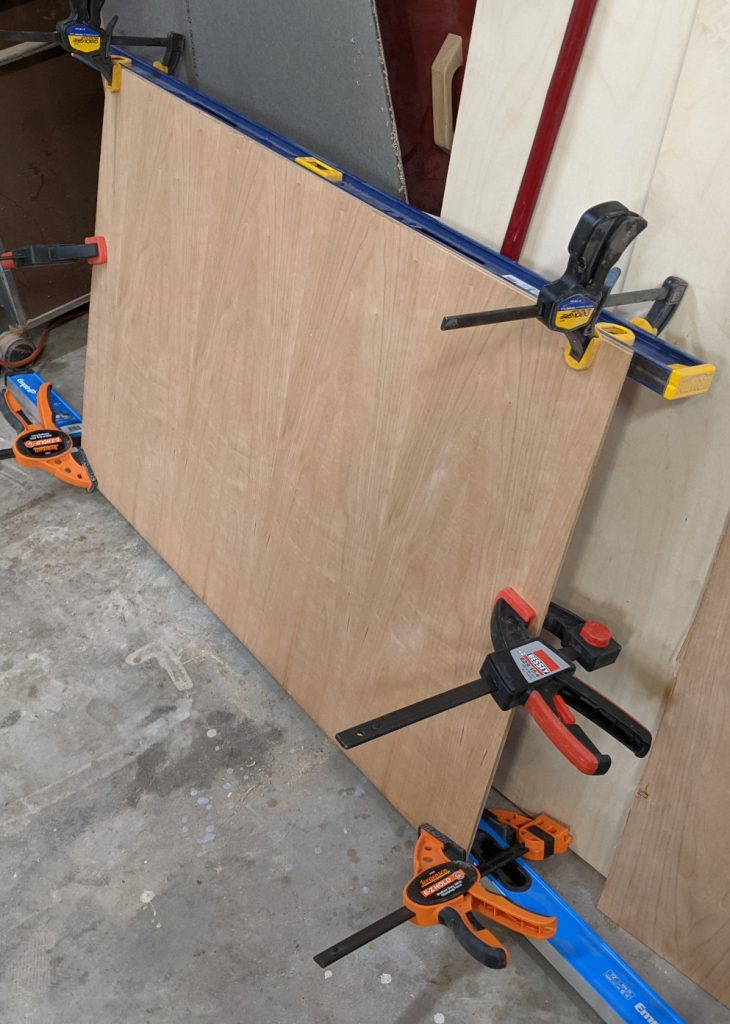
The 1/4″ cherry plywood (actual width: 3/16″) I’d bought for the back panels had bowed rather badly while waiting for me to get to it. I cut the two pieces I would need oversized, then wet the cupped sides and clamped the two pieces, with the bows on the inside, to my 4-foot and 6-foot levels and let them sit overnight to straighten.
Why two back panels? Well, it’s a matter of depth. The upper shelf is 11 inches deep, which is normal for a bookcase shelf, and is set in 3 inches from the front so that there is room for the user’s legs. That leaves another 6 inches of space from the back of the shelf to the back of the piece. Making the bookcase extend that far back would create a situation where the user would be bending down, or squatting, to get to the back part of the shelf and stuff would invariably get lost there. So, we’ll place one back panel at 14″ from the front, and another one at the actual back, 20″ from the front.
And what about that rest of the space? The cavity will be roughly 5-1/2″ deep, 38 inches wide, and 26 inches tall so it’s a significant amount of space. If the top is mounted in such a way that it can be slid forward those 6 inches (along with whatever may be on it), then the extra space becomes accessible and a cool place to hide things!
The water treatment straightened the pieces out some, but I will still have to fight them to get them into position. I made grooves on the inside of the sides and the bottom shelf for both. Then I finished painting the insides and put it all together for a trial fit:
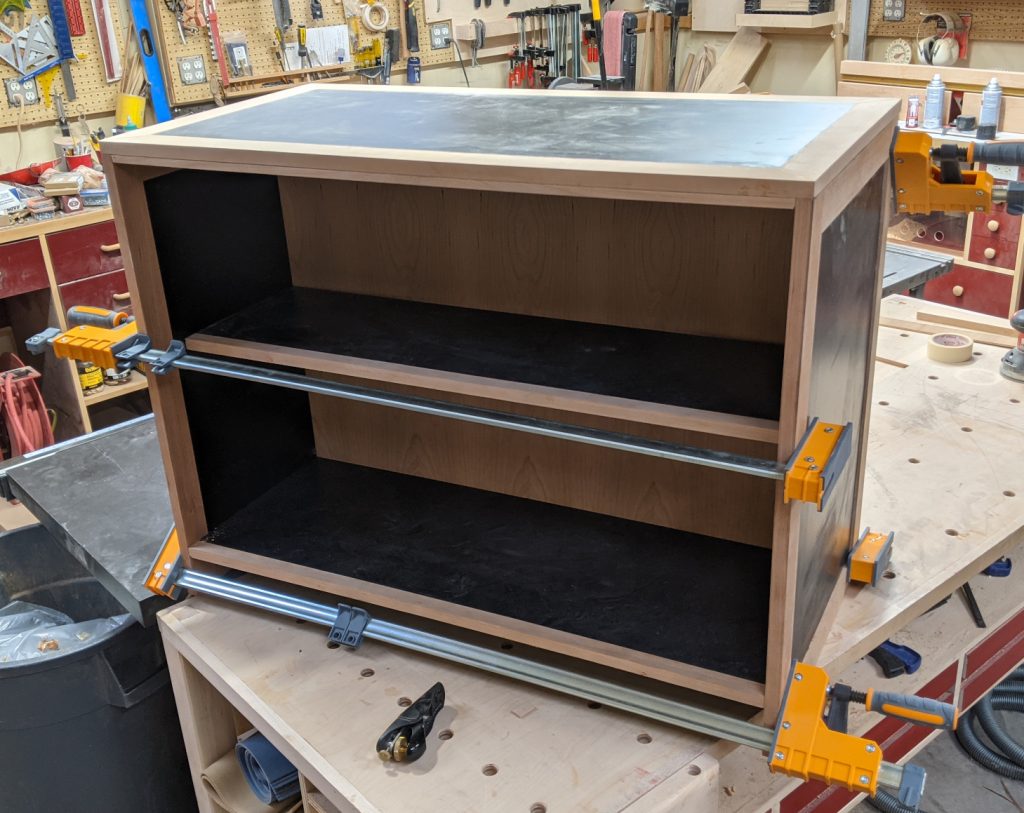
Nice. But the curvature in the front piece of plywood was still enough to cause problems. Ultimately I ended up grooving a piece of cherry to cap the top, and putting another piece just behind the dadoes to support it. Then it was time to apply finish.
I used Osmo PolyX, of course, because I’d used that on the desk and table. Honestly, I don’t know how much I like it at this point; it’s a lot of work to put on. But we’ll see how this piece looks over time, and maybe I’ll use it again.
Final assembly was trickly. First I assembled the shelf and bottom to the sides, with the two top braces, and let that dry. Then I had a major brain fart — I put on the back piece with glue and brads! And I didn’t realize the mistake until it was dry, at which point it was too late to take it off. So the inner plywood piece was a real bitch to insert and even moreso to secure it, because I now had only 5-1/2 inches in which to swing a hammer or drive screws. There was a lot of cursing involved, I will not lie.
Finally, the top. Now, the top isn’t fastened down normally; it has to slide to expose the compartment in the back. I milled 4 screw slots in the underside of the top about 6-1/2 inches long. It took me a couple of tries to place the screws right, but I finally managed it. A little HDPE tape made it slide smoothly.
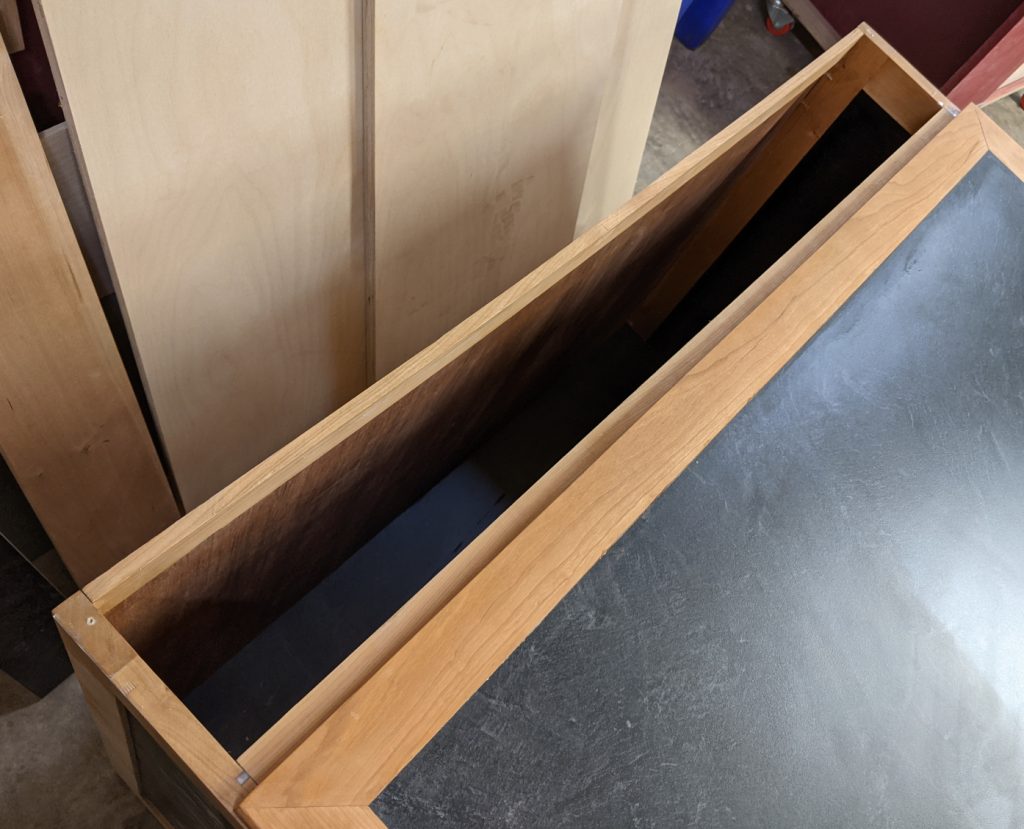
And with the lid closed, it looks pretty innocent.
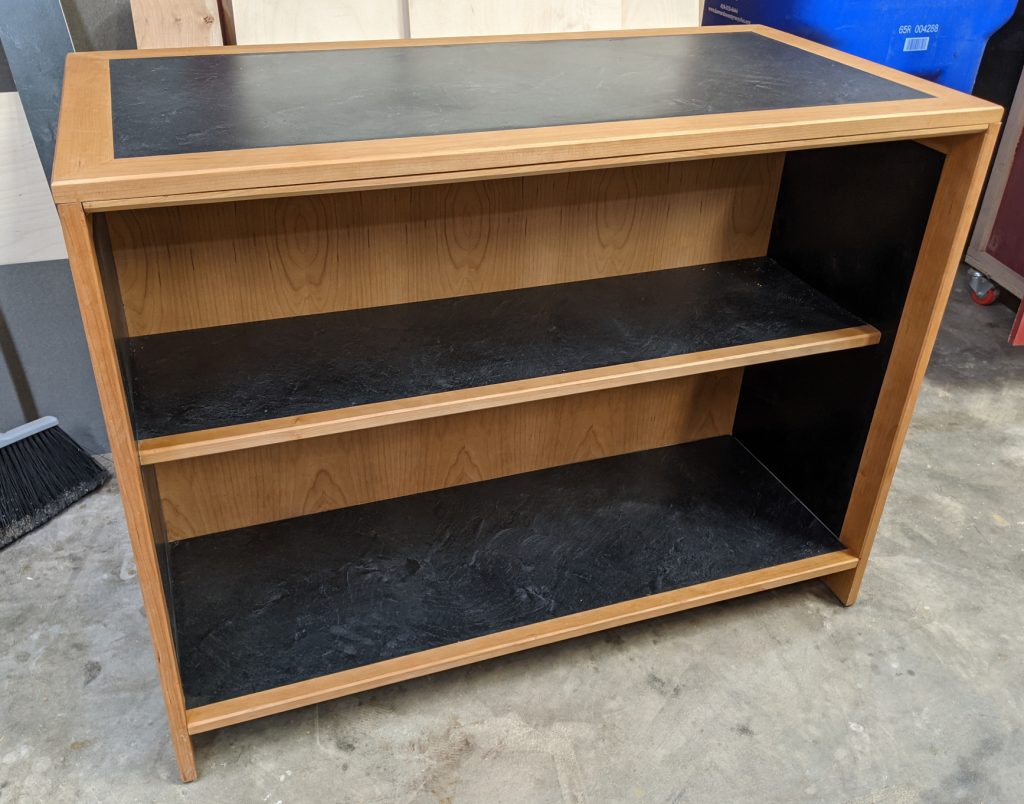
Okay, this one took a long time (not so much the bookcase, but all three pieces). I am going to do a few quickies now, things for the shop to scratch a couple of itches that have been waiting a while.


Recent Comments