Julie’s Bow-front Chest, part 1
My wife works hard, and finds time to do all sorts of things to make our lives better. So when she complained about her cheap-ass Ikea drawer units that were starting to fail, I jumped at the chance to make her something to replace them.

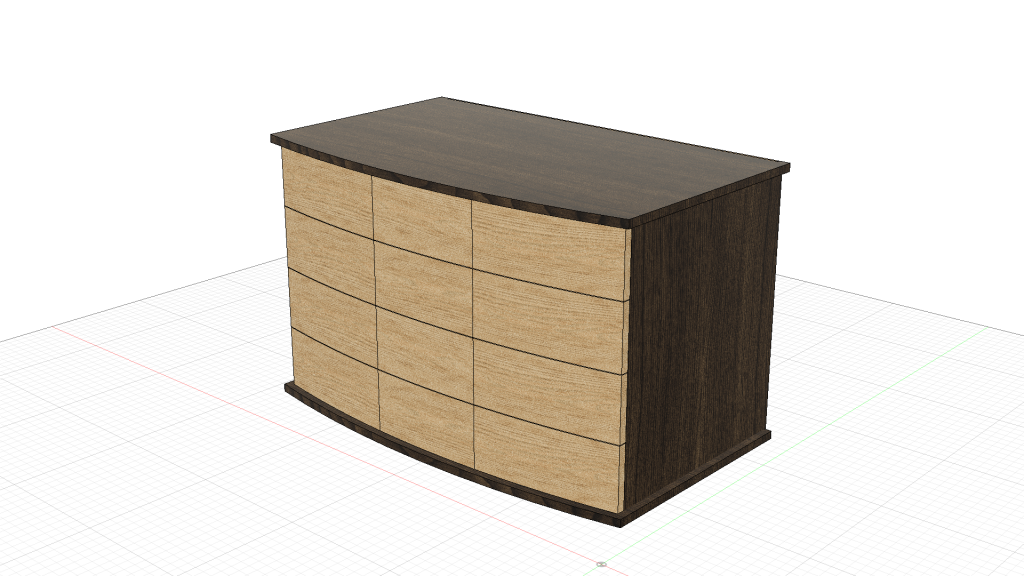
As originally designed it’s made of walnut and ash, with the drawers made of poplar. That would change quickly, but this was the original concept. I wanted a challenge, so I planned to make the drawers curved in the front. The whole thing will sit on wheels, because its home will actually be in our walk-in closet and Julie wants it easy to move.
When I got to Woodcraft, there was no walnut plywood to be found and precious little actual walnut. They did have two pieces of sapele ply, which was a nice dark red, and a good amount of matching hardwood, so I substituted those. I’ve never worked with sapele before, but it looks and acts like a nicer grade of African mahogany so it ought to be good. And at the price (about the same as walnut) it’s not a bad buy, so I’ll probably use it more in the future.
Obviously the big feature of this build is the curved drawer fronts, but I wanted to get the main case out of the way first. Then I can make the drawers match the curve of the base by directly fitting it instead of planning and having it not quite match up.
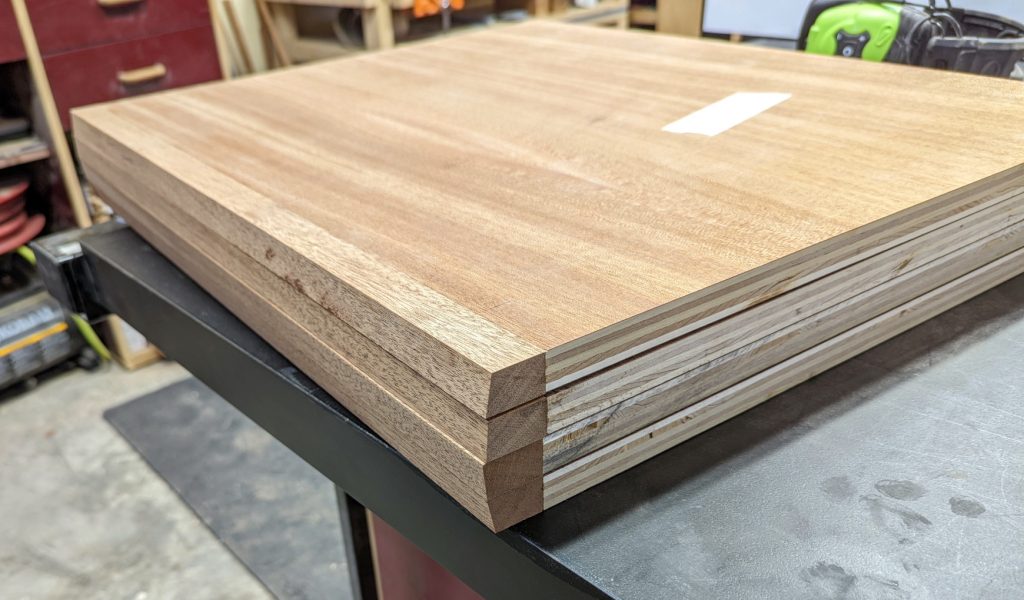
It started out fairly simply, cutting the plywood panels to size and milling solid sapele stock to trim all the edges. I made the front edges of the top and bottom panels 4″ wide to accommodate the curved front, and on the inside and outside panels I allowed one inch. Knowing that the front will be trimmed and beveled, I got out my biscuit joiner for those and used #10 biscuits instead of dominos. Otherwise, very basic so far.
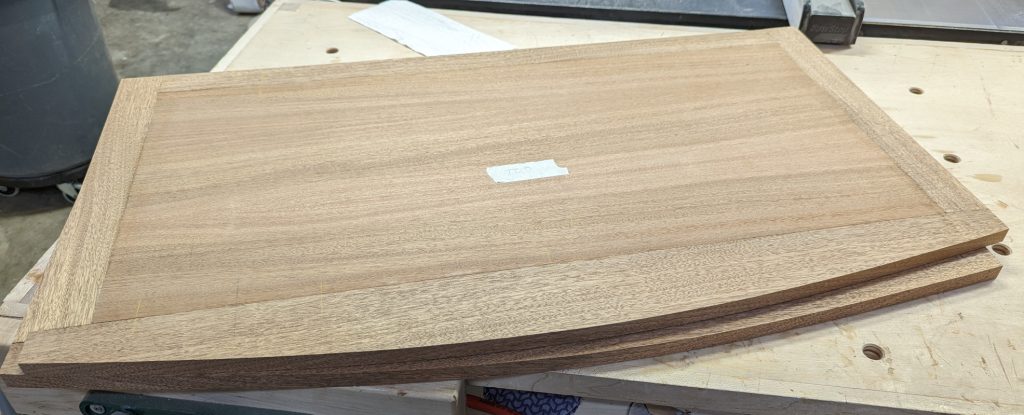
Next came the first curved cuts. I made a “master curve” out of a cutoff of 1/2″ ply, using my homemade drawing bow to trace it out. I cut it oversize on the bandsaw and sanded to the line on the belt sander. Then I used that template to draw the curve on my top and bottom panels, rough cut them on the bandsaw, and finished by attaching the master curve and using a router on both pieces at once. The sapele held up beautifully to the router without even a hint of chipout. Made me happy.

Now, with that curve defined and cut, I needed to cut the horizontal pieces to match that. It would be an approximate match only, because I intended to cut the bevels on the table saw so they’d be straight instead of curved, but it would work out in the end.
I put the uprights in place and traced the outlines of the front six inches or so. Then I took them off and set my combination square to 3/4″ and scribed an arc along that front edge that determined where the fronts of those vertical pieces would be trimmed back. I took two bevel gauges and set one to the inside piece angle and the other to the outside piece angle. Then I used those to set the table saw to that angle, trim two pieces and repeated for the second angle. The result was a pretty good approximation.

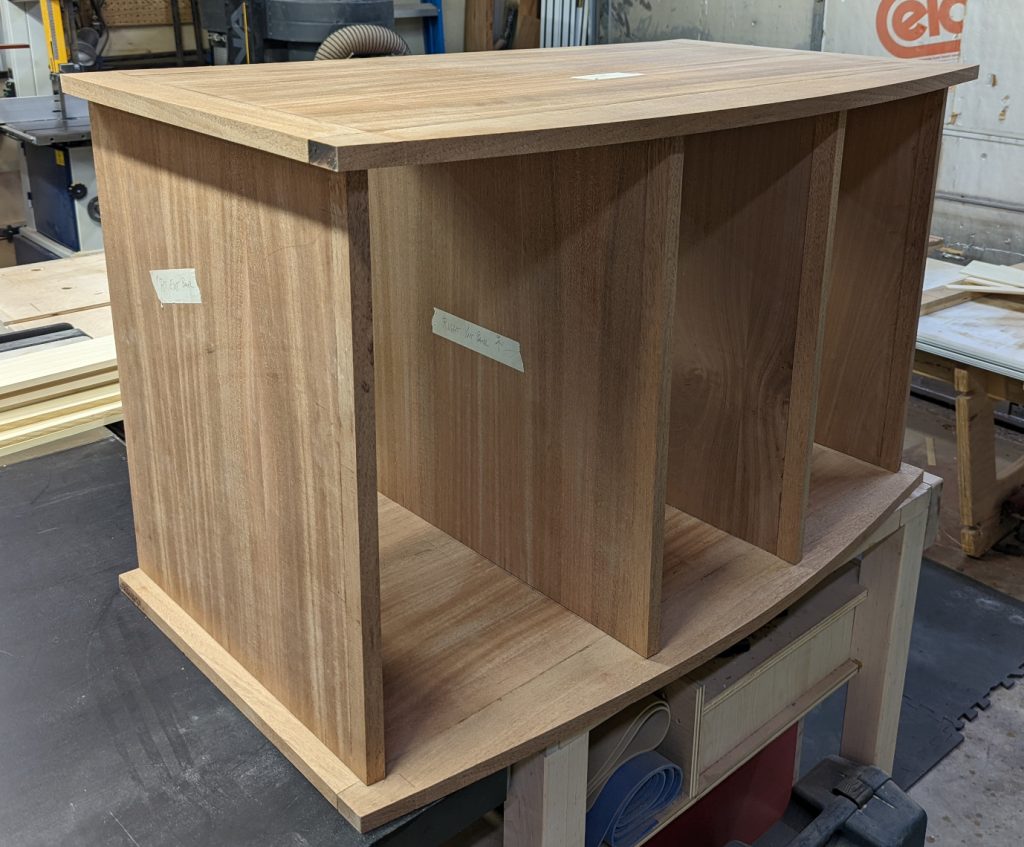
Finally, I cut the domino slots in all the pieces and dry-fit them together. So far, so good.
With that done, I could set the case pieces aside for now. I didn’t glue them together yet because I will need to install drawer hardware first, and it’s much easier to do that before assembling the case than after.

Next up: making those curved pieces for the drawer fronts.


Recent Comments