
More Bathroom Accessories
Yep, I still have two more things to do: we need a new toilet paper holder and a new towel rack. And in the process I need to solve the problems we have with the current ones.
The toilet paper holder is something I did on the CNC a few years ago, and it works fine still. But it’s cherry, and Julie has a hard time squeezing the spring-loaded bar to take out and replace the roll. So I need to design a new one that will not require squeezing, and make it from walnut.
The towel bars are something we bought years and years ago. There’s nothing wrong with them either, except that they scream “WalMart chic” from 20 years ago and they’re some kind of cheap wood with a crappy stain. The upper one (mine) is just barely within my reach, and the lower one (Julie’s) is a little too close, so my towel hangs down over top of hers by an inch and a half or so.
As problems go, I realize these are strictly first world things and people can and do live their lives every day without any issue from these. Hell, I’ve been living with them. But I’ve got leftover walnut, and they will make our bathroom pretty and more functional. So why not?
First, of course, I had to come up with a design that would go with the other things I’ve made in the bathroom and solve the design challenges I mentioned above. The last time I designed toilet paper holders I did it in Vectric and cut them out on the CNC. I could certainly do that again, but I really hate drawing anything in Vectric, because I feel like the tools there are kinda crude and simple compared to Fusion 360, but Fusion doesn’t like the Shark CNC. Plus, I haven’t used it in a while so I’d have to remind myself of all the stuff that goes into it … blech. (Do you understand why I’m thinking about the Shaper Origin instead?)
Instead, I kicked it old school. I got out graph paper, my selection of French curves, a couple rulers, and looked at Pinterest for ideas to inspire me. Then I grabbed some plywood and dowels and made prototypes.
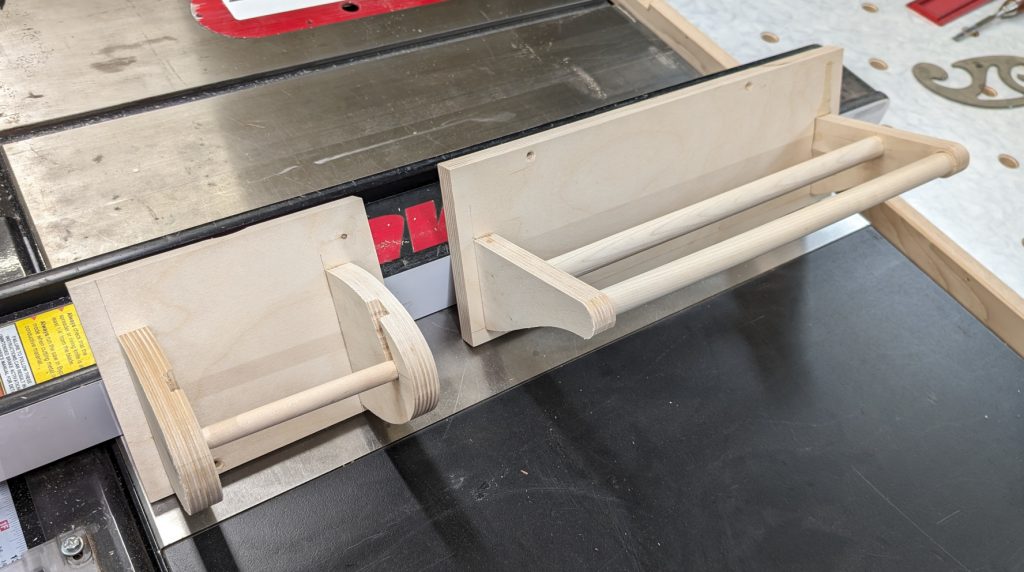
The toilet holder is two egg-shaped pieces with a dowel in between them; simple enough. The dowel (1/2″ in the prototype, but it will be larger in the final version and just narrowed to 1/2″ where it fits into the slots) just slips into slots, no mechanical features, and the slots are angled back just a bit. That solves the spring issue.
For the towel rack, I want something that can hang both towels at a reasonable height. The real one will have 22″ long, but the prototype is only 14″ because that’s enough to prove the concept. The big thing was making sure the bars are sufficiently far apart to handle our bath towels, which are big and fluffy and luxurious. These are.
So, both prototypes having passed the measurements tests and, more importantly, met with Julie’s approval, I could start working on the real thing.
I started by making dowels. I had a short piece of inch-wide walnut, so I cut a 1″x1″ square out of that and rounded it into a dowel for the toilet paper holder with a 1/2″ roundover bit. For the towel bars, I used 3/4″x3/4″ material and a 3/8″ roundover bit, They came out mostly round, a little flat on the sides, but they will work fine for my purposes. Then I used the table saw to narrow the ends of the toilet paper roll to just under 5/8″.
Then I made the sides from 5/8″ walnut. I had a fairly long board, which turned out to be good — the towel bar sides proved very hard to route, and I remade them twice to get a pair that looked good. Ultimately I ended up rounding the end grain part of the spindle sander instead of routing it.
The towel bar got two 3/4″ holes in each side. For the toilet paper holder I used the drill press to hog out a slot 5/8″ wide leading to the top of each side piece, so the roll would just slide in and out by hand. A sharp chisel made the holes into a slot and it worked well.
Both pieces would need a solid wood back. One of Julie’s complaints with the oak towel bar was that it had cheap plastic buttons covering the mounting screws, so I would need to hide the fasteners. A solid back would do that nicely. I had planed a piece of walnut down to 1/2″, so I used that to cut a long back and a short back.
Just square backs are boring and cruddy-looking, so I put an arc on the short ends and routed the same edge profile that I used on the shelf units. The long one splintered out on me on a long side, so I went with that and curved the long sides inwards to eliminate the problem area and re-routed the long sides. Actually, I like it better that way anyhow.
I used the Domino to attach the side pieces to the backs and glued it all up. That’s then I realized I still needed to route the screw slots in the backs — and there was no straight lines left to guide the pieces by. So I made a carrier out of the offcut from one of the edges.
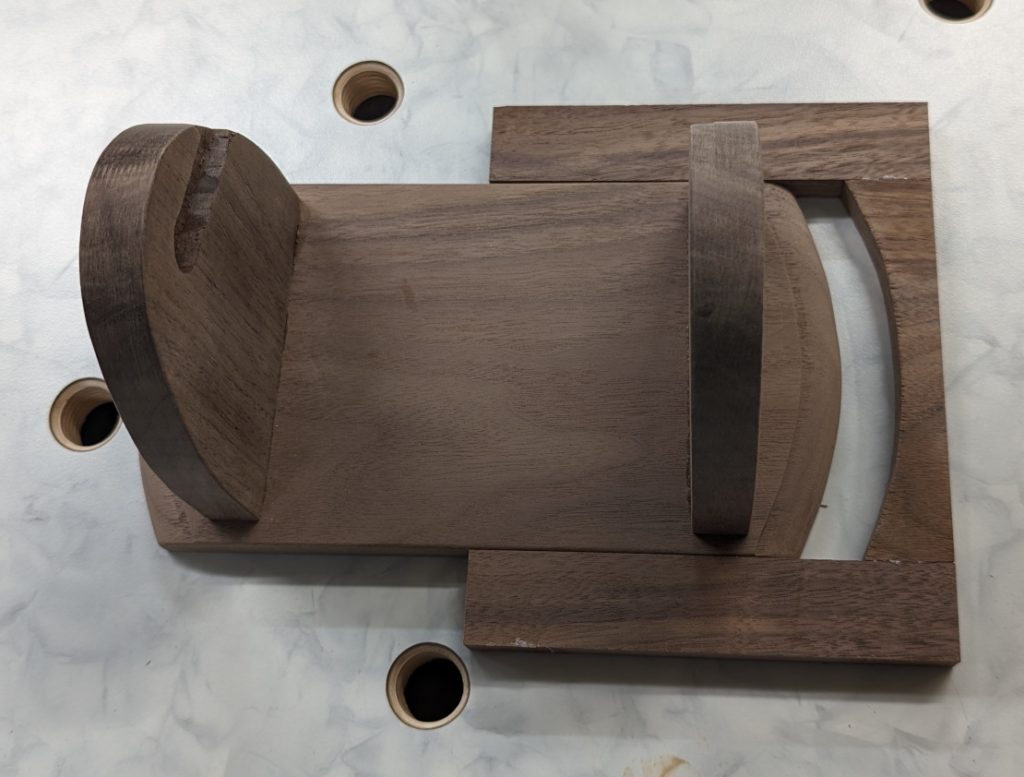
That allowed me to hold the ends straight and run them through the router table cleanly.
Three coats of Arm-R-Seal later, they were ready to be hung.
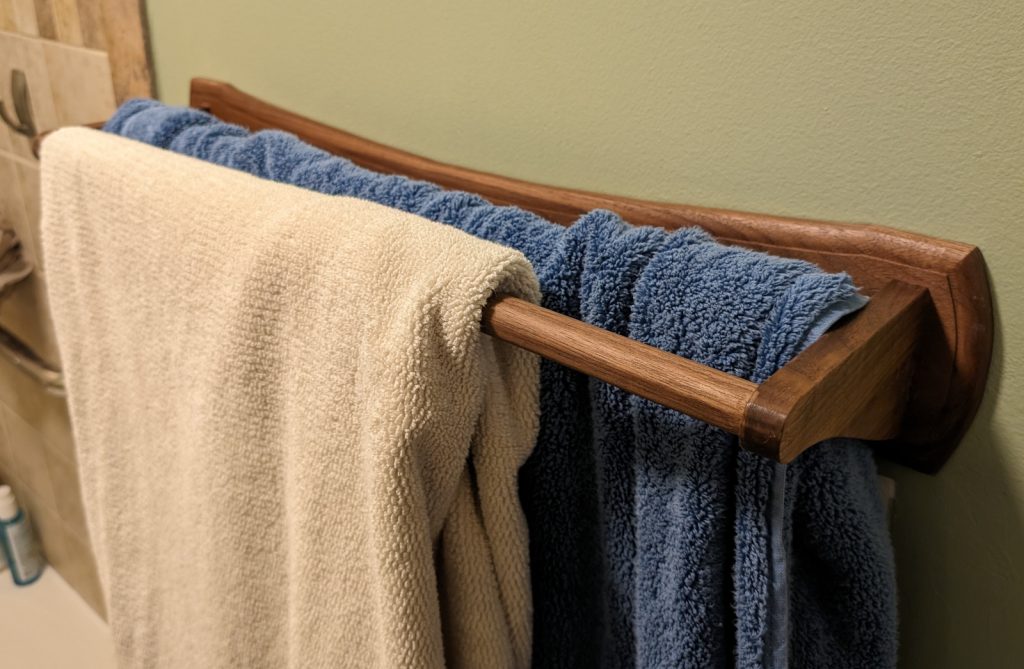
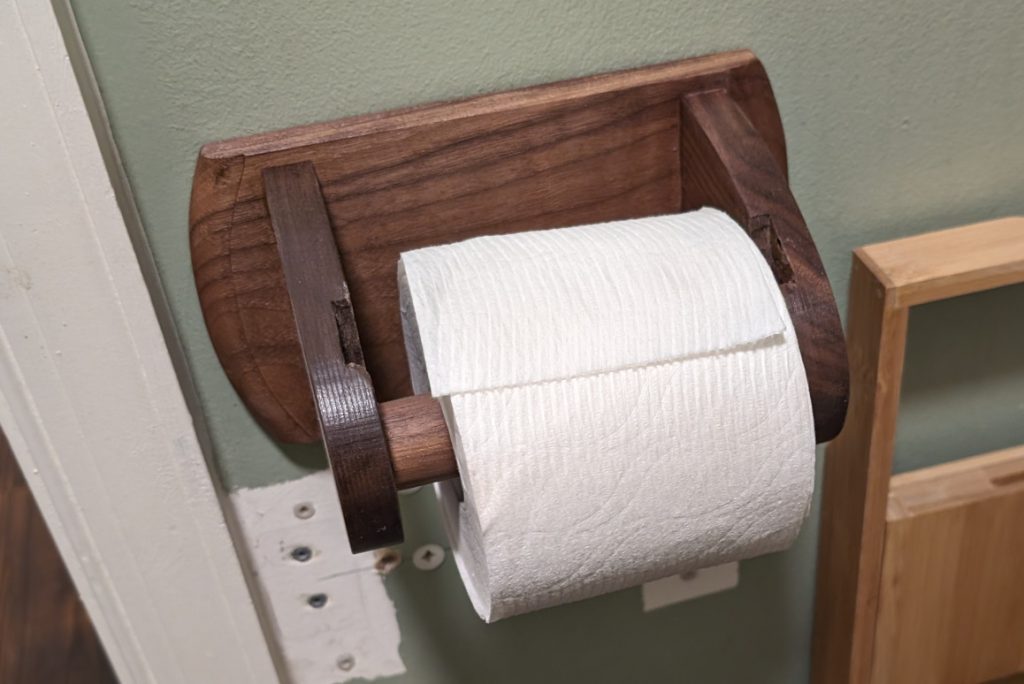
Now we can patch all the holes and repaint the sections of wall so the bathroom looks nice.
While I’m at it, here are the other projects in this bathroom:
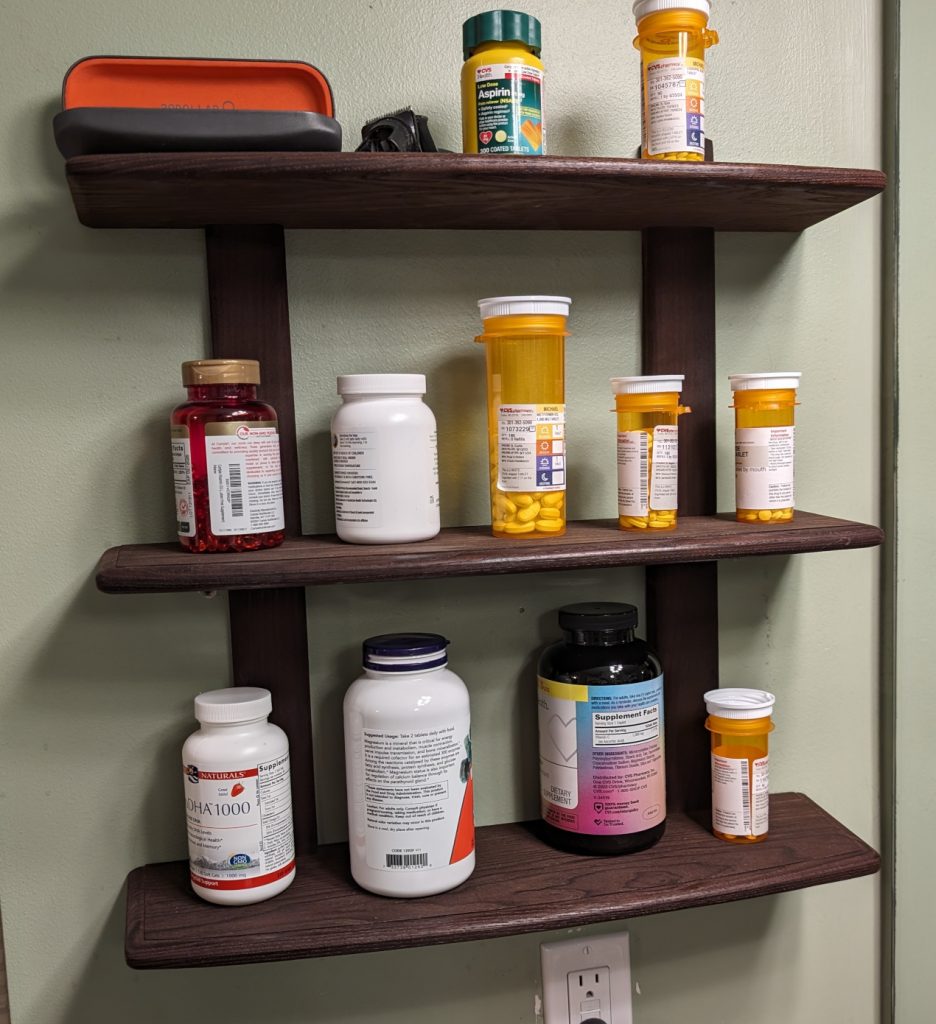
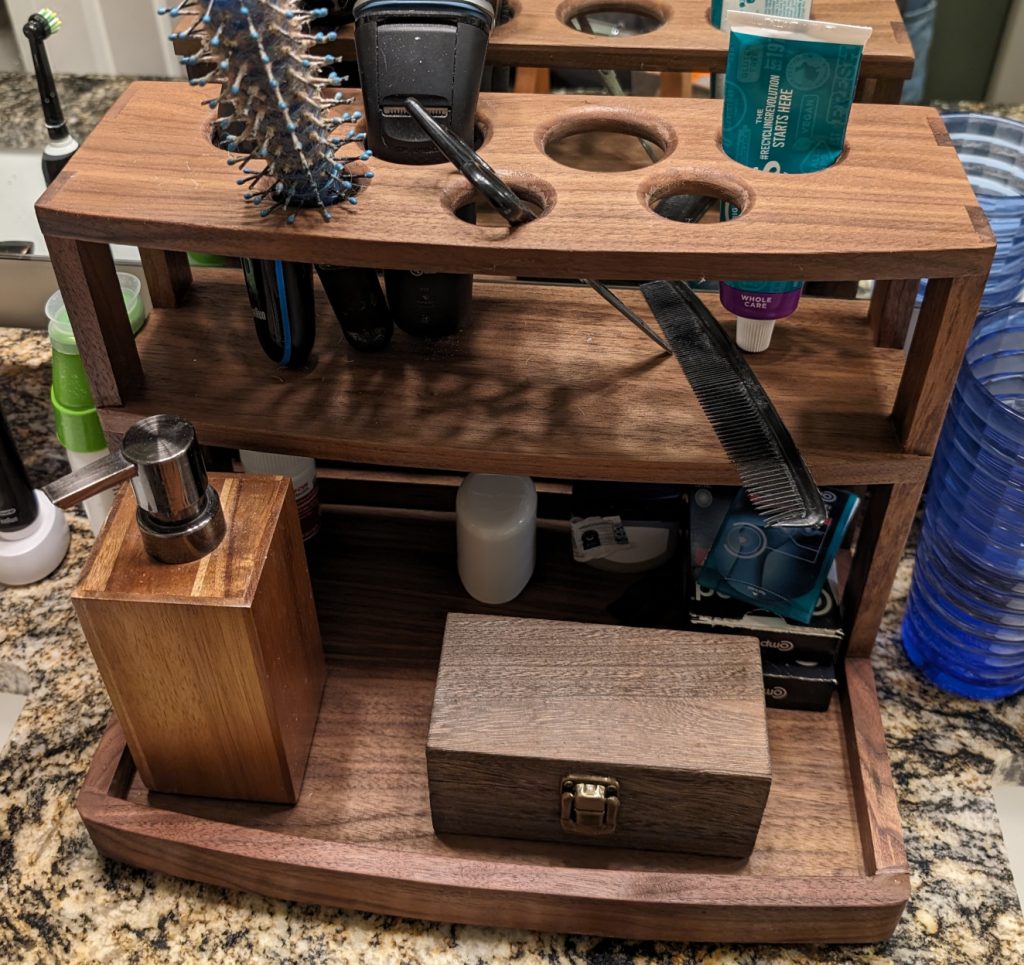
And the single towel rack in the outer bathroom (which is just a scaled-down version of the double one):
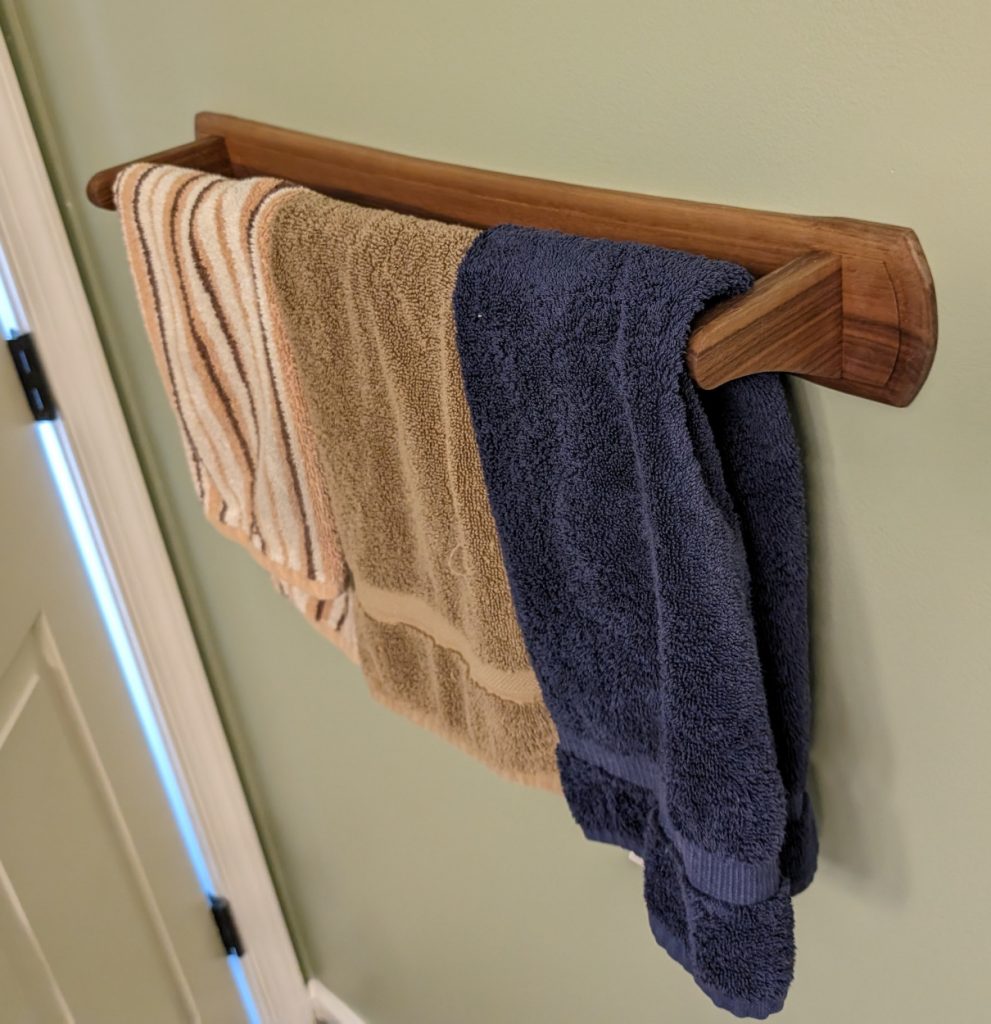


Recent Comments