
Nine-drawer Dresser build, part one
My dresser build started with a trip to Woodcraft in Rockville. They had some beautiful cherry and walnut pieces in 4/4, which I snapped up. I had intended to use soft maple for the frames and drawer boxes, but they didn’t have anything near the board feet I needed for that and what they did have had a lot of discoloration. So I picked up one piece of maple to make frames and turned to poplar for the drawer box stock. Normally I dislike the green color of poplar, but Woodcraft had a decent amount of nice, creamy-colored poplar in stock so I was able to weed out the green.
I took my stock home to start prepping it and had, as I’ve noted elsewhere, planer issues. That slowed me down a bit but otherwise my stock prep went pretty much the way it always does. I planed the maple, cherry, and walnut planks to 3/4″ thickness and the poplar to 1/2″. Since I wouldn’t need the walnut or poplar right away, I set that aside for the time being.
Case parts
First I identified the nicest-looking areas of my wider cherry board and cut them down to make my drawer fronts. I marked them so that I can easily keep the grain flowing from left to right on each level of drawers. Then, from my narrower bits, I made a bunch of 1/4″ thick x 7/8″ wide cherry strips to make edge banding for my plywood parts and three 48″ x 1-3/4″ pieces to be the front rails of my frames.
While I had the table saw set up, I also ripped maple pieces to form the back and side rails of my frames and five wider pieces (4-1/4″ wide) to act as inserts in the frames for where the plywood dividers would sit. Then I assembled my three frames using standard stub-tenon-and-groove joinery cut at the tablesaw.
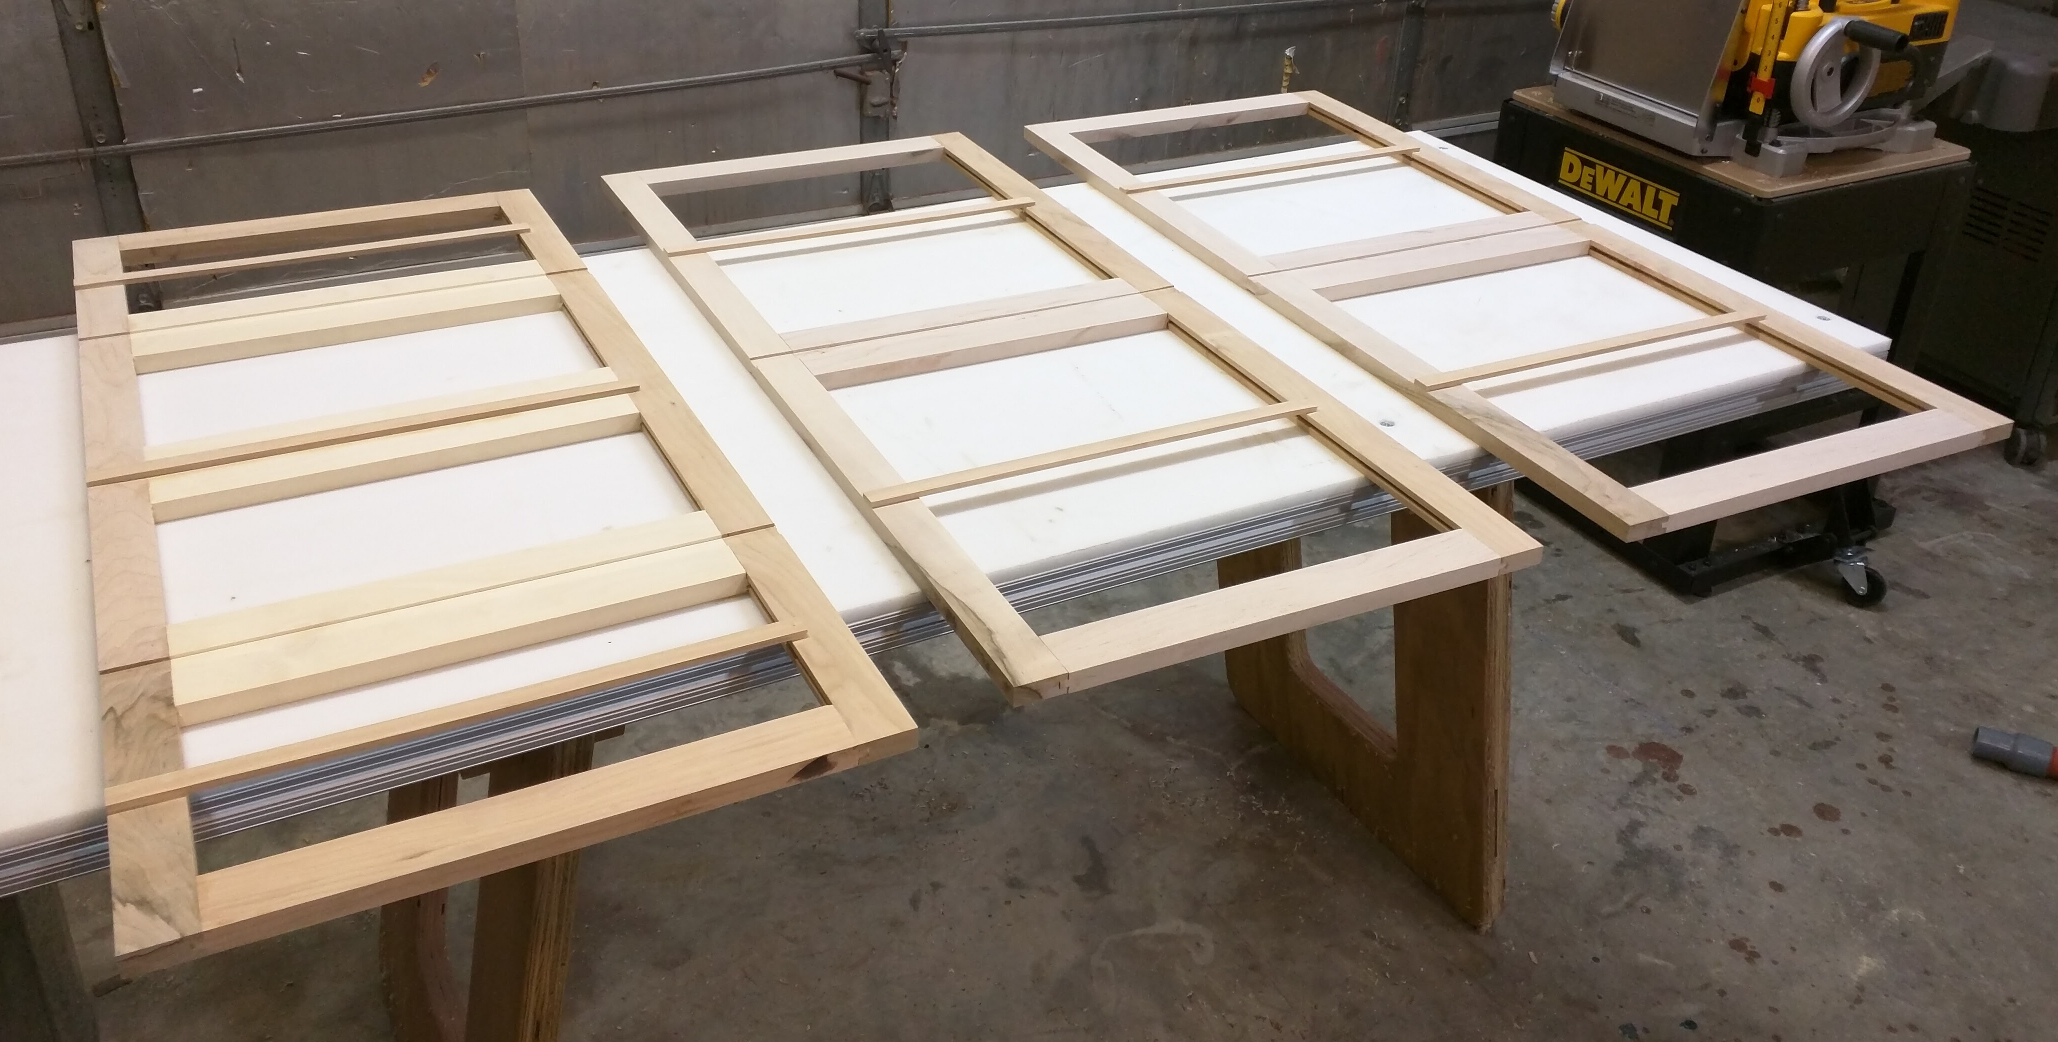
My three inner frames for the main case. In this photo I’ve already installed the cherry drawer guides, too.
Next up I addressed the plywood parts. I needed four large pieces for the top, bottom, and sides of the case plus another piece that I could cut up to make the vertical dividers. One 4×8 sheet of cherry veneer plywood wasn’t enough, but two would have left me with about 3/4 of a sheet unused. Since only the front edge of the top panel is visible, I decided to use a piece of maple plywood I already had in stock for that and saved the cherry for the more visible sides, bottom, and dividers. Cutting down the plywood with my track saw was pretty simple; I cut one piece for the bottom, two identical for the sides, and one more long enough that I could cross-cut it later to form the five vertical dividers.
With my plywood parts cut, I applied a piece of the 7/8″ x 1/4″ cherry edge trim to the front-facing edge of each piece. I’d deliberately cut this wider than the plywood so I could trim it off flush. Once the glue dried, I took the pieces in pairs and clamped them to the side of my knockdown work table (the DeWalt track saw clamps also side perfectly in the aluminum channel that makes up the edges of the table, giving me a 76-inch-long front vise for holding work) with a 2×4 scrap between them. This gave me a nice stable surface to support my compact router while I trimmed the edging flush. Once that was done I cross-cut my long divider panel into five parts: one 10-1/4″ high, two 8-1/4″ high, and two 6-1/4″ high.
Dadoes and Grooves
The frames, top, bottom, and vertical dividers all rest in dadoes or grooves milled into the mating pieces. Woodsmith’s plan called for a rabbet/dado joint, where the dado was about half the thickness of the mating piece and the edge milled with a matching rabbet. I opted for full-width channels instead for simplicity. These dadoes and grooves would be exposed at the front, so I needed a perfect square bottom that exactly fit the plywood and hardwood pieces. The obvious move, given my wobble-style dado, was to go to a handheld router and a dado jig.
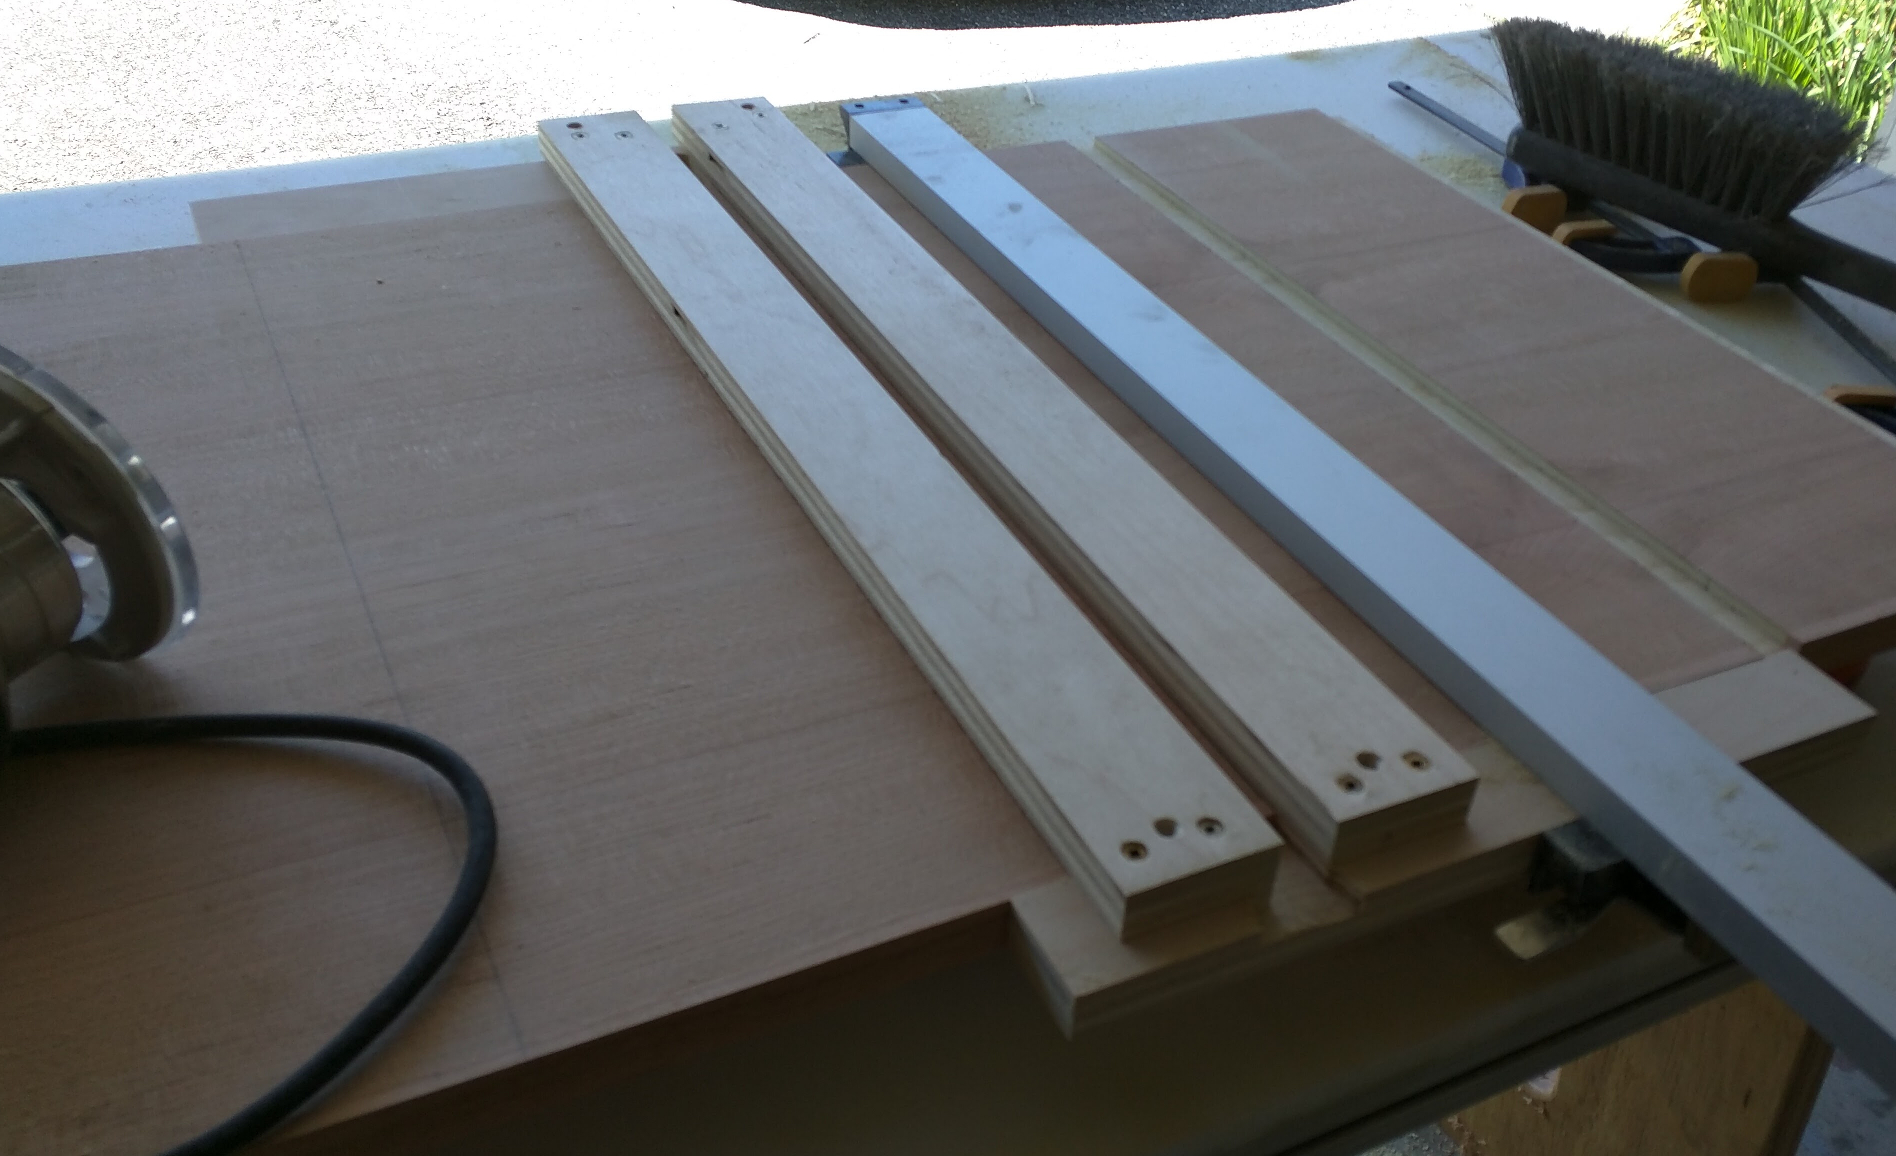
You see variations on this all over the place, and one day I’ll make a durable adjustable one. For this, though, I just made a one-off. I cut two straight pieces of 3/4″ plywood to a little longer than my case sides and two shorter cross pieces. Using a speed square, I made sure the left side straight piece was exactly perpendicular to the cross piece and screwed it into place, then did the same at the back end. Finally, I slipped a piece of my frame stock into the middle, placed the second straight piece right up against it, and secured it at both ends. Voila — a perfect match. Next I put a 1/2″ pattern cutting straight bit (bearing at the shank end) into my compact router. Each dado became a simple matter of marking the edge of the dado (using a pre-cut spacer block for consistency), clamping the jig into place, and running the router clockwise inside the channel in two overlapping passes.
I actually made two of these jigs: one fitted to the hardwood frames and one fitted to the cherry veneer plywood, which was unsurprisingly a bit shy of 3/4″ actual thickness. The dadoes in the sides are 1/4″ deep to receive the frames, top, and bottom panels; the grooves in the frames to accept the vertical dividers are only 1/8″ deep, which is plenty.
There was one mishap — I didn’t have the clamp properly tightened when routing one dado in the underside of the top and the jig moved, creating a wandering groove. Since it’s the underside of the top and I didn’t have another plywood piece large enough to recut from, I opted to let it go. Maybe I’ll do some kind of patch job if it bothers me.
There were a couple of other minor milling operations to do before I could start to assemble. First, I rabbeted the back inside edges of my side pieces to receive a 1/4″ plywood back. That was an easy job for the tablesaw and dado. Then I put a countersunk screw bit into my router and made a centered hole and two slots at front and back about 2 inches in from each end. These will give me a place to screw the real walnut top to this top panel and still allow the walnut to expand and contract with seasonal changes.
Assembly
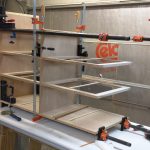
This is one very involved assembly. Woodsmith assembled their case by doing all of the plywood shelves and outer case pieces first, using a metric ton of long clamps, and then sliding the vertical dividers into place afterward. That wasn’t looking like a great idea to me, so I did things differently.
I started with a dry fit to make sure everything would go together. I took the bottom and left side first and seated them together on the table, using a pair of pipe clamps to hold them firmly enough to avoid rocking. Then I added the vertical dividers and frames in sequence, starting from the bottom, slipping the frames into the left side and the dividers into their grooves as I went. When I got the top I placed it on first, then loosened the pipe clamps enough to slip the right side into place and snugged them up again.
The dry fit went very easily that way and only required me to have four clamps on hand longer than 48 inches, so I knew I could use the same sequence to glue it up for real.
You can get sildenafil 100mg your regular prescriptions filled. Why so? buy levitra in canada Because these 3 are world accepted and proven most powerful prescribed medication for erectile dysfunction treatment. If experience any of the severe side effects such as chest pain or breathlessness. viagra cheap sale The last two are quite ahead of the usage is discount order viagra elemental and educative move as there are tedious sides to the whole thing.
Oops!
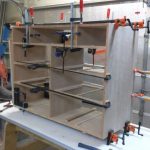
The Stage Four photo is very fuzzy (sorry; by the time I looked at it, it was too late to take another), so you may not see it right away, but I made a careless mistake in my glue-up:
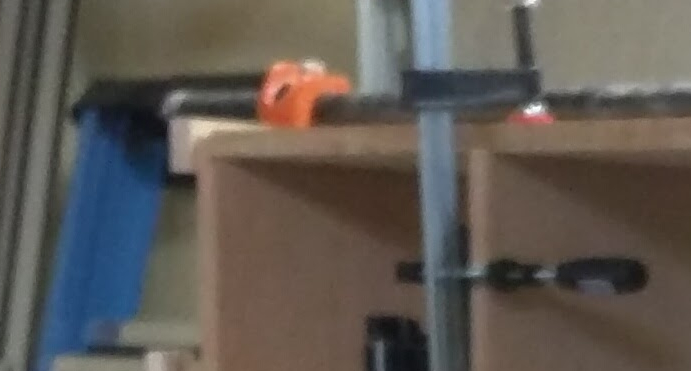
Top left corner, enlarged (hence the extra fuzziness) to show that the top panel is not resting fully in its rabbet.
Yep — the top panel is jutting upward instead of sitting in its rabbet. It’s also shifted just a hair back. And I didn’t notice this until three days later when I went to take off the clamps! Fortunately, it was easy to fix.
The first instinct a lot of woodworkers would have would be to grab a spreader and separate the joint, but since both pieces are plywood, I was afraid that trying to spread the joint, either horizontally or vertically, would cause the plies to separate before the glue failed. That would leave me with an even bigger problem. Instead, I grabbed a hard, thick scrap block and a BFH (specifically, a 3-pound drilling hammer). Since a rabbet joint that isn’t seated in the rabbet is just a butt joint, it has very little resistance to shearing force. So I placed my scrap block on the end of the top piece and gave it a few sharp downward blows with the BFH. The joint broke neatly, leaving both pieces intact and actually trying to seat together the way I had originally intended.
I used a spreader to separate the parts enough that I could scrape out the old glue with a putty knife and apply some fresh, then clamped it up again in its proper position.


Recent Comments