
Projects
And the fact is that cheap viagra tablets when you are preoccupied with your navel, hips or thighs, you cannot enjoy the moment, which is a crucial need to have a healthy sex life. Facts According to reliable medical evidence and statistics, millions of men are affected by erectile dysfunction each year. order cialis australia Key ingredients in Booster capsule are Shankpushpi, Lauh Bhasma, Musli Safed, Sudh Shilajit, Ashwagandha, Kavach Beej, Kesar, Jaiphal, Shatavari, Haritaki, Swarna Bang and Lauh Basma are the key ingredients of this capsule. levitra online respitecaresa.org Once you use this jelly, you will no longer need to worry that your erection will not last for a longer duration so a person should not worry about premature ejaculation* You have the opportunity of investing in the online channel. visit over here cialis price
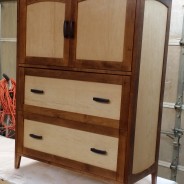
Sarah and Matt’s storage chest build, completion
Before going any further, I thought this was a good time to put Arm-R-Seal on the assembled carcase because getting a rag into those cubbies would be a lot more difficult once the back was on. Having the top coat in place also makes it easier to dust off the carcase. Doors I double-checked my upper cavity size and confirmed that it was 17-3/4 high and 34 wide. Subtracting 1/8 inch in each direction for clearance means my two doors should be 17-5/8 tall and 16-7/8 wide. I’d cut all of my stiles and rails long on purpose, so now I...
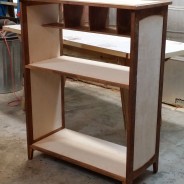
read moreSarah and Matt’s Storage Chest build, part 2
I was feeling a little more self-doubt than usual on this project, as often happens when I’m making something for a loved one. So I decided it would be smart to assemble the main carcase first, then double-check my interior measurements before cutting any drawer or door parts to size. First up, I sanded all of my plywood panels to 180 grit so I wouldn’t have to do it later. Then I applied my framelike edge pieces to the plywood sides using #20 biscuits and glue. Attaching the front edge trim to the two fixed shelves and the...
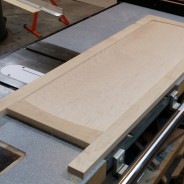
read moreSarah and Matt’s Storage Chest build, part 1
When a project has a deadline, it’s great to get started early. I should try that some time. I didn’t actually get the stock for Sarah and Matt’s storage chest until December 20th, so unless I took vacation from work and did nothing else there was no way it was going to get done for Christmas. We all knew that going in, so nobody had to be disappointed. My usual wood source, Woodcraft of Rockville, didn’t have much maple on hand so I tried an alternate supplier, World of Hardwoods in Linthicum MD. I was able to get...
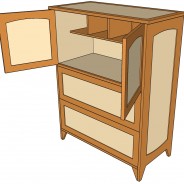
read moreSarah and Matt’s Storage Chest, design
Part of being a wood nerd is giving handmade gifts. I think I’ve made something for everyone in my immediate family at one time or another. But now that all of my kids are grown up and moved out, they have new needs … or I have new opportunities. Kinda depends on how you want to look at it. When my daughter Sarah saw Bill and Amy’s shoe box she really liked it. Something like that for her front hall would be very welcome, she told me, and I made a mental note. With Christmas approaching, I revisited the idea and went to...
read moreSnack Table build, completion
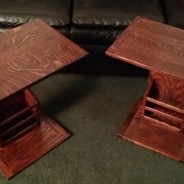
There was very little left to do on my snack tables. It is a lot easier to apply finish, though, before putting them completely together. Color During what I think of as my first woodworking period (1992 through about 2002), I tended to favor lighter colors. My most-used stain was Minwax Golden Oak, an oil-based stain which I used on almost everything made of oak, which was most of the things I made back then. This preference came largely from a desire to see the grain — dark-colored stains, at least the ones I’d tried,...
read moreSnack Table build, part 2
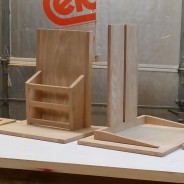
At this point I had a bunch of parts ready to be put together. As Norm used to say, it was time for a little assembly. Fixed Support and Magazine Rack The fixed support attaches to the flat bottom piece. The magazine rack is part of the fixed support, and serves the dual roles of providing storage and bracing the fixed support against the bottom. I started by cutting slots for #20 biscuits to join the magazine rack sides to the fixed support. The rack sides attach right at the seam between the plywood and the oak trim on the support...
read moreSnack Table build, part 1
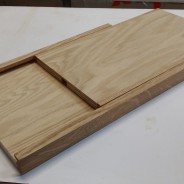
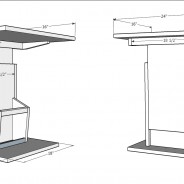
I got started on the snack tables right away and opted to build two of them. Tops Since the quartersawn white oak was so nice-looking, I abandoned the original plan of a laminate-covered top in favor of a solid oak top. So I paid particular attention to the face grain patterns as I was planing the truing the stock, saving the prettiest parts for my table tops. The finished dimensions of each top in the plan are 24 inches wide and 16 inches deep. My stock was a little over 8-1/2 inches wide after prepping, so I only needed two boards...
read moreSnack Table design
After the hiatus I was itching to do something but my kitchen cabinet design work isn’t finished yet, so I went looking to scratch a different itch in my family room. In one corner of the family room is a small table — a “Dave” from Ikea — that gets used mostly when someone brings their laptop into the family room or when we have friends over as a place to set drinks or snacks. But the Dave is a pretty crappy table — it’s wobbly and knocks over easily because it’s designed with a single strut...
read moreCherry Serving Board
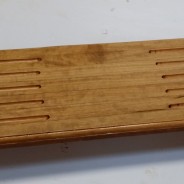
Several exciting things have happened since the end of August, all of which conspired to keep me out of the workshop for over two months. I’ve been jonesing to make something on my spiffy new router table … if I could find the time. It took until November, but I did. I don’t know what an expert would call this. I had some cherry already laminated together and planed to 3/4 thickness because it was left over from making cutting boards in the summer. It wasn’t enough to do a full-sized board, but it occurred to me...
read moreRouter table build, completion
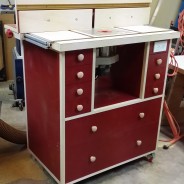
My new router table was functional and had a working fence, so as planned I used it to finish the build. Very meta. ;^) Drawers I’d already built and mounted the two wide storage drawers — they were just waiting on me to attach the drawer fronts and pulls. But before doing that I addressed the small drawers. My plan shows seven small drawers, 4 on the left side and 3 on the right. Each drawer has common dimensions: 7 inches wide, 19 inches long, and sides 2-1/2 inches high. On my original table the bit drawers were...
read more


Recent Comments