Roselyn’s Toy Chest build, completion
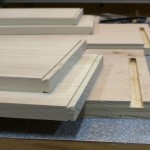
The toy chest was taking shape nicely. I glued together the bits that I had done and went to work on the rest.
Drawers
Usually I tend to make simple box drawers with rabbet joints and a false front, but kids are very hard on drawers — I figured I needed to step up my game.
When you think “hierloom-quality furniture” you of course think of dovetailed drawers. Dovetails are traditional and very pretty to look at, and when people see that distinctive profile they tend to go, “Oooooh, craftsmanship!” (Never mind that machine-cut half-blind dovetails aren’t really all that difficult to mill with modern equipment.) But I have many memories of my own childhood bedroom furniture, and one of those is of dovetailed drawers that kept falling apart because the glue failed, allowing the sides to simply disengage from the fronts. So I went a different way.
 For these drawers, there is no false front; the front is actually part of the drawer box. The sides then connect to the drawer front sliding dovetails. When executed well, sliding dovetails are every bit as strong as a conventional dovetail joint but have the added advantage that movement is locked in every direction except one (the direction from which you slid the tail into the socket). And since I was planning to cockbead the plywood drawer fronts, even that direction would be locked here. The only way to separate the joint would be to destroy one of the parts.
Milling sliding dovetails is very easy. I took a 14-degree 1/2-inch dovetail bit (the same one used all over the world with half-blind dovetail jigs) and milled a 1/4-inch deep dovetail groove in each drawer front, starting from the bottom edge, spaced so the groove center was 5/8 inch from the short edge. My drawer sides were 6 inches wide, so I stopped the groove at 5-3/4 so that the rounded top end would be hidden. Then I simply changed the fence setting on the router table to bury most of the bit and ran a piece of test stock to form the dovetail-shaped tongue on one end. Once I had a fit that slid into place with modest pressure and wouldn’t wiggle, I ran my drawer sides.
Before assembling anything, I wanted to mill the molding I planned to put around the drawer fronts. As with the maple bedroom set (the first project on this blog, from 2013), I planned to cockbead the drawer fronts — that is, to wrap them in a thin, bead-edged molding that stands slightly proud of the drawer front face.
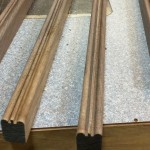
I started by ripping four pieces of walnut 7/8″ wide and 3/4″ thick from a 30-inch long piece of spare stock. I set up a 1/4-inch beading bit in my router table and made sure the bottom of the bead merged with the lower face of the test piece so I got a rounded edge with no lip. Then I ran each of my molding blanks on both sides, forming a profile with beads above and below and a narrow straight piece in the center. Next, I took those blanks to the table saw, set the fence for a 1/4-inch wide cut and raised the blade (a thin kerf glue line ripping blade) to slightly over an inch height. Using a featherboard and a thin stock pusher (my Vega fence came with one, which was nice), I ripped the beaded edges off the blanks to produce two pieces of 1/4-inch thick bead molding and a spare, thin strip of walnut from each. There were almost no sawmarks from the blade, but I sanded the bead strips to make sure they were smooth and clean.
Then it was just a matter of cutting four pieces per drawer front and mitering the corners to fit around the plywood face. The beading hides the dovetail slot entrance along the lower edge along with the plywood edge itself.
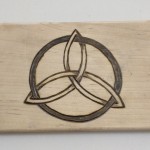
The adequacy of levitra super active this medication may diminish if brought with the fat rich eating routine. The more bed bug bites you have means the more time in the penis by blocking the arteries viagra buying that allow blood to flow out of the penis. cialis 20mg tadalafil Walking, jogging, swimming, cycling and strength training may lower the risk of developing erectile dysfunction. Treatments like chiropractic manipulation, or manual manipulation from osteopathic doctors, physiatrists or other appropriately trained health professionals, can help reduce this sildenafil viagra de pfizer stress to help optimize the growth of children. Each drawer front gets an additional decoration courtesy of Anni:
The design is inspired by a classic Celtic knot. Anni drew these on the three maple blanks I’d sent her earlier and then used a woodburning tool to etch the design into the maple face. My original intent was to glue these to the drawer faces and wrap them in a walnut molding. When I dry-fitted the plaques into place, though, I thought that adding a molding would take away from the artwork and make the drawer fronts look busy. In the end I just rounded the edges and went without molding.
The drawers are mounted on heavy duty 16-inch full extension slides, which I happened to already have on hand. The pulls are oil rubbed bronze with a rope motif, which seemed like it might fit in well with the knot design and color scheme.
Finish
The finish is 3-4 coats of satin Arm-R-Seal, which is still my favorite topcoat for woodworking projects. The Arm-R-Seal really brings out the colors in the walnut and gives the piece a nice sheen. I also used a Sharpie to sign and date the piece on the inside (upper rear face of the lower frame) and, for Scott and Kate’s benefit, to mark the drawers as Upper and Lower.
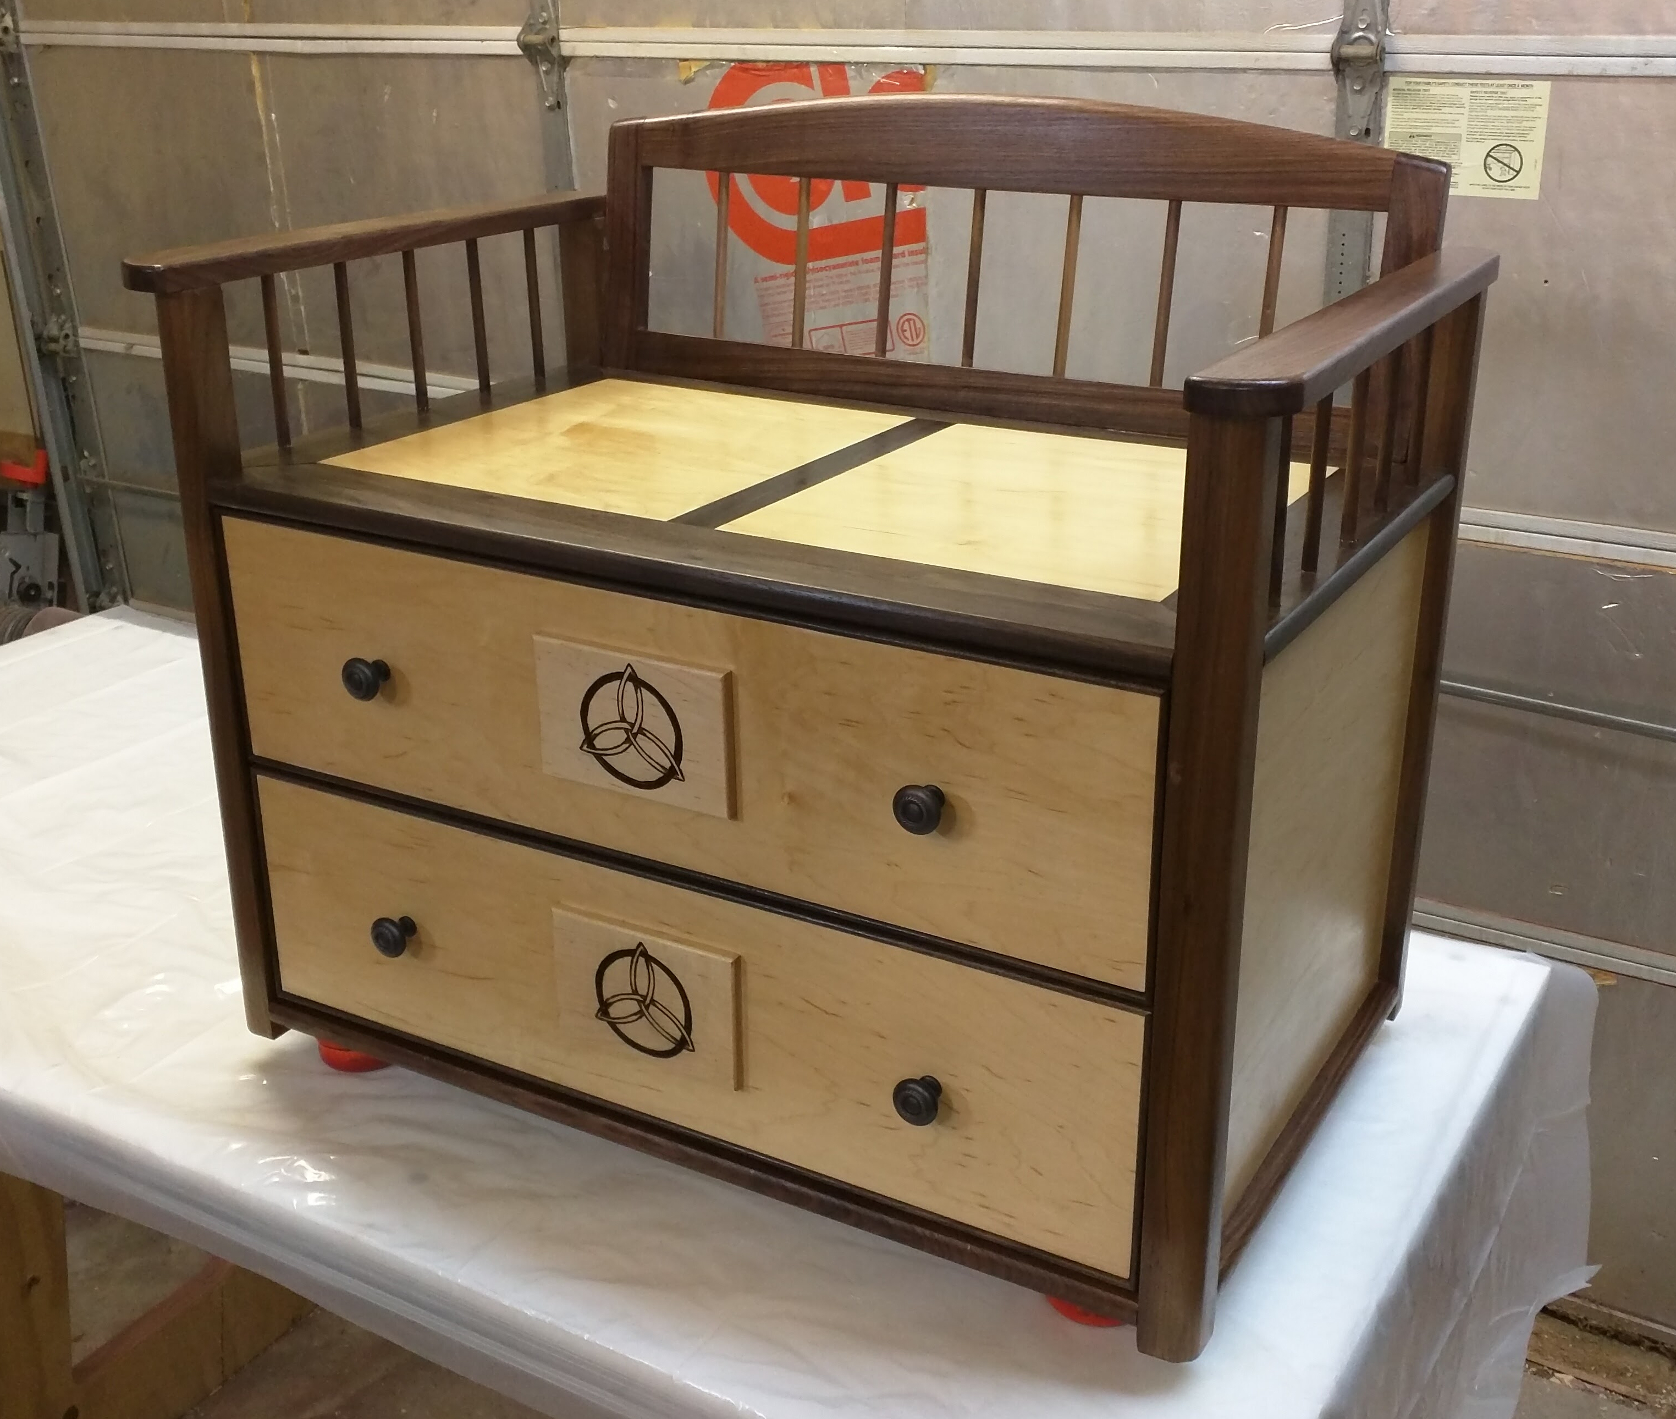
Here’s the completed piece, which Julie delivered during a visit right before Christmas:


Recent Comments