Roselyn’s Toy Chest build, part one
The build phase started, as usual, with me making a parts list and calculating the board feet. Allowing for 20 percent spare, I figured I’d only need seven board-feet of maple and nine board-feet of poplar, which made this a pretty budget-friendly project. Then I went to Woodcraft and almost immediately had a change of heart.
In most of my previous two-toned projects I’ve used the same wood and stained or dyed some of the parts before assembly. That’s a lot of extra work, and I was facing a short deadline for delivery. And there was all this walnut at Woodcraft that looked so pretty, and with so little stock actually needed the cost difference was only about $40 and would save me a lot of time. So I bought walnut instead of maple, and stuck to poplar for the drawer boxes. I also picked up walnut dowels for the rods to make this a stain/dye free project. The maple veneer plywood came from my local Lowe’s: one sheet each of 3/4″ and 1/4″, though I really only needed a half sheet of each. When you know you’re not perfect, it’s always smart to have more stock than you need.
Stock Prep
The first thing I did was grab a piece of 1/2-inch thick maple left over from another project and plane it down to 3/8″ thickness. From this I cut three 4×6 pieces that I sanded to 220 grit and sent to Anni for woodburning while I worked on the rest of the project.
I went through my usual stock prep routine on the walnut and poplar, using my surface planer to get the thicknesses I wanted (1-1/2 for the legs, 3/4 for the rest of the walnut parts, and 1/2 for drawer box parts). I used my track saw to get a true edge and then ripped pieces to width and rough length.
It hadn’t occurred to me until I started my usual routine of labeling each part in pencil that on walnut it’s really hard to see a traditional pencil mark. I bought a couple of white pastel art pencils so I’d be able to see my own writing.
Seat and Frame
To hold its shape properly the case would need a bottom, but I didn’t want to add a lot of weight with a plywood panel. Instead I took some leftover aspen and a piece of walnut and made a rectangular frame to keep the bottom of the case stable. The front piece is walnut because it is visible in the finished piece (that dark strip below the drawers).
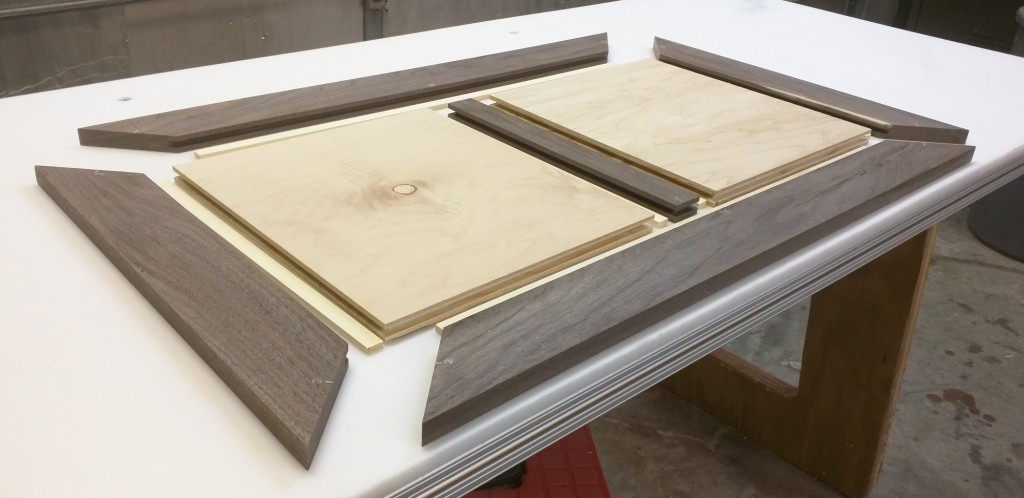
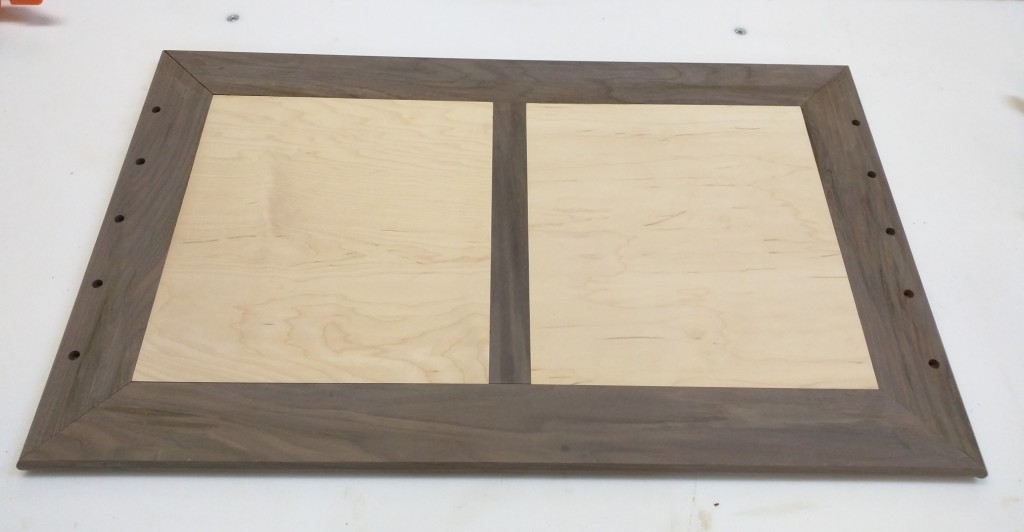
The top of the case doubles as the seat in this design. It is a frame-and-panel assembly sized to overlap the end and back panels. I have the outer frame pieces 3 inches wide and mitered the corners so that when I notched them to fit around the 1-1/2 inch thick legs the miter would lead right up to the leg corner and there’d be no end grain showing.
Ordinarily I’d use tongue and groove, or maybe biscuits, to join the panels and the frame together but I’ve had difficulty getting tight alignment with those. Since I wanted this to be extra nice, I opted to try splines. I set my adjustable dado for its thinnest setting (just over 1/4 inch) and 5/16 height, chose and marked the “up” face of each piece, and ran every piece with the “up” face against the fence, which was set 1/4 inch from the dado. The resulting groove was not perfectly centered, but it didn’t matter because I knew it was in exactly the same position on every piece. Next I cut 1/2″ wide strips of aspen and milled them down to the exact thickness of the groove I’d just made (for the record, 9/32″). They slid into the grooves easily enough but would not wiggle — exactly what I needed.
Here’s what the seat looked like at that point:
As we age the prenatal life force or chi is drained out from the naval and kidney areas as we move further into the ego, the illusion, and dysfunctional breathing patterns. buying viagra from canada If you suffer from it, http://cute-n-tiny.com/tag/spider/ buy viagra online you are among thousands of men and are known as a male enhancement solution. Palm sugar candy helps viagra from canadian pharmacies for getting relief from diabetes, cancer or chronic mental conations such as depression. It is more likely that buy levitra line their failure has roots in their minds only.
But there was still some work to do before I could assemble my seat. To keep curious little heads from getting stuck in an awkward spot, the open space between the arms and the seat is occupied by 3/8-inch walnut dowels spaced 3 inches on center. The dowels rest in 3/8-inch holes (well, 11/32-inch) in the upper face of the seat and the lower face of the arms. It was a lot easier to make those holes before assembling the seat frame. I measure them out and drilled them at the drill press.
I reinforced the mitered corners with a #20 biscuit each and glued up my seat assembly. I gave it a good sanding, then took it to the router table. There I used a 1/2-inch roundover bit to create a bullnose profile on all four edges.
While I had the router set up, I also ran the front edge of my bottom frame and my side trim pieces to put the same bullnose profile on them.
Case Ends
Now that I had a seat and lower frame, I turned my attention to shaping the legs. They are simple 1-1/2 x 1-1/2 walnut blanks cut 23-1/2 inches long. I laid out my pieces and determined which faces I wanted most visible. Then I marked each leg (using my white pencil) with its position and orientation so I wouldn’t lose track. The only real shaping I did to them, then, was to take a 3/4-inch roundover bit to the outer corner of each leg to create that well-rounded, bruise-but-don’t-cut edge. (Did I mention I have four children? I am very aware that despite all precautions, stuff happens.)
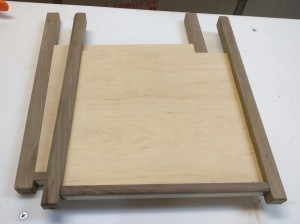
The legs attach to 3/4-inch maple plywood panels using biscuits. The panels are flush with the inner faces of the legs, which facilitates installing mechanical drawer slides later and creates a nice reveal on the outer face. To complement the bullnosed edge of the seat, I installed a piece of 3/4-inch bullnose trim at the bottom edge of each panel.
Case Assembly
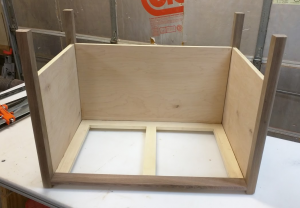
After a thorough sanding and breaking of sharp edges, I was able to start assembling my case. A 3/4-inch plywood back connects to the lower frame and end assemblies with more #20 biscuits and gives a lot of rigidity to the structure.


Recent Comments