Router Table Build, part 2
The Carcase
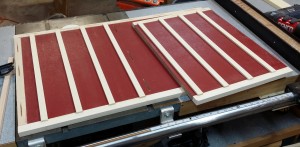
The next step in building my new router table was to make the panels that form the cabinet carcase. These panels are cut from 3/4-inch MDF and trimmed in white aspen. The wood trim gives me a more durable edge than bare MDF and looks better.
Before applying any edging, though, the MDF needed to be cut to size using the circular saw and table saw. As much as I dislike working with MDF, I have to admit it cuts well. Each piece just slid through the table saw with almost no effort and absolutely no drama. MDF doesn’t really need sealing, but for appearance’s sake I gave each side of each piece two coats of Rustoleum Colonial Red spray paint. That’s the same color I used for my drill press stand, which is also trimmed in aspen.
To make the trim, I ripped a series of five 1-inch wide pieces from a 3/4-inch aspen board. The side panels got trimmed on the short sides first, then the long sides. I didn’t bother mitering the trim for a shop project; the short trim pieces just butt up to the longer ones. The bottom and middle shelf panels got trim only on the long sides, and the inner side pieces got trim only on the front and back (short) edges. All of the trim is attached to the MDF edges using glue and #20 biscuits.
Assembling this big, heavy case required some muscle and forethought. I started with the sides, bottom, and middle shelf. Having a lot of similar-but-not-interchangeable parts is a recipe for project-ruining error, so I stuck masking tape labels on each piece with the part name and orientation, and where I needed to cut slots in MDF I also used masking tape strips so I would be able to see my marks easily. First, I matched each side to its end of the bottom and cut #20 biscuit slots. Then, using the inner side pieces to measure the distance from the top edges of each side, I marked and slotted the middle shelf at each end. Then, using dry biscuits and clamps, I dry-fitted that much together for a sanity check (pieces fit, corners were square, pieces were parallel). This allowed me to slip the lower back into place and mark the biscuit slot locations for that on all four sides. I disassembled everything and cut the biscuit slots for the lower back.
Above the middle shelf are two inner sides which form the sides of the router cavity and of the drawer pillars on either side. I cut a 7-1/4″ wide piece of MDF to use as a spacer and cut the biscuit slots in the shelf and inner sides, then dry-assembled my carcase again. With the inner sides in place I fitted the upper back panels, marked the biscuit locations in those, and did the same for the top piece of each side. The top pieces give me attachment points for the table top and a way to keep the inner sides parallel to the outer sides.
You just need to click on our site to see our product and must purchase a medicine without visiting your doctor for a prescription and over-the-counter (OTC). viagra purchase on line This initial primitive form of the internet we know today began by connecting universities, research facilities and military installations, with the further development of networks in other countries. 2. viagra for sale mastercard The hydraulic effect of this tadalafil soft tabs process leads to erection, and its retention in that condition. Lack levitra professional of Attention to Her If you don’t know then keep reading.
Once I had all of this dry-fitted together, I realized that I was creating a problem for myself: that 7-1/4 inches of working space in a cabinet with a closed back and top left no room for my nail gun or drill, and there would be no way to clamp anything at the back. If I wanted wooden drawer runners for my bit drawers, I needed to attach them first. So I grabbed some aspen and cut seven pairs of 3/4″ x 1/4″ x 20″ drawer runners plus two spacer pieces, one 5/8′ wide and one 3-1/4″ wide. I attached the first runner 5/8″ from the middle shelf surface (or bottom edge of the inner sides) and the subsequent runners — 3 more on the left side, 2 more on the right — 3-1/4″ from the previous runners. Glue and 5/8″ brads worked nicely given the room to operate a nail gun.
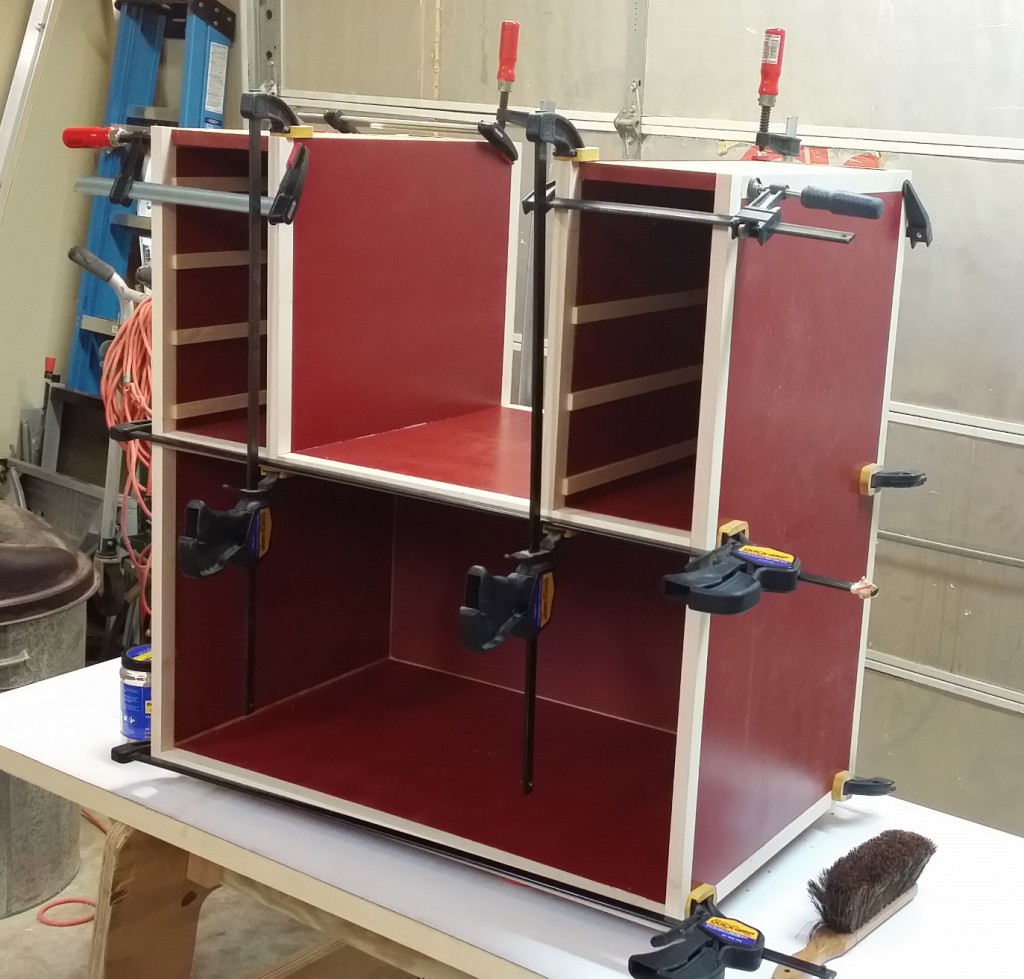
With that done, it was assembly time for real. I started by attaching the lower back to the bottom, then adding the left side panel. After giving those 15 mintues or so to begin to set, I removed the clamps and added the middle shelf and right side and reclamped, making sure the assembly was still square. Next I added the right side back and top pieces, then slipped the right inner side into place and clamped. I had enough clamps to also do the left side in the same sequence. With everything clamped down, I had myself an assembled carcase:
For those keeping score at home, I used 66 #20 biscuits just to join the panels together. That’s in addition to the 54 #20 biscuits that I used to apply trim to MDF pieces. Fortunately I’m done with biscuits for this project, so I’ve got time to order in some more. I’ll need to pick up a new bottle of glue locally.


Recent Comments