Sewing Table, part 1
The bowfront chest left a bad taste in my mouth, although Julie was happy with it. So I needed a project to cleanse my palette, as it were. Something challenging, but in a different way from the bowfront. And, ideally, something we actually needed.
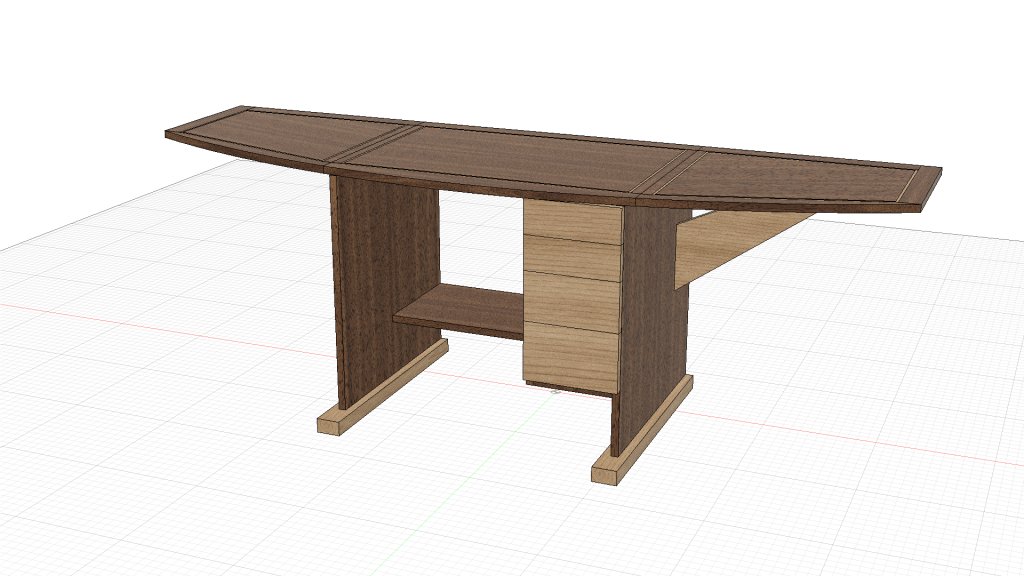
I came up with this:

I’ve needed an actual sewing table since before the pandemic. I don’t sew much — basically just hems and some light repairs — but when I do I’ve been setting up on the dining room table, and keeping all my supplies in boxes. That’s really not ideal.
This table will serve the purpose much better. It will feature a top drawer made for holding spools of thread and the matching bobbins, and three more drawers for other miscellaneous gear. To keep the size manageable, there will be a 32-inch wide top and two 24-inch drop leaves, so when not being used it can sit off to the side and not take up too much space. The sewing machine itself simple stores on the bottom shelf between uses.
Part of the challenge, as you may have guessed, is the rule joints connecting the top to the leaves. Haven’t ever done that before, so it’ll be interesting. You may have also noticed the inlay around the top, a band of maple between the darker pieces. I didn’t draw it, but I intend to also use that inlay technique on the shelf supports, only it will be a dark band surrounded by maple.
For stock, walnut is still hard to come by around here so I’ll be using sapele, and sapele plywood that I have left over from the bowfront table. The contrasting stock will be curly maple.
And, I should confess up front, I have deviated from the drawing already (I say “already” when I’ve been working on this for something like 6 weeks and have it almost done). The shelf supports, which I wasn’t sure about how to do, are radically different from the one in the drawing, as you’ll see.
Main Case
The obvious place to start was with the main case. I didn’t, actually, but for narrative purposes I want to be more logical than my actual workflow was. So pretend I started here.
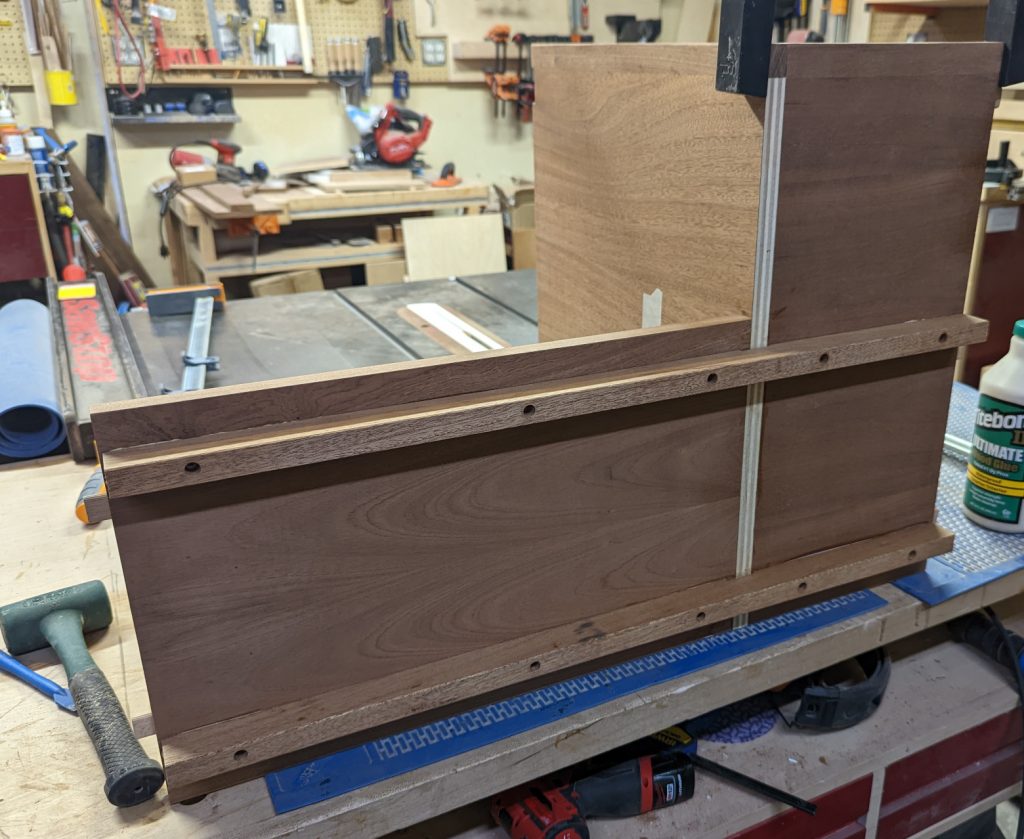
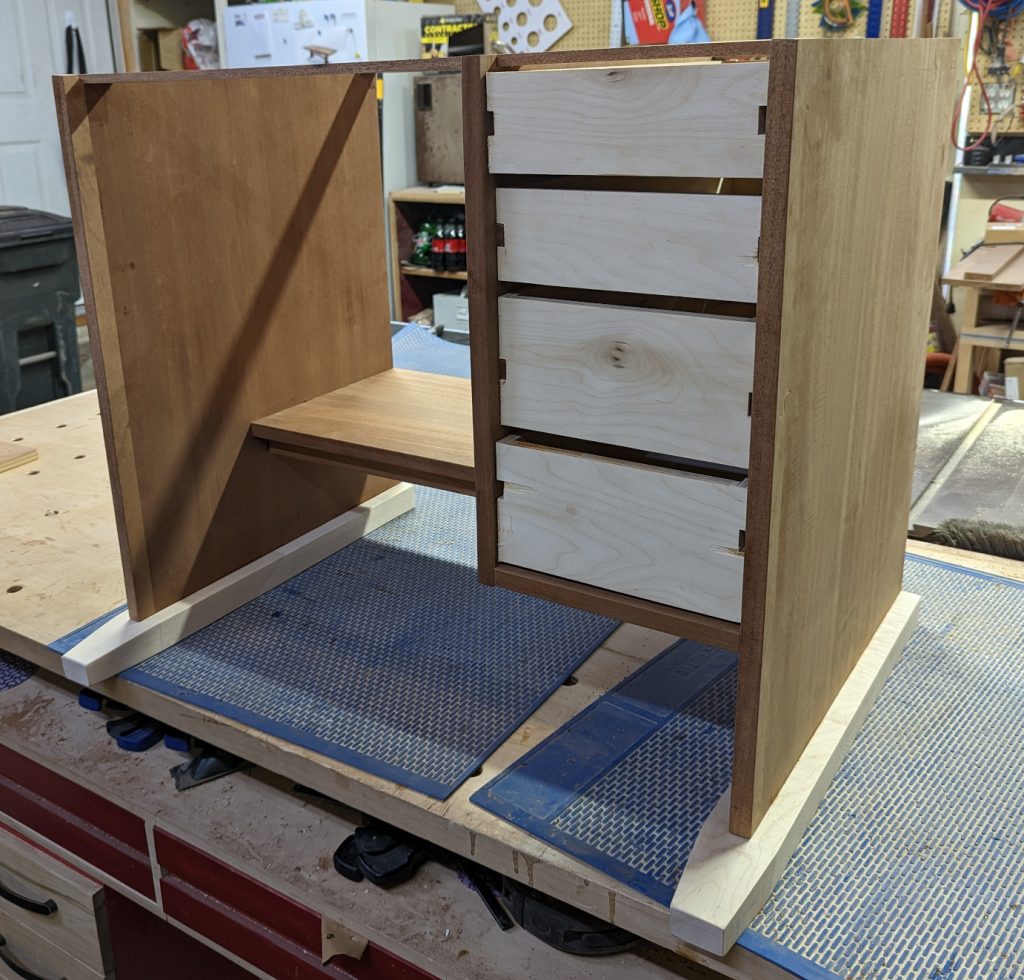
The case is made up of two sides, a drawer box, and a shelf. I used plywood for these parts and edged the fronts with 1-inch strips of actual hardwood. I wanted a good amount of space for the user’s legs, so the drawers are a little on the narrow side — 9 inches including the sides. Having been burned a little by mechanical drawer slides, I opted for simple wooden runners that will meet up with grooves cut in the drawer sides. A back panel will keep it all tucked in and provide some rack resistance.
Making these parts and joining them together was not all that complicated. The tricks started coming in when I had it dry-fitted together and realized I’d made a mistake by cutting the shelf as a separate piece from the drawer box. By doing that, I had no piece going fully from side to side, which meant the only resistance this would have to weight would be from glue. That did not seem like a good plan.

So I cut solid strips of sapele, 1-1/4 by almost the combined width, and added them to the underside of the shelf. Now these solid pieces make the whole top a lot more stable.
I had a similar problem at the top — the open structure left lots of room for wobble, and I really did not want to firmly attach the top to the case. So again I cut extra pieces, 3/8″ thick and 1-1/2″ wide, and ran those at the top in the front and back. These will keep the upper parts aligned and give me a way to attach the top that can be reversed if needed.
I cut feet from maple for contrast and shaped the front a little, then attached those. Ultimately casters will go on so the height of the piece should be right at 28″, which is a comfortable sewing height. And I went ahead and made drawer boxes at this stage, so I could be sure they fit and rode well on the wooden runners.

I also cut a back panel, but I won’t attach that until near the end. The next post will be about the table top and leaves, because that was the most challenging part of the build.


Recent Comments