Using up Scraps (1)
So, before doing the bathroom vanity I wanted to knock out a couple of quick projects using the spare wood I already had on hand. This is the first of those; it took me a Sunday and a few hours during the week to finish.
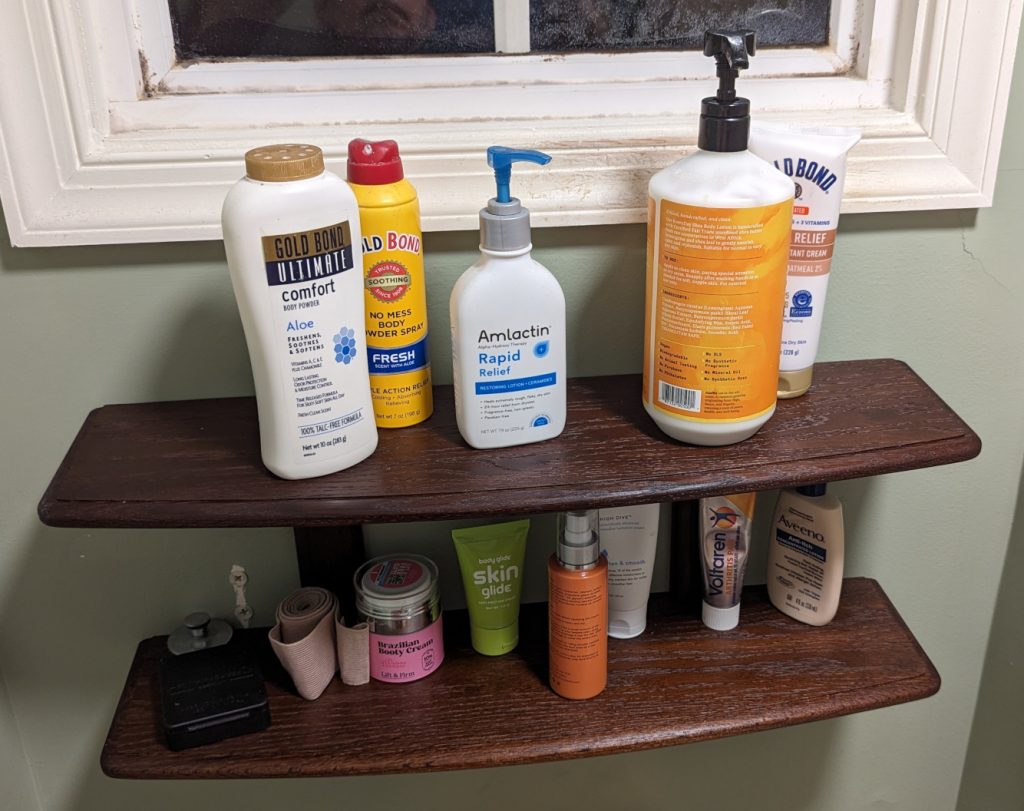
We have had for years a little shelf in the bathroom. I don’t even remember where it came from, but I know I didn’t make it. And on this shelf were lots of different bottles, which occasionally would fall off because they were all crowded together to fit. This needed addressing.
For stock, I turned to something I bought on a whim from Woodworker’s Source a while ago and hadn’t used yet. It’s roasted red oak — literally red oak boards that are heat treated. The heat causes changes in the wood, making it more moisture resistant and a beautiful dark brown (and a bit more brittle and chippy when routed). It seemed like a good choice for a bathroom shelf.
There is no drawing on this. I literally went into the shop and just improvised. Maybe I’ve been watching a little too much ENCurtis lately on YouTube. (I’m not sure that’s a bad thing.)
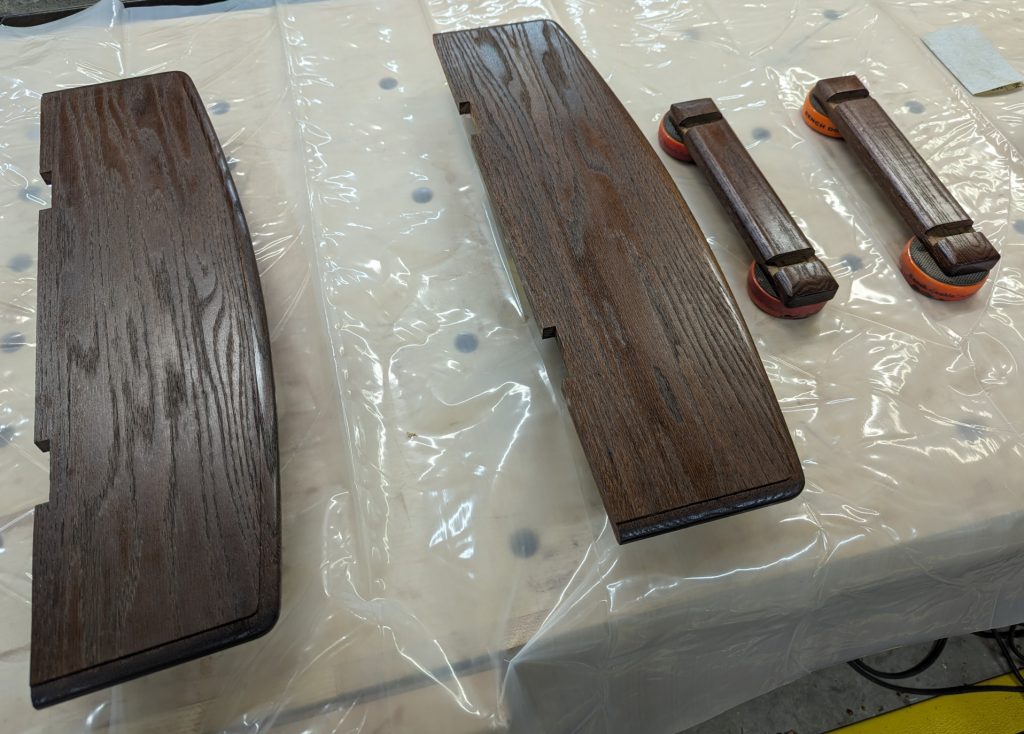
The lumber was 4/4 and pretty straight, but just for grins I planed some of it down to 5/8″ for the shelves. The uprights I only took down a little, to 3/4″. I gave the shelves a gentle curve and used a small table-edge bit for the edge treatment. It’s a little oblong, so more interesting than a plain roundover, and I took very light passes on the router table to avoid damaging chipout. The same bit worked on the underside but I didn’t cut as far, so only the tops have that little detail line.
For supports, I made two pieces at 10″ long and just rounded the corners and facing edges. Then I made two half-lap joints 8 inches apart to hold the shelves securely, and routed keyhole slots in the back.
Finally, I laid the parts out and applied several coats of thinned Arm-R-Seal.

I didn’t put any finish in the half-laps, of course. Then it was a simple matter of gluing the shelves into the upright pieces and letting that dry, then hanging it up.

Isn’t that oak a lovely dark brown? I will go back and patch the holes from the old shelf eventually … we are going to be doing a lot more in this bathroom pretty soon.


Recent Comments