Using up Scraps (2)
I did another quickie project using wood and supplies already on hand. This one is going in the bedroom to be used as a low bedside table, but in form it is actually a one-person bench.
Again, there is no drawing for this, it was a complete ad-lib. I drew inspiration from The Wood Whisperer, who recently did a long bench with the aprons crossed like this. I had several largish cutoffs of cherry and a 4-inch wide piece of curly maple to work with that was several feet long.
Since the maple was already planed to 3/4 inch I left it that way and just jointed and edge-glued it into a panel a little over 11 x 21 inches total. When the glue was dry I trimmed it down to a final size of 10″ wide and 21″ long, then milled a 3/4″ long tenon on the two ends for breadboard ends.
The cherry was still rough and just a hair over an inch wide, so I planed it down to 7/8″ and looked for the straightest possible grain to make the legs from. The aprons could have a little wilder grain, though really I found pretty good pieces for them too.
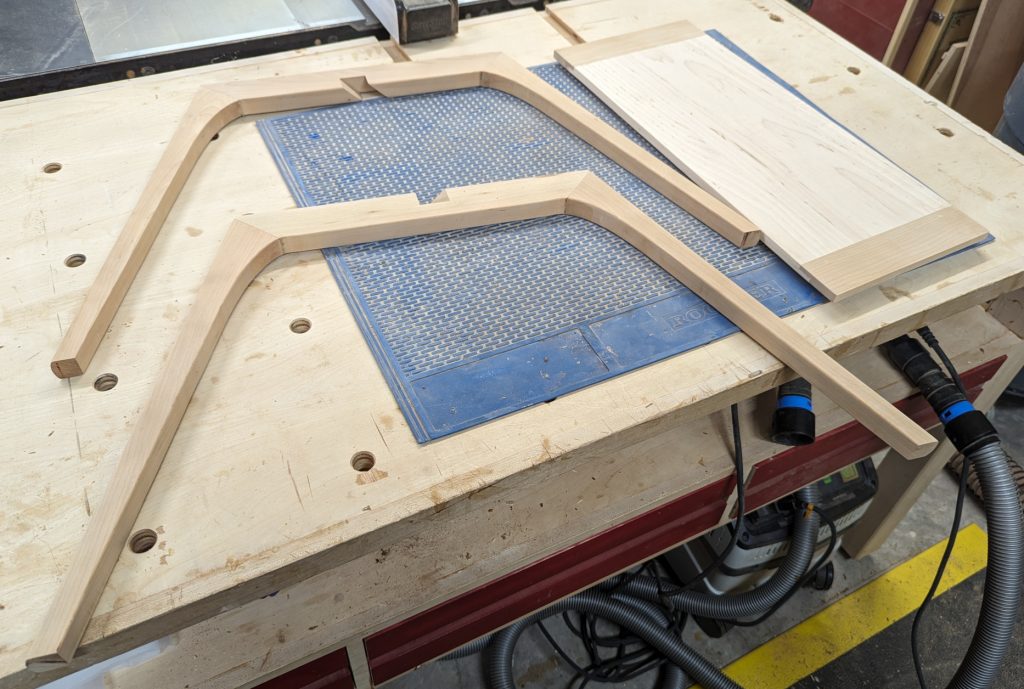
The first thing I wanted to tackle was the half lap joint where the legs aprons crossed, because that was the highest risk piece. I used The Wood Whisperer’s method. Although I didn’t have his $300 mitre sled, I managed it with just a miter gauge and a sacrificial fence. I do love my dado!
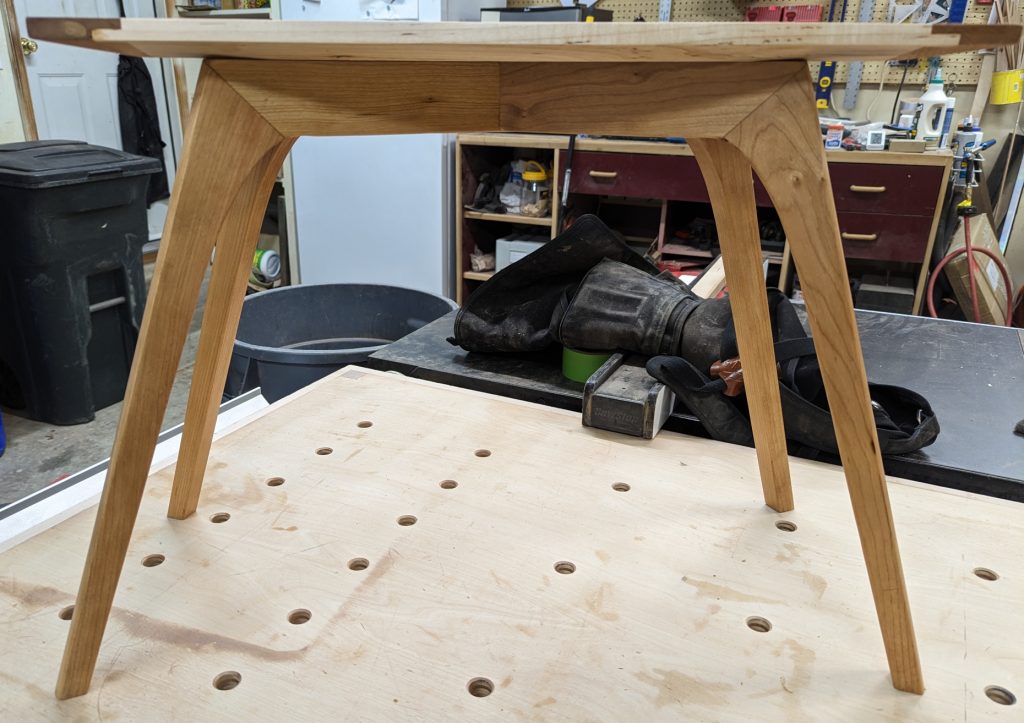
Once that critical cut was done, I measured out 5-1/2″ from each edge of the joint and cut the aprons to length. Then I laid out my leg pieces and contemplated the final shape. A nice bit of curve leading into the taper on the back side, I decided, would look good. I cut a bevel joint for the transition, and shaped the back taper on the bandsaw. Since they were already being placed at an angle to the top I didn’t taper any other sides. I used double dominos to join the legs securely to the aprons.
For the fronts of the legs, I wanted to try something new to me: pillowing. I sharpened my block plane iron and set to work on a scrap first, practicing the technique and found it was actually very easy and looked really good. That little bit of curve on the front was the perfect detail.
Then, bursting with overconfidence, I put the breadboard ends on the top and sanded everything down. And decided to cut an underbevel on the top, to thin out the profile a little bit.
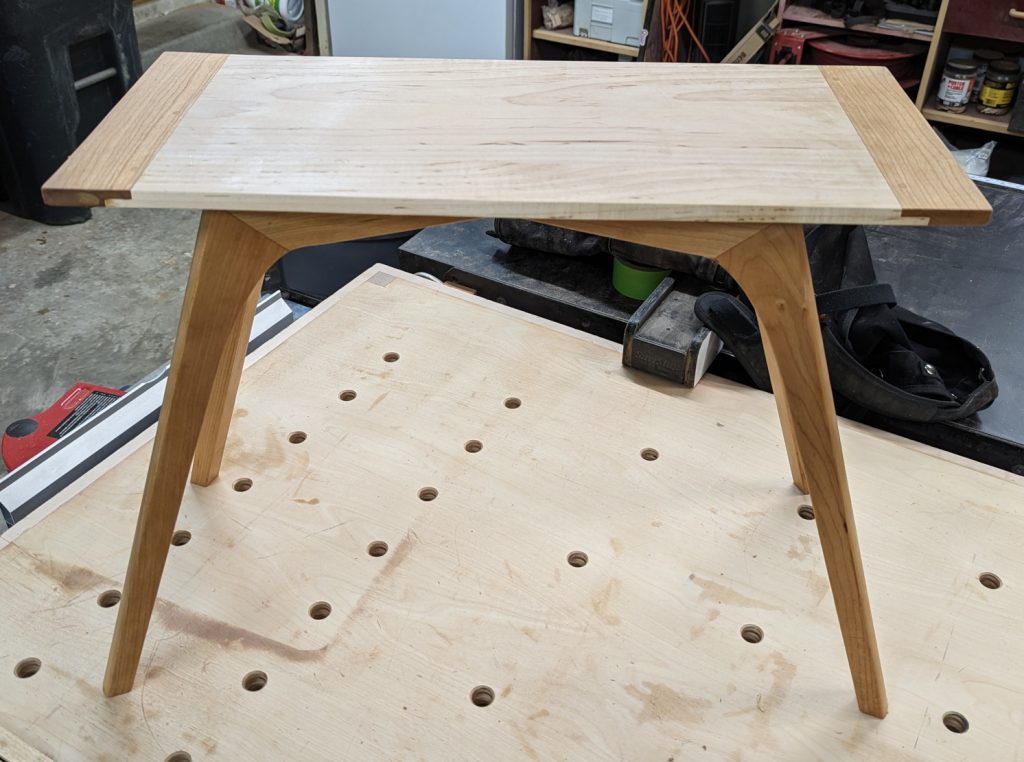
To be honest, that was a mistake. Or at least, I took off more than I should have. The breadboard ends turned into a half lap when looked at from the side. Not my finest hour, and I didn’t have any more curly maple to make another top with. So I chalked it up to experience, since this piece is for me, and did some final sanding and touch-up.

This piece got two coats of Oli Natura hard wax oil, and then a very simple assembly. I put glue on the half-lap and just drove screws through oversized holes to join the legs to the top. It’s only 10 inches wide, after all, so there will not be a lot of movement.
And here it is:


This sits 21 inches high, which is tall for a bench but a perfect height for the bedside table use case. I wanted something to fit between the bed and my nightstand to hold my CPAP machine without crowding the alarm clock and cell phone stand. But I tested it, and I can easily sit and stand on it if I need to.
And of course sitting between the bed and nightstand, which I made back in 2017 from cherry and walnut, the cherry on this piece looks kind of pale. But the bedroom gets lots of sunlight, so I won’t have to wait long to see it darken with age.


Recent Comments