
Video Game Stand
A couple who are friends of mine recently moved into a new home. I asked them what they would like, and the answer was a shelf to store video games on. We went back and forth on ideas and came up with a very simple plan:
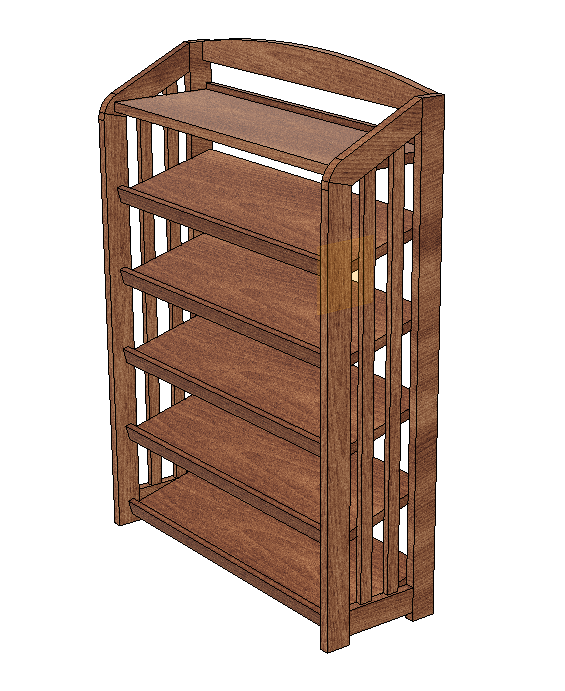
The main features here are the angular look, which matches a media stand they have, and the angled shelves. That is for function as well as looks: by tilting them that way the games can sit on their long edges and you’ll be able to read the titles, and they take up less vertical space. The top shelf is level to provide a home for things other than games, such as the house router.
My friends chose mahogany for the wood, which I think was an excellent choice. African mahogany is about the same price as cherry, a little less than walnut, but has lots of straight grain and really nice color. I went to WoodCraft and got 20 board-feet of it and went to work.
While I was cutting pieces, this grain pattern caught my eye:
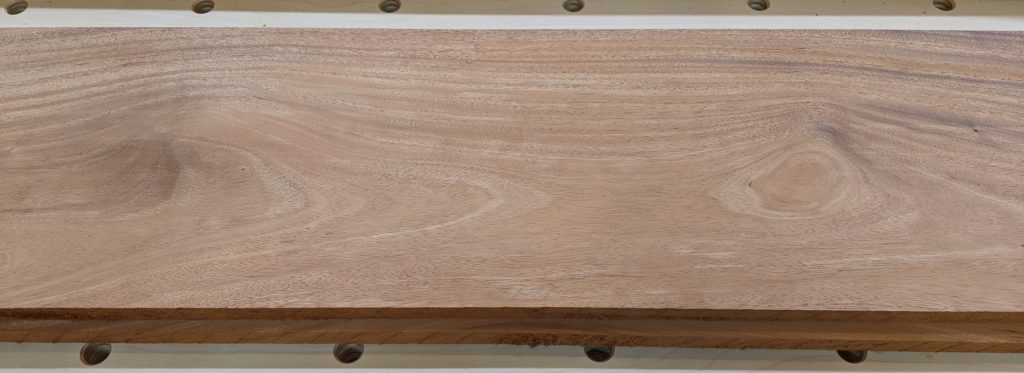
It looked sort of like giant frog eyes, and I quickly changed the plan for the top piece to incorporate this feature (after making sure it was okay).
First up, the sides. The angle on the top is 26 degrees on the low side and 38 on the high side; that looked best with the 2-inch-wide pieces. The pieces are all joined with mortise and tenon joinery (I cut angled tenons in the angled piece) so they should be nice and strong.
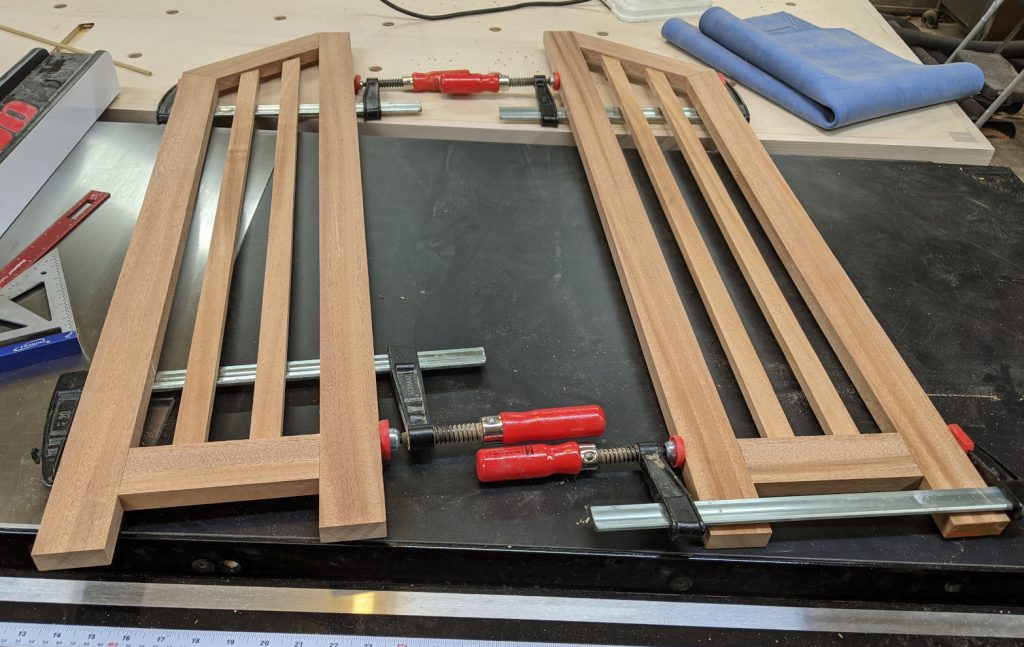
Now it was time to work on the connecting pieces. I wanted 3 pieces to span at the back, plus a fixed top and bottom shelf. Again, mortise and tenon was the way to go with these. The two lower spans at the back are just straight bars of wood; for the top, I cut it larger than planned to accommodate the grain pattern and put tenons on the ends.

The top shelf was just a straight piece; the bottom shelf a tilted one. Since they spanned the middle of the sides, where the narrower slats were, I used dowels to join them.
That brought me to the shelves themselves. They would need a piece on the front edge to hold the games; to give that a bit more visual interest I routed a 1/4″ bead on the top and bottom of each of 5 strips, 1/2″ x 1-1/4″, and glued those to the front edges.
Then, before putting it all together, I needed to plot out and drill the holes that the four middle shelves would fit into. I figured to make these adjustable, so I’d drill a series of 1/4″ holes to hold pegs. As I laid them out, though, I realized I’d miscalculated — if I squeezed 4 shelves into that space, you wouldn’t be able to read the spines on the games because the upper shelf would be in the way. I needed about another 8 inches of height. And my sides where already cut and assembled.
After a quick consult with my friends, we ditched one shelf and continued on. Because these shelves are tilted 14 degrees, the holes had to be arranged accordingly.
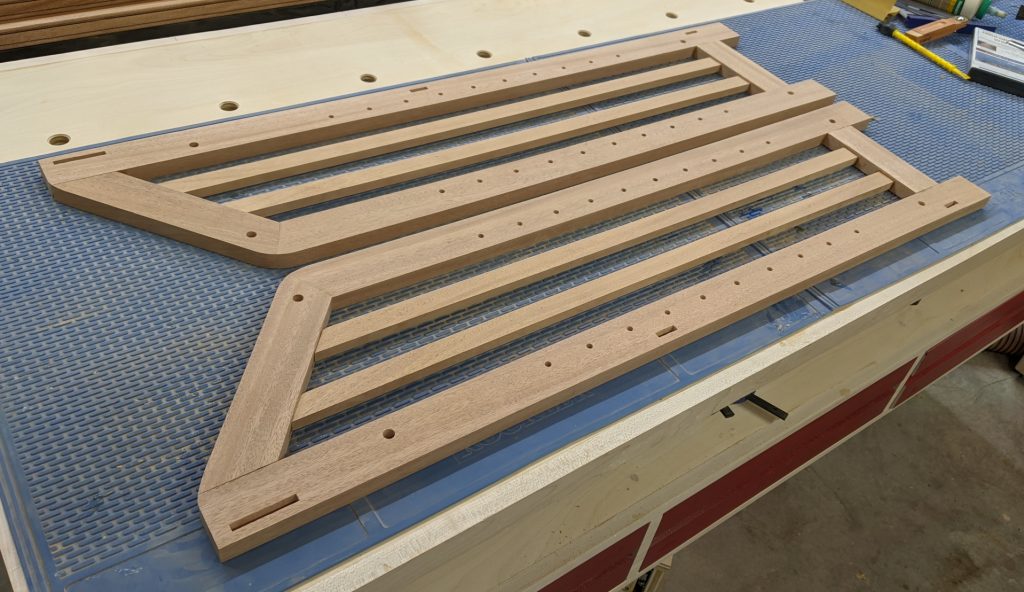
Then, on the shelves, I would need notches to capture the pegs so the shelves wouldn’t slide off them. I did that at the router table. Finally, I cut the back edges of the shelves at 15 degrees so they would clear the back supports.
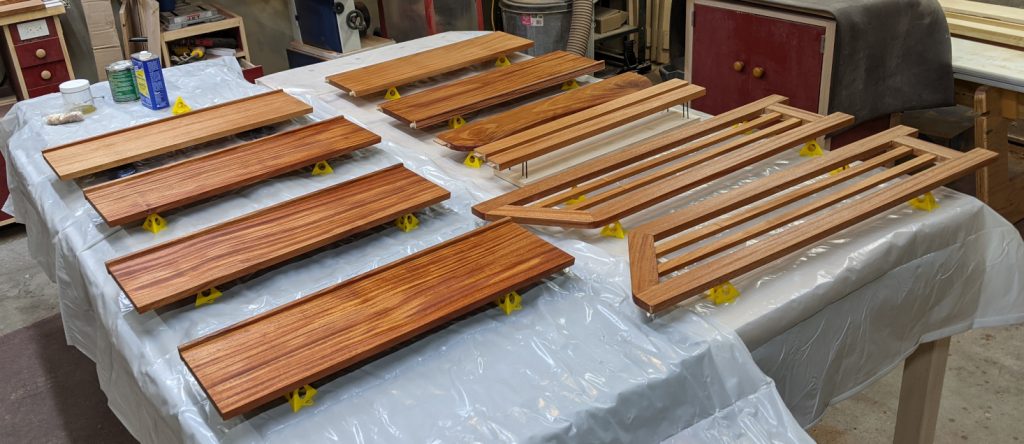
This seemed like an ideal time to finish the pieces. Once assembled, there would be a lot of tight corners and small spaces. So I laid it all out and gave it several coats of Arm-R-Seal.
The glue-up was all done in one step: I glued the back supports, the top, and the two fixed shelves into place and clamped it all, making sure it stood flat on the floor with no wobble. While it dried I cut 12 pieces of 1/4″ dowel 1-1/4″ long and sanded each end to remove the raw edges — these would be the pins that hold the movable shelves.
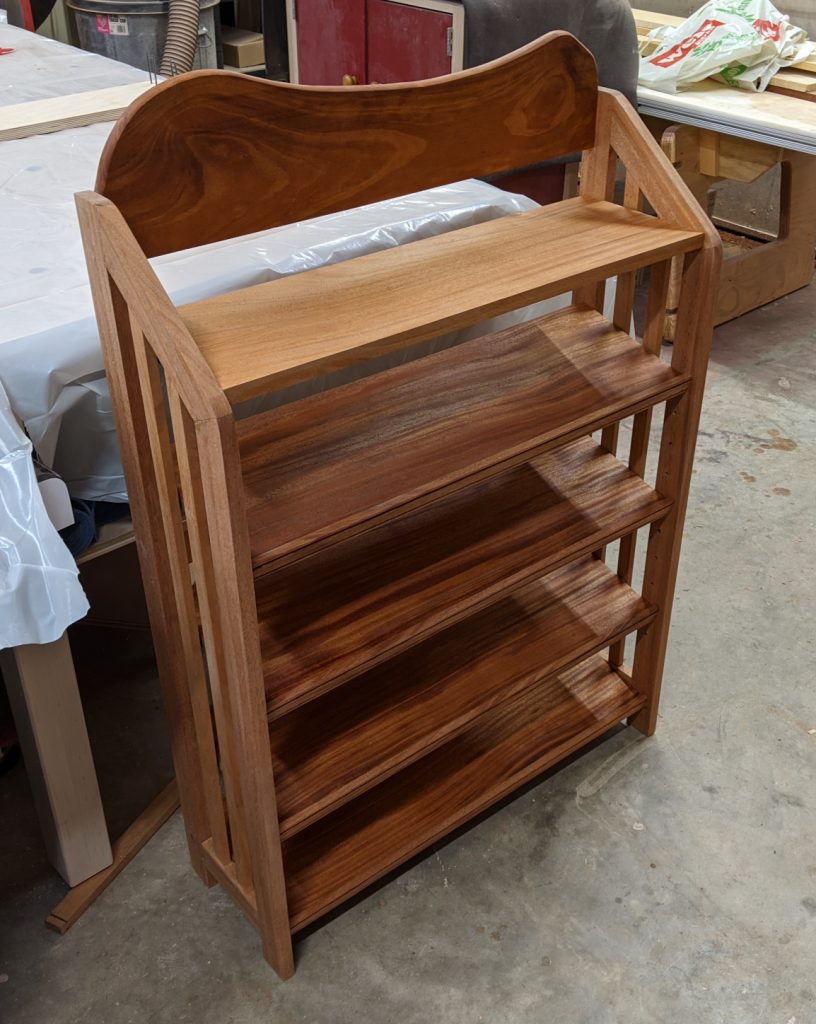
Now I just have to figure out how to deliver it to my friends, who live about 250 miles away. Fortunately mahogany isn’t terribly heavy, so I can try UPSing it. Worst case I’ll just drive it up.


Recent Comments